Netgear R6120 User Manual - Page 16
Wi-Fi Protected Setup Method, Types of Logins
 |
View all Netgear R6120 manuals
Add to My Manuals
Save this manual to your list of manuals |
Page 16 highlights
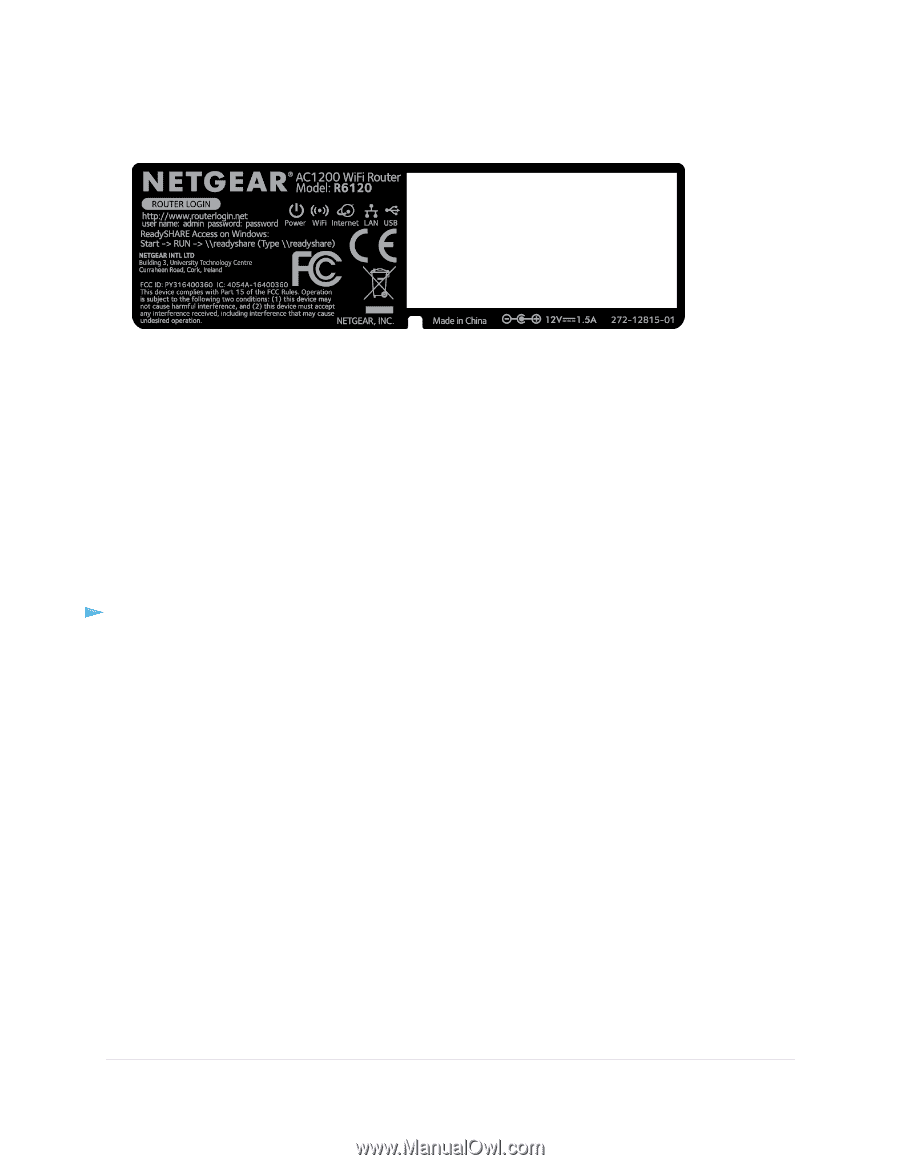
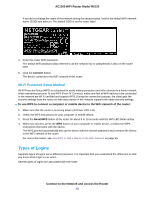
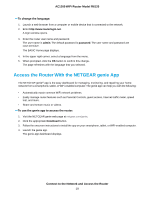
AC1200 WiFi Router Model R6120 If you did not change the name of the network during the setup process, look for the default WiFi network name (SSID) and select it. The default SSID is on the router label. 4. Enter the router WiFi password. The default WiFi password (also referred to as the network key or passphrase) is also on the router label. 5. Click the Connect button. The device connects to the WiFi network of the router. Wi-Fi Protected Setup Method Wi-Fi Protected Setup (WPS) is a standard for easily adding computers and other devices to a home network while maintaining security. To use WPS (Push 'N' Connect), make sure that all WiFi devices to be connected to the network are Wi-Fi certified and support WPS. During the connection process, the client gets the security settings from the router so that every device in the network supports the same security settings. To use WPS to connect a computer or mobile device to the WiFi network of the router: 1. Make sure that the router is receiving power (its Power LED is lit). 2. Check the WPS instructions for your computer or mobile device. 3. Press the Reset/WPS button of the router for about 5 to 10 seconds until the WiFi LED blinks amber. 4. Within two minutes, press the WPS button on your computer or mobile device, or follow the WPS instructions that came with the device. The WPS process automatically sets up the device with the network password and connects the device to the WiFi network of the router. For more information, see Use WPS to Add a Device to the WiFi Network on page 56. Types of Logins Separate types of logins serve different purposes. It is important that you understand the difference so that you know which login to use when. Several types of logins are associated with the router: Connect to the Network and Access the Router 16
-
 1
1 -
2
-
3
-
4
-
5
-
6
-
7
-
8
-
9
-
10
-
 11
11 -
 12
12 -
 13
13 -
 14
14 -
 15
15 -
 16
16 -
 17
17 -
 18
18 -
 19
19 -
 20
20 -
 21
21 -
22
-
23
-
24
-
25
-
26
-
27
-
28
-
29
-
30
-
31
-
32
-
33
-
34
-
35
-
36
-
37
-
38
-
39
-
40
-
41
-
42
-
43
-
44
-
45
-
46
-
47
-
48
-
49
-
50
-
51
-
52
-
53
-
54
-
55
-
56
-
57
-
58
-
59
-
60
-
61
-
62
-
63
-
64
-
65
-
66
-
67
-
68
-
69
-
70
-
71
-
72
-
73
-
74
-
75
-
76
-
77
-
78
-
79
-
80
-
81
-
82
-
83
-
84
-
85
-
86
-
87
-
88
-
89
-
90
-
91
-
92
-
93
-
94
-
95
-
96
-
97
-
98
-
99
-
100
-
101
-
102
-
103
-
104
-
105
-
106
-
107
-
108
-
109
-
110
-
111
-
112
-
113
-
114
-
115
-
116
-
117
-
118
-
119
-
120
-
121
-
122
-
123
-
124
-
125
-
126
-
127
-
128
-
129
-
130
-
131
-
132
-
133
-
134
-
135
-
136
-
137
-
138
-
139
-
140
 |
 |