Sony PDWHD1500 User Manual (PDW-HD1500 Operation Manual for Firmware Version 1 - Page 48
Recording and Playback, Recording, Carrying out recording
 |
View all Sony PDWHD1500 manuals
Add to My Manuals
Save this manual to your list of manuals |
Page 48 highlights
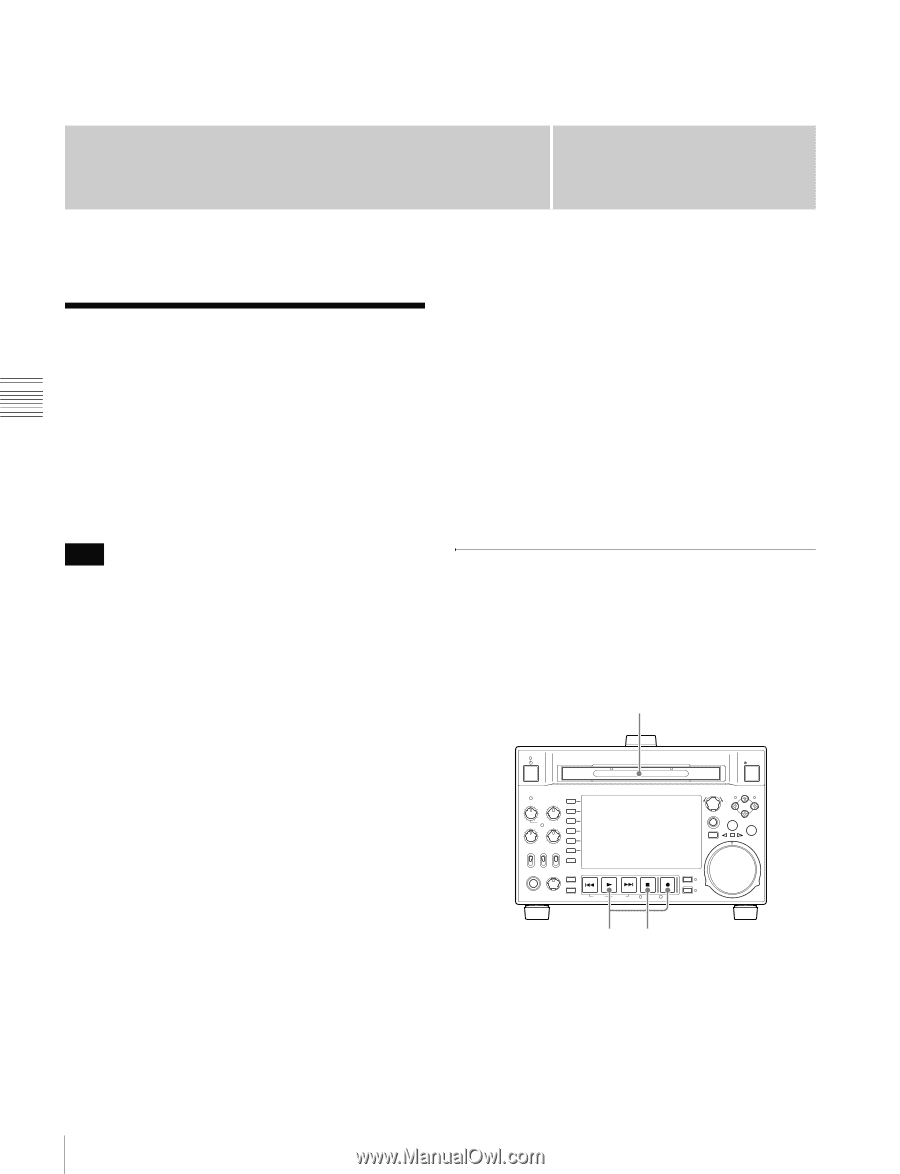
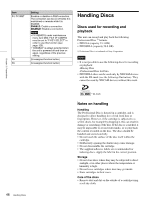
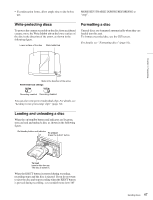
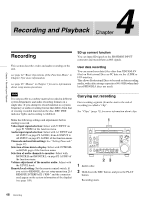
Recording and Playback 4 Chapter Chapter 4 Recording and Playback Recording This section describes video and audio recording on the unit. see page 42 "Basic Operations of the Function Menu" in Chapter 3 for more information. see page 99 "Menus" in Chapter 7 for more information about setup menu operations. SD up convert function You can input SD signals to the SD/HDSDI INPUT connector and record them as HD signals. User data recording You can record user data (files other than XDCAM AV files) on Professional Discs as PC data via the i.LINK or FTP interface. This allows Professional Discs to be used as data recording media, with a data storage capacity of 46.4 GB (when duallayer PFD50DLA discs are used). Note It is not possible to combine material recorded in different system frequencies and audio recording formats on a single disc. If you attempt to record material in a system frequency or audio recording format that differs from that of existing recorded material on the disc, REC INHI indicator lights and recording is inhibited. Make the following settings and adjustments before starting to record. Video input signal selection: Select with V INPUT on page P1 VIDEO of the function menu. Audio input signal selection: Select with A1 INPUT and A2 INPUT on page P2 AUDIO, from A3 INPUT to A8 INPUT on page P3 AUDIO of the function menu. Timecode and user bits settings: See "Setting Timecode" (page 37). Selection of time data to display: Select with CNTR SEL on HOME page of the function menu. Selection of audio channels to monitor: Select with MONITR R and MONITR L on page P2 AUDIO of the function menu. Volume adjustment of the monitor audio: Adjust with the LEVEL knob. Remote/local setting: Set the remote control switch. If you set it to REMOTE, also set setup menu item 214 REMOTE INTERFACE ("RM-" and the connector used appear on the system information of the display) (see page 109). Carrying out recording One recording segment (from the start to the end of recording) is called a "clip". See "Clips" (page 72) for more information about clips. 1 EJECT ACCESS CH-1 CH-3 PUSH SET(S.SEL) MARK1 IN OUT ALL CH CH-2 CH-4 CHAPTER NET LOCAL REMOTE VARIABLE KEY INHI REC PRE- ON SET OFF PB EXPAND PAGE HOME PHONES LEVEL DISPLAY PREV PLAY NEXT STOP REC THUMBNAIL MENU RESET SHTL/JOG MARK2 VAR/JOG RETURN SHIFT TOP F REV SUB CLIP F FWD END STANDBY REC INHI DISC MENU 1 Insert a disc. 23 2 Hold down the REC button, and press the PLAY button. Recording starts. 48 Recording
-
 1
1 -
2
-
3
-
4
-
5
-
6
-
7
-
8
-
9
-
10
-
11
-
12
-
13
-
14
-
15
-
16
-
17
-
18
-
19
-
20
-
21
-
22
-
23
-
24
-
25
-
26
-
27
-
28
-
29
-
30
-
31
-
32
-
33
-
34
-
35
-
36
-
37
-
38
-
39
-
40
-
41
-
42
-
 43
43 -
 44
44 -
 45
45 -
 46
46 -
 47
47 -
 48
48 -
 49
49 -
 50
50 -
 51
51 -
 52
52 -
 53
53 -
54
-
55
-
56
-
57
-
58
-
59
-
60
-
61
-
62
-
63
-
64
-
65
-
66
-
67
-
68
-
69
-
70
-
71
-
72
-
73
-
74
-
75
-
76
-
77
-
78
-
79
-
80
-
81
-
82
-
83
-
84
-
85
-
86
-
87
-
88
-
89
-
90
-
91
-
92
-
93
-
94
-
95
-
96
-
97
-
98
-
99
-
100
-
101
-
102
-
103
-
104
-
105
-
106
-
107
-
108
-
109
-
110
-
111
-
112
-
113
-
114
-
115
-
116
-
117
-
118
-
119
-
120
-
121
-
122
-
123
-
124
-
125
-
126
-
127
-
128
-
129
-
130
-
131
-
132
-
133
-
134
-
135
-
136
-
137
-
138
-
139
-
140
-
141
-
142
-
143
-
144
-
145
-
146
-
147
-
148
-
149
-
150
-
151
-
152
-
153
-
154
-
155
-
156
-
157
-
158
 |
 |