Sony PDWHD1500 User Manual (PDW-HD1500 Operation Manual for Firmware Version 1 - Page 73
Creating and editing clip lists, Sub clips clips in clip lists, Clip list editing current clip list
 |
View all Sony PDWHD1500 manuals
Add to My Manuals
Save this manual to your list of manuals |
Page 73 highlights
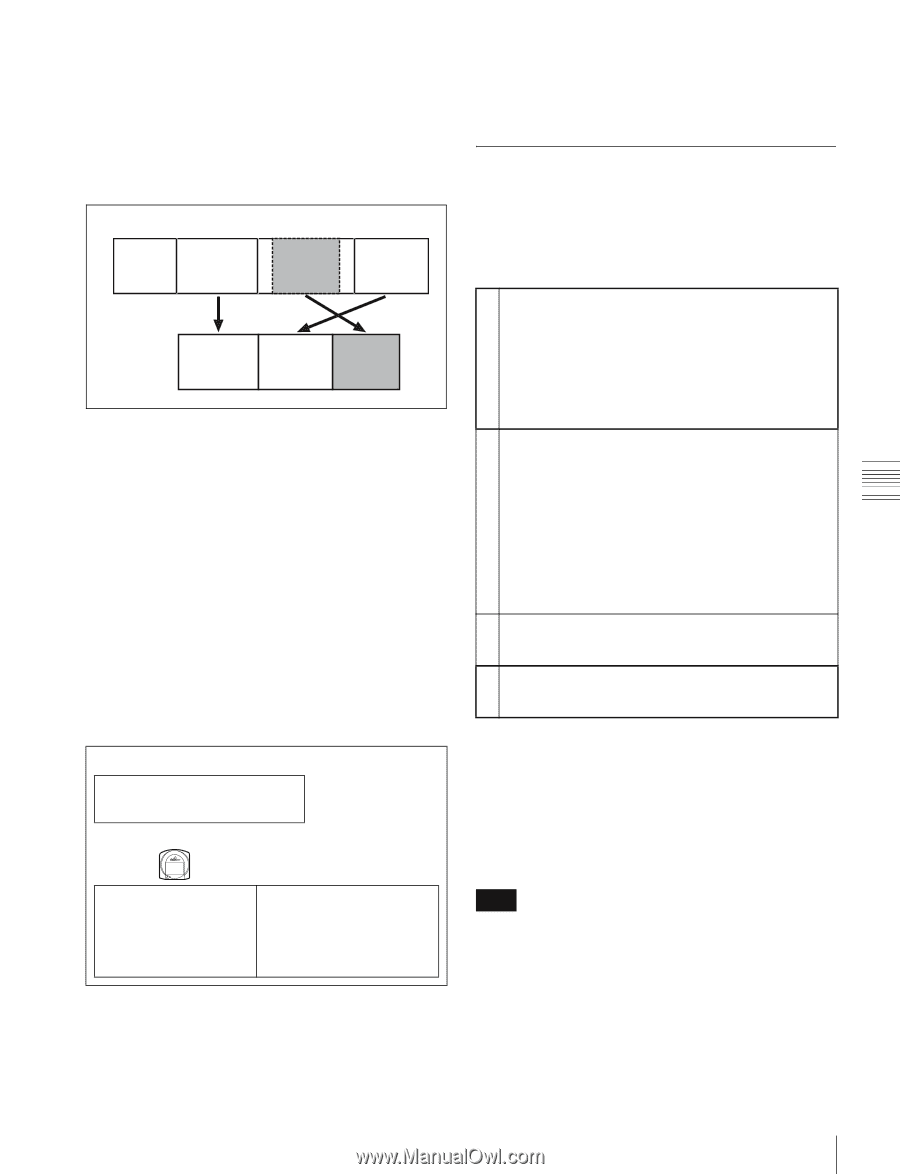
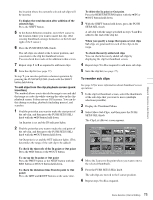
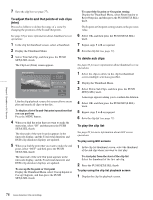
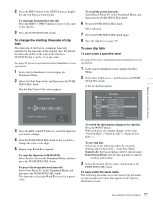
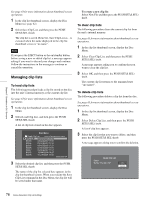
Chapter 5 Operations in GUI Screens Sub clips (clips in clip lists) Clips (or parts of clips) that have been added to a clip list are called "sub clips". Sub clips are virtual editing data that specify ranges in the original clips. You can use them without modifying the original data. The following figure illustrates the relation between clips and sub clips. Clips on disc Clip 1 (C0001) Clip 2 (C0002) Clip 3 (C0003) Clip 4 (C0004) Clip list (E0001) Sub clip 1 Sub clip 2 Sub clip 3 In the above example, the whole of clip 2 has been added as sub clip 1, and the whole of clip 4 has been added as sub clip 2. Sub clip 3 is part of clip 3. Therefore, when clip list E0001 is played back, clip 4 is played after clip 2, and then the part of clip 3 shown in gray color is played. Clip list editing (current clip list) To edit a clip list, you need to load the clip list from the disc into the unit's internal memory. The clip list which is currently loaded into the unit memory is called the "current clip list". The current clip list is always the target of sub clip creation and editing. Clip list playback also uses the current clip list. After creating and editing a clip list, you need to save it to disc. Unit memory Current clip list Can be edited (adding, deleting, and reordering sub clips) SAVE Mm LOAD t Clip list playback and thumbnail display Disc C0001 (Clip 1) C0002 (Clip 2) C0003 (Clip 3) • • • E0001 (Clip list 1) E0002 (Clip list 2) E0003 (Clip list 3) • • • E0099 (Clip list 99) Clip list playback Clips and clip lists are saved together on a disc. To play a clip list, insert a disc into the unit, load the clip list that you want to play, and press the PLAY button. Clips are played according to the data in the clip list. Creating and editing clip lists The following table lists the steps in the creation and editing of clip lists with the scene selection function. To create a clip list, you always need to carry out the steps inside the heavy lines. Other steps can be carried out as required. 1 Add sub clips: Use the Add Sub Clips command to add the clips you want to use to a clip list. You can add up to 300 sub clips to one clip list. This operation can be carried out in the following thumbnail screens. • Clip thumbnail screen • Expand thumbnail screen • Chapter thumbnail screen • Clip list thumbnail screen 2 Change the sub clip order: Use the Move Sub Clips command to change the order of sub clips in a clip list. Delete sub clips: Use the Delete Sub Clips command to delete specified sub clips from a clip list. Trim sub clips: Use the Trim Sub Clip command to adjust the In and Out points of a sub clip. This function can also be used to adjust the overall duration of the clip list. Set the start timecode: Use the Set Start Time Code command to set the timecode at the start of a clip list. 3 Play the clip list: Use the PLAY button and other playback controls to play the current clip list and check its contents. 4 Save the clip list: Use the Save Clip List or Save Clip List as... command to save the newly created clip list to the disc. To reedit clip lists on the disc Use the Load Clip List command to load the clip lists you want to edit, and perform the steps 2 to 4 in the previous section. You can also delete clip lists on the disc. For details, see "Managing clip lists" (page 78). Note Clip lists can be created and edited even when the write inhibit tab of the disc is set to recording disabled, and when REC INH on the HOME page of the function menu is set to ON. However, if you need to save the clip list, set write inhibit tab and REC INH to enable recording before you create or edit the clip list. 73 Scene Selection (Clip List Editing)
-
 1
1 -
2
-
3
-
4
-
5
-
6
-
7
-
8
-
9
-
10
-
11
-
12
-
13
-
14
-
15
-
16
-
17
-
18
-
19
-
20
-
21
-
22
-
23
-
24
-
25
-
26
-
27
-
28
-
29
-
30
-
31
-
32
-
33
-
34
-
35
-
36
-
37
-
38
-
39
-
40
-
41
-
42
-
43
-
44
-
45
-
46
-
47
-
48
-
49
-
50
-
51
-
52
-
53
-
54
-
55
-
56
-
57
-
58
-
59
-
60
-
61
-
62
-
63
-
64
-
65
-
66
-
67
-
 68
68 -
 69
69 -
 70
70 -
 71
71 -
 72
72 -
 73
73 -
 74
74 -
 75
75 -
 76
76 -
 77
77 -
 78
78 -
79
-
80
-
81
-
82
-
83
-
84
-
85
-
86
-
87
-
88
-
89
-
90
-
91
-
92
-
93
-
94
-
95
-
96
-
97
-
98
-
99
-
100
-
101
-
102
-
103
-
104
-
105
-
106
-
107
-
108
-
109
-
110
-
111
-
112
-
113
-
114
-
115
-
116
-
117
-
118
-
119
-
120
-
121
-
122
-
123
-
124
-
125
-
126
-
127
-
128
-
129
-
130
-
131
-
132
-
133
-
134
-
135
-
136
-
137
-
138
-
139
-
140
-
141
-
142
-
143
-
144
-
145
-
146
-
147
-
148
-
149
-
150
-
151
-
152
-
153
-
154
-
155
-
156
-
157
-
158
 |
 |