Sony PDWHD1500 User Manual (PDW-HD1500 Operation Manual for Firmware Version 1 - Page 81
Formatting discs, To clear planning metadata
 |
View all Sony PDWHD1500 manuals
Add to My Manuals
Save this manual to your list of manuals |
Page 81 highlights
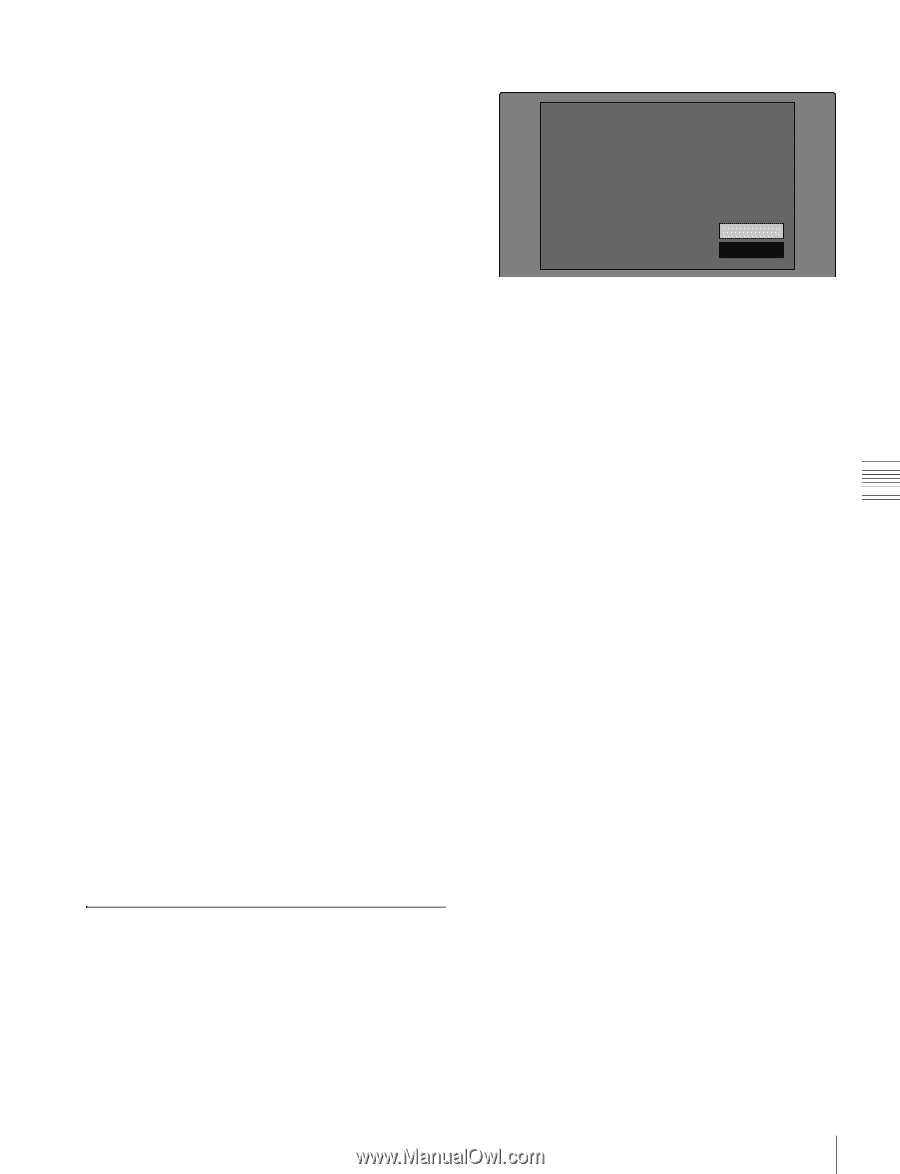
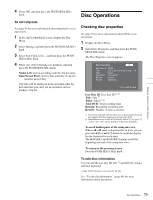
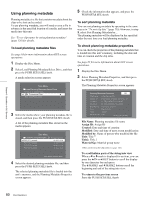
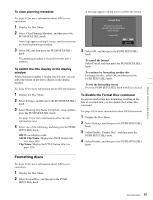
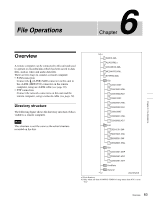
Chapter 5 Operations in GUI Screens To clear planning metadata See page 63 for more information about GUI screen operations. 1 Display the Disc Menu. 2 Select Clear Planning Metadata, and then press the PUSH SET(S.SEL) knob. A message appears asking if you are sure that you want to clear the plannning metadata. 3 Select OK, and then press the PUSH SET(S.SEL) knob. The planning metadata is cleared from this unit's memory. To switch the title display in the display window When planning metadata is loaded into this unit, you can select the format of the title to display in the display window. See page 63 for more information about GUI information. 1 Display the Disc Menu. 2 Select Settings, and then press the PUSH SET(S.SEL) knob. 3 Select Planning Clip Name in Clip Info. Area and then press the PUSH SET(S.SEL) knob. See page 19 for more information about the clip information area. 4 Select one of the following, and then press the PUSH SET(S.SEL) knob. Off: Do not display a title. ASCII Clip Name: Display the ASCII format title (see page 126) Clip Name: Display the UTF-8 format title (see page 126) A message appears asking you to confirm the format. Format Disc All Clips, Clip Lists and Non-AV Data (General Files) will be Deleted. Format OK? OK Cancel 3 Select OK, and then press the PUSH SET(S.SEL) knob. To cancel the format Select Cancel, and then press the PUSH SET(S.SEL) knob. To continue by formatting another disc Exchange the disc, select OK, and then press the PUSH SET(S.SEL) knob. To exit the formatting screen Press the PUSH SET(S.SEL) knob with Exit selected. To disable the Format Disc command To prevent inadvertent disc formatting, resulting in the loss of recorded data, you can disable the Format Disc command. See page 63 for more information about GUI information. 1 Display the Disc Menu. 2 Select Settings, and then press the PUSH SET(S.SEL) knob. 3 Select Disable "Format Disc", and then press the PUSH SET(S.SEL) knob. 4 Select Disable, and then press the PUSH SET(S.SEL) knob. Formatting discs See page 63 for more information about GUI screen operations. 1 Display the Disc Menu. 2 Select Format Disc, and then press the PUSH SET(S.SEL) knob. 81 Disc Operations
-
 1
1 -
2
-
3
-
4
-
5
-
6
-
7
-
8
-
9
-
10
-
11
-
12
-
13
-
14
-
15
-
16
-
17
-
18
-
19
-
20
-
21
-
22
-
23
-
24
-
25
-
26
-
27
-
28
-
29
-
30
-
31
-
32
-
33
-
34
-
35
-
36
-
37
-
38
-
39
-
40
-
41
-
42
-
43
-
44
-
45
-
46
-
47
-
48
-
49
-
50
-
51
-
52
-
53
-
54
-
55
-
56
-
57
-
58
-
59
-
60
-
61
-
62
-
63
-
64
-
65
-
66
-
67
-
68
-
69
-
70
-
71
-
72
-
73
-
74
-
75
-
 76
76 -
 77
77 -
 78
78 -
 79
79 -
 80
80 -
 81
81 -
 82
82 -
 83
83 -
 84
84 -
 85
85 -
 86
86 -
87
-
88
-
89
-
90
-
91
-
92
-
93
-
94
-
95
-
96
-
97
-
98
-
99
-
100
-
101
-
102
-
103
-
104
-
105
-
106
-
107
-
108
-
109
-
110
-
111
-
112
-
113
-
114
-
115
-
116
-
117
-
118
-
119
-
120
-
121
-
122
-
123
-
124
-
125
-
126
-
127
-
128
-
129
-
130
-
131
-
132
-
133
-
134
-
135
-
136
-
137
-
138
-
139
-
140
-
141
-
142
-
143
-
144
-
145
-
146
-
147
-
148
-
149
-
150
-
151
-
152
-
153
-
154
-
155
-
156
-
157
-
158
 |
 |