Sony PDWHD1500 User Manual (PDW-HD1500 Operation Manual for Firmware Version 1 - Page 70
Setting clip flags, Locking (write-protecting) clips
 |
View all Sony PDWHD1500 manuals
Add to My Manuals
Save this manual to your list of manuals |
Page 70 highlights
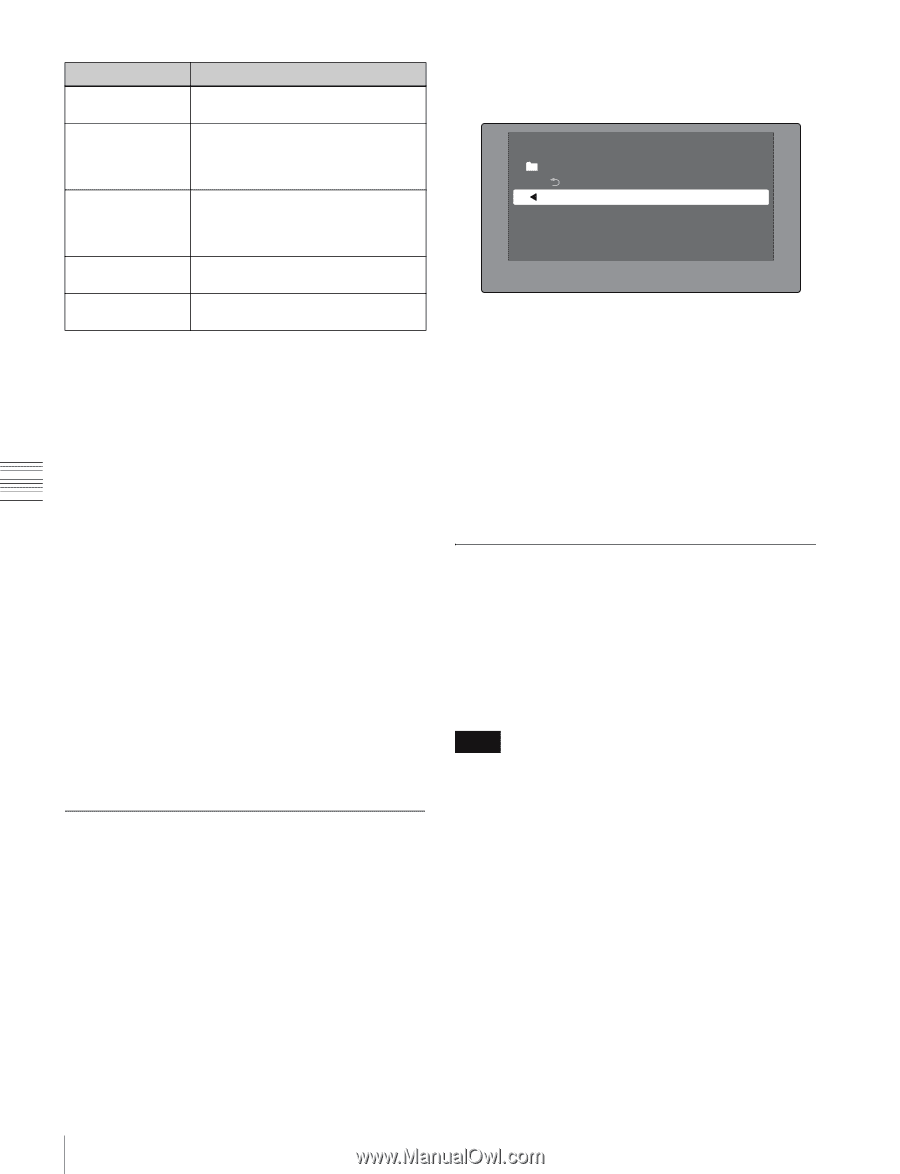
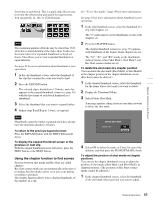
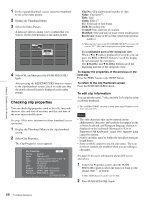
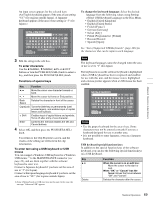
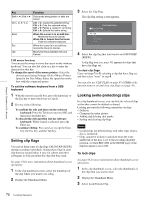
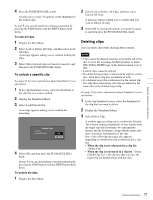
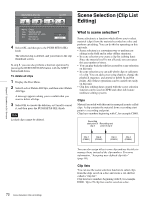
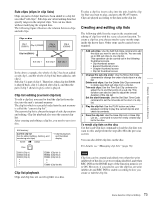
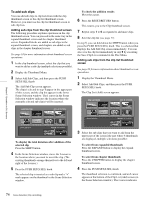
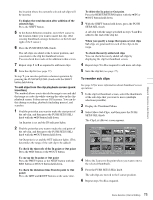
Chapter 5 Operations in GUI Screens Key Shift + B, Shift + b Ctrl + C, X, V, A Enter Esc Tab Function Selects the string before or after the cursor. Ctrl + C: Copies the selected string. Ctrl + X: Cuts the selected string. Ctrl + V: Pastes a copied or cut string. Ctrl + A: Selects the entire string. When the cursor is in an edit box: Moves the focus to Cancel. When OK or Cancel has the focus: Exits the software keyboard. When the cursor is in an edit box, moves the focus to Cancel. Moves the focus between OK and Cancel. USB mouse functions You can use the mouse to move the cursor on the software keyboard. You can also left click on a key to enter the character for that key. To change the speed of the mouse pointer: Select the desired speed using Settings >Select Mouse Pointer Speed in the Disc Menu. Select the speed that works best with the connected mouse. To exit the software keyboard from a USB keyboard 1 With the cursor in an edit box, press the Enter key or the Esc key to move the focus to Cancel. 2 Do one of the following. To confirm the edit and then exit the software keyboard: Press the Tab key to move to OK, and then press the Enter key. To discard the edit and then exit the software keyboard: While Cancel is selected, press the Enter key. To continue editing: Press any key except the Enter key, the Esc key, and the Tab key. Setting clip flags You can set three types of clip flags (OK/NG/KP (KEEP)) during recording or playback. Setting these flags in each clip that you record makes it easy for editors and other colleagues to find and select the clips that they need. See page 63 for more information about thumbnail screen operations. 1 In the clip thumbnail screen, select the thumbnail of the clip where you want to set a flag. 2 Display the Thumbnail Menu. 3 Select Set Clip Flag. The clip flag setting screen appears. Thumbnail Menu Set Clip Flag Return to Upper Menu OK NG KP (KEEP) none 4 Select the clip flag that you want to set (OK/NG/KP (KEEP)). A clip flag icon (see page 58) appears for clips that have clip flags set. To clear clip flags Carry out steps 1 to 3, selecting a clip that has a flag set, and then select "none" in step 4. You can also use CLIP FLAG on page P7 OTHER of the function menu to set and clear clip flags (see page 45). Locking (write-protecting) clips In a clip thumbnail screen, you can lock the selected clips so that they cannot be deleted or altered. Locking prevents the following operations on clips. • Deletion • Changing the index picture • Adding and deleting shot marks • Setting and clearing clip flags Notes • Locked clips are deleted along with other clips when a disc is formatted. • Clips cannot be locked or unlocked when the write inhibit tab of the disc is set to the recording disabled position, or when REC INH in the HOME page of the function menu is set to ON. To lock clips See page 63 for more information about thumbnail screen operations. 1 In the clip thumbnail screen, select the thumbnails of the clips that you want to lock. 2 Display the Thumbnail Menu. 3 Select Lock/Unlock Clip. 70 Thumbnail Operations
-
 1
1 -
2
-
3
-
4
-
5
-
6
-
7
-
8
-
9
-
10
-
11
-
12
-
13
-
14
-
15
-
16
-
17
-
18
-
19
-
20
-
21
-
22
-
23
-
24
-
25
-
26
-
27
-
28
-
29
-
30
-
31
-
32
-
33
-
34
-
35
-
36
-
37
-
38
-
39
-
40
-
41
-
42
-
43
-
44
-
45
-
46
-
47
-
48
-
49
-
50
-
51
-
52
-
53
-
54
-
55
-
56
-
57
-
58
-
59
-
60
-
61
-
62
-
63
-
64
-
 65
65 -
 66
66 -
 67
67 -
 68
68 -
 69
69 -
 70
70 -
 71
71 -
 72
72 -
 73
73 -
 74
74 -
 75
75 -
76
-
77
-
78
-
79
-
80
-
81
-
82
-
83
-
84
-
85
-
86
-
87
-
88
-
89
-
90
-
91
-
92
-
93
-
94
-
95
-
96
-
97
-
98
-
99
-
100
-
101
-
102
-
103
-
104
-
105
-
106
-
107
-
108
-
109
-
110
-
111
-
112
-
113
-
114
-
115
-
116
-
117
-
118
-
119
-
120
-
121
-
122
-
123
-
124
-
125
-
126
-
127
-
128
-
129
-
130
-
131
-
132
-
133
-
134
-
135
-
136
-
137
-
138
-
139
-
140
-
141
-
142
-
143
-
144
-
145
-
146
-
147
-
148
-
149
-
150
-
151
-
152
-
153
-
154
-
155
-
156
-
157
-
158
 |
 |