Sony PDWHD1500 User Manual (PDW-HD1500 Operation Manual for Firmware Version 1 - Page 53
Playback operation, 720 cross convert function, To specify the frame to use as the, thumbnail image
 |
View all Sony PDWHD1500 manuals
Add to My Manuals
Save this manual to your list of manuals |
Page 53 highlights
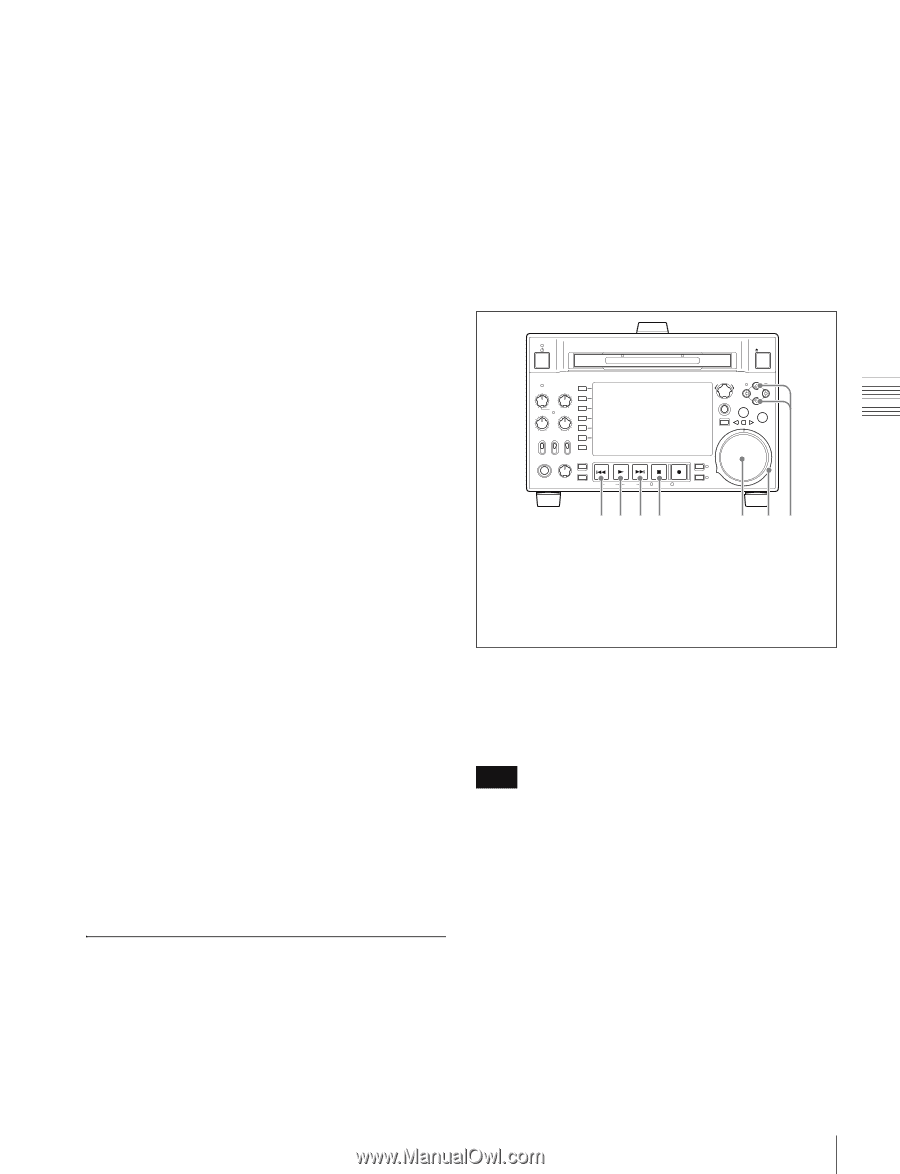
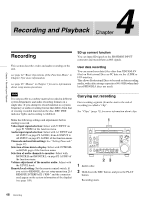
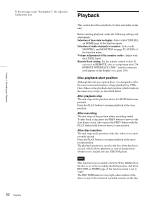
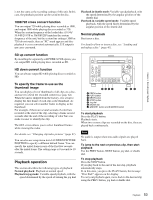
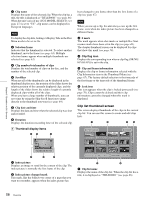
Chapter 4 Recording and Playback is not the same as the recording settings of this unit. In this case, the playback position can be saved to the disc. 1080/720 cross convert function You can output 720 while playing discs recorded as 1080, and output 1080 while playing discs recorded as 720. When the system frequency of the loaded disc (59.94i/ 59.94P/29.97P or 50i/50P/25P) matches the system frequency of the unit, but the system line settings (1080 or 720) do not match, then an "FC" mark appears and disc playback is cross converted automatically. E-E output is not cross converted. Playback in shuttle mode: Variable-speed playback, with the speed determined by the angular position of the shuttle dial Playback in variable-speed mode: Variable-speed playback, with the speed finely determined by the angular position of the shuttle dial Normal playback First insert a disc. For details of how to insert a disc, see "Loading and unloading a disc" (page 47). SD up convert function By installing the separately sold PDBK-S1500 option, you can output HD while playing discs recorded as SD. HD down convert function You can always output SD while playing discs recorded as HD. To specify the frame to use as the thumbnail image You can display a list of thumbnails of all clips on a disc, and use it to check the recorded content (see page 64). When the unit is shipped from the factory, it is set up to display the first frame of each clip as the thumbnail. As required, you can select another frame to display as the thumbnail. For example, if there are several seconds of color bars recorded at the start of the clip, selecting a frame several seconds after the end of the recording of color bars can make it easier to identify the clip. The GUI screen allows you to select thumbnail frames while viewing the video. For details, see "Changing clip index pictures" (page 67). You can also use setup menu item 143 INDEX PICTURE POSITION to specify a different default frame. You can specify the initial frame in any of the first few seconds after the initial frame. The setting range is 0 seconds to 10 seconds. Playback operation This section describes the following types of playback: Normal playback: Playback at normal speed Playback in jog mode: Variable-speed playback, with the speed determined by the speed of turning the jog dial EJECT ACCESS CH-1 CH-3 PUSH SET(S.SEL) MARK1 IN OUT ALL CH CH-2 CH-4 CHAPTER NET LOCAL REMOTE VARIABLE KEY INHI REC PRE- ON SET OFF PB EXPAND PAGE HOME PHONES LEVEL DISPLAY PREV PLAY NEXT STOP REC THUMBNAIL MENU RESET SHTL/JOG MARK2 VAR/JOG RETURN SHIFT TOP F REV SUB CLIP F FWD END STANDBY REC INHI DISC MENU 1234 5 67 1 PREV button 2 PLAY button 3 NEXT button 4 STOP button 5 Jog dial 6 Shuttle dial 7 V/MARK1 button and v/MARK2 button To start playback Press the PLAY button. Playback starts. When two or more clips are recorded on the disc, they are played back continuously. Note No audio is output when non-audio signals are played back. To jump to the next or previous clip, then start playback Use the PREV button, NEXT button, jog dial, or shuttle dial. To stop playback Press the STOP button. If you play back to the end of the last clip, playback automatically stops. If, in this state, you press the PLAY button, the message "Disc End!" appears on the display. To carry out playback again, move back to the desired clip using the PREV button, jog dial or shuttle dial. 53 Playback
-
 1
1 -
2
-
3
-
4
-
5
-
6
-
7
-
8
-
9
-
10
-
11
-
12
-
13
-
14
-
15
-
16
-
17
-
18
-
19
-
20
-
21
-
22
-
23
-
24
-
25
-
26
-
27
-
28
-
29
-
30
-
31
-
32
-
33
-
34
-
35
-
36
-
37
-
38
-
39
-
40
-
41
-
42
-
43
-
44
-
45
-
46
-
47
-
 48
48 -
 49
49 -
 50
50 -
 51
51 -
 52
52 -
 53
53 -
 54
54 -
 55
55 -
 56
56 -
 57
57 -
 58
58 -
59
-
60
-
61
-
62
-
63
-
64
-
65
-
66
-
67
-
68
-
69
-
70
-
71
-
72
-
73
-
74
-
75
-
76
-
77
-
78
-
79
-
80
-
81
-
82
-
83
-
84
-
85
-
86
-
87
-
88
-
89
-
90
-
91
-
92
-
93
-
94
-
95
-
96
-
97
-
98
-
99
-
100
-
101
-
102
-
103
-
104
-
105
-
106
-
107
-
108
-
109
-
110
-
111
-
112
-
113
-
114
-
115
-
116
-
117
-
118
-
119
-
120
-
121
-
122
-
123
-
124
-
125
-
126
-
127
-
128
-
129
-
130
-
131
-
132
-
133
-
134
-
135
-
136
-
137
-
138
-
139
-
140
-
141
-
142
-
143
-
144
-
145
-
146
-
147
-
148
-
149
-
150
-
151
-
152
-
153
-
154
-
155
-
156
-
157
-
158
 |
 |