Dell 2130 Color Laser User Guide - Page 197
Wireless Setting through Dell Printer Configuration Web Tool - Advanced setup
 |
View all Dell 2130 Color Laser manuals
Add to My Manuals
Save this manual to your list of manuals |
Page 197 highlights
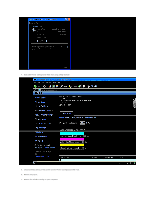
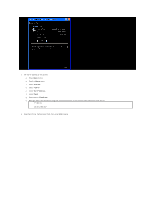
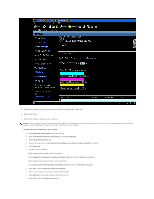
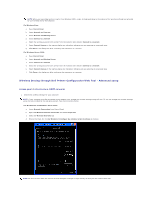
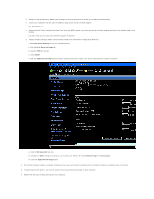
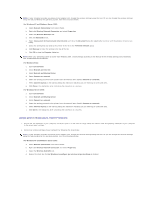
NOTE: When your operating system is earlier than Windows 2000, create settings according to the manual of the wireless settings tool provided by your wireless device manufacturer. For Windows Vista: a. Open Control Panel. b. Select Network and Internet. c. Select Network and Sharing Center. d. Select Connect to a network. e. Select the setting you send to the printer from the network items listed in Connect to a network. f. Select Connect Anyway in the warning dialog box indication indicating you are entering an unsecured area. g. Click Close in the dialog box after confirming the connection is a success. For Windows Server 2008: a. Open Control Panel. b. Select Network and Sharing Center. c. Select Connect to a network. d. Select the setting you send to the printer from the network items listed in Connect to a network. e. Select Connect Anyway in the warning dialog box indication indicating you are entering an unsecured area. f. Click Close in the dialog box after confirming the connection is a success. Wireless Setting through Dell Printer Configuration Web Tool - Advanced setup Access point (Infrastructure, DHCP network) 1. Create new wireless settings for your computer. NOTE: If your computer provides a wireless printer adapter tool, change the wireless settings using this tool. Or you can change the wireless settings using the tool provided by the operating system. See the instructions below. For Windows XP and Windows Server 2003: a. Select Network Connections from Control Panel. b. Right-click Wireless Network Connection and select Properties. c. Select the Wireless Networks tab. d. Ensure the check box for Use Windows to configure my wireless network settings is checked. NOTE: Be sure to write down the current wireless computer settings in steps d and g so that you can restore them later.
-
 1
1 -
2
-
3
-
4
-
5
-
6
-
7
-
8
-
9
-
10
-
11
-
12
-
13
-
14
-
15
-
16
-
17
-
18
-
19
-
20
-
21
-
22
-
23
-
24
-
25
-
26
-
27
-
28
-
29
-
30
-
31
-
32
-
33
-
34
-
35
-
36
-
37
-
38
-
39
-
40
-
41
-
42
-
43
-
44
-
45
-
46
-
47
-
48
-
49
-
50
-
51
-
52
-
53
-
54
-
55
-
56
-
57
-
58
-
59
-
60
-
61
-
62
-
63
-
64
-
65
-
66
-
67
-
68
-
69
-
70
-
71
-
72
-
73
-
74
-
75
-
76
-
77
-
78
-
79
-
80
-
81
-
82
-
83
-
84
-
85
-
86
-
87
-
88
-
89
-
90
-
91
-
92
-
93
-
94
-
95
-
96
-
97
-
98
-
99
-
100
-
101
-
102
-
103
-
104
-
105
-
106
-
107
-
108
-
109
-
110
-
111
-
112
-
113
-
114
-
115
-
116
-
117
-
118
-
119
-
120
-
121
-
122
-
123
-
124
-
125
-
126
-
127
-
128
-
129
-
130
-
131
-
132
-
133
-
134
-
135
-
136
-
137
-
138
-
139
-
140
-
141
-
142
-
143
-
144
-
145
-
146
-
147
-
148
-
149
-
150
-
151
-
152
-
153
-
154
-
155
-
156
-
157
-
158
-
159
-
160
-
161
-
162
-
163
-
164
-
165
-
166
-
167
-
168
-
169
-
170
-
171
-
172
-
173
-
174
-
175
-
176
-
177
-
178
-
179
-
180
-
181
-
182
-
183
-
184
-
185
-
186
-
187
-
188
-
189
-
190
-
191
-
 192
192 -
 193
193 -
 194
194 -
 195
195 -
 196
196 -
 197
197 -
 198
198 -
 199
199 -
 200
200 -
 201
201 -
 202
202 -
203
-
204
 |
 |
