Samsung SCH U340 User Manual (ENGLISH) - Page 102
Using Melody Gallery, Get more Tones
 |
UPC - 635753463200
View all Samsung SCH U340 manuals
Add to My Manuals
Save this manual to your list of manuals |
Page 102 highlights
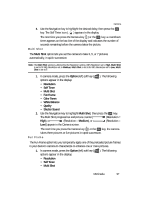
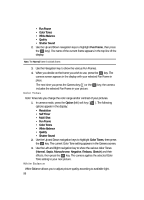
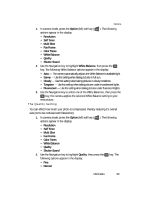
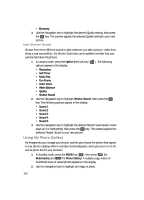
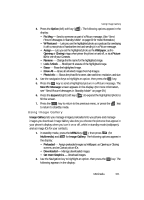
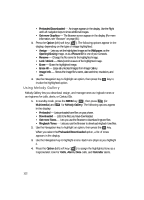
• Preloaded/Downloaded - An image appears in the display. Use the Right and Left navigation keys to show additional images. • Get more Graphics - The Browser screen appears in the display. (For more information, see "Browser" on page 80.) 3. Press the Option (left) soft key ( ). The following options appear in the display, depending on the type of image highlighted: • Assign - Lets you set the highlighted image as the Wallpaper, as the Opening/Closing image, or as a Picture ID for one of your Contacts. • Rename - Change the file name for the highlighted image. • Lock /Unlock - Block/permit erasure of the highlighted image. • Erase - Erase the highlighted image. • Erase All - Erase all unlocked images from Image Gallery. • Image Info - Shows the image file's name, date and time, resolution, and size. 4. Use the Navigation key to highlight an option, then press the OK key to invoke the highlighted option. Using Melody Gallery Melody Gallery lets you download, assign, and manage tones as ringback tones or as ringtones for calls, alerts, or Contact IDs. 1. In standby mode, press the MENU key ( OK ), then press ghi (for Multimedia) and ghi for Melody Gallery. The following options appear in the display: • Preloaded - Lists preloaded tone files on your phone. • Downloaded - Lists tone files you have downloaded. • Get more Tones - Lets you use the Browser to download ringtone files. • Ringback Tones - Lets you use the Browser to download ringback tone files. 2. Use the Navigation key to highlight an option, then press the OK key. When you select the Preloaded/Downloaded option, a list of tones appears in the display. 3. Use the Navigation key to highlight a tone. Each tone plays as you highlight it. 4. Press the Option (left) soft key ( ) to assign the highlighted tone as a ringtone/alert tone for Calls, Alarm, Data calls, and Calendar alerts. 102
-
 1
1 -
2
-
3
-
4
-
5
-
6
-
7
-
8
-
9
-
10
-
11
-
12
-
13
-
14
-
15
-
16
-
17
-
18
-
19
-
20
-
21
-
22
-
23
-
24
-
25
-
26
-
27
-
28
-
29
-
30
-
31
-
32
-
33
-
34
-
35
-
36
-
37
-
38
-
39
-
40
-
41
-
42
-
43
-
44
-
45
-
46
-
47
-
48
-
49
-
50
-
51
-
52
-
53
-
54
-
55
-
56
-
57
-
58
-
59
-
60
-
61
-
62
-
63
-
64
-
65
-
66
-
67
-
68
-
69
-
70
-
71
-
72
-
73
-
74
-
75
-
76
-
77
-
78
-
79
-
80
-
81
-
82
-
83
-
84
-
85
-
86
-
87
-
88
-
89
-
90
-
91
-
92
-
93
-
94
-
95
-
96
-
 97
97 -
 98
98 -
 99
99 -
 100
100 -
 101
101 -
 102
102 -
 103
103 -
 104
104 -
 105
105 -
 106
106 -
 107
107 -
108
-
109
-
110
-
111
-
112
-
113
-
114
-
115
-
116
-
117
-
118
-
119
-
120
-
121
-
122
-
123
-
124
-
125
-
126
-
127
-
128
-
129
-
130
-
131
-
132
-
133
-
134
-
135
-
136
-
137
-
138
-
139
-
140
-
141
-
142
-
143
-
144
-
145
-
146
-
147
-
148
-
149
-
150
-
151
-
152
-
153
-
154
-
155
-
156
-
157
-
158
-
159
-
160
-
161
-
162
-
163
-
164
 |
 |