Samsung SCH U340 User Manual (ENGLISH) - Page 57
Adding a Domain Type (.com, .edu, or .net), Assign a Speed Dial Location to a Contacts Entry
 |
UPC - 635753463200
View all Samsung SCH U340 manuals
Add to My Manuals
Save this manual to your list of manuals |
Page 57 highlights
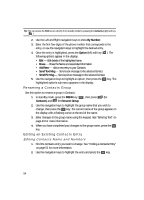
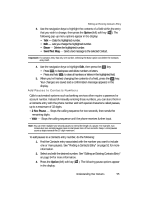
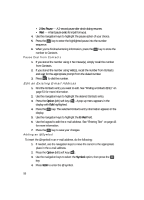
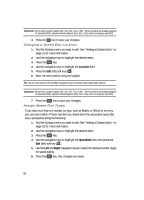
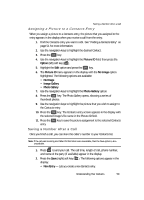
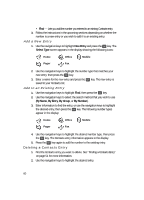
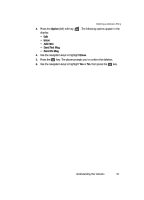
Editing an Existing Contacts Entry 5. Press the OK key to save your changes. Adding a Domain Type (.com, .edu, or .net) 1. If needed, use the navigation keys to move the cursor to the appropriate place in the e-mail address. 2. Press the Option (left) soft key ( ). 3. Use the navigation keys to highlight .com, then use the navigation keys to show the desired domain type (.com, .edu, .net), then press the OK key. 4. Press the OK key to save your changes. Assign a Speed Dial Location to a Contacts Entry A Contacts entry's Location number corresponds to the number keys you press to speed dial that entry. For example: • To speed dial the Contacts entry assigned to Location 005, press and hold the jkl key, (1-touch dialing). • To speed dial the Contacts entry assigned to Location 035, press def then press and hold the jkl key, (2-touch dialing). • To speed dial the Contacts entry assigned to Location 325, press def , press , abc then press and hold the jkl key (3-touch dialing). Location numbers can be assigned automatically or manually during new entry creation or can be changed by editing an existing entry. Automatic Location Assignment To let your phone automatically assign a Location number to a new Contacts entry, do the following: ᮣ Create the new Contacts entry by following either of the procedures provided in "Adding a New Contacts Entry" on page 49. Manual Location Assignment To manually assign a Location number to a new Contacts entry, do the following: 1. Follow either of the New Contacts entry procedures (see "Adding a New Contacts Entry" on page 49) until you enter a name for the entry. 2. After entering the Contacts entry name, do not press the OK key. Instead, use the navigation keys to highlight the Location field. 3. Enter the new location using the keypad. Tip: You can also use the Left and Right navigation keys to browse empty speed dial locations. Understanding Your Contacts 57
-
 1
1 -
2
-
3
-
4
-
5
-
6
-
7
-
8
-
9
-
10
-
11
-
12
-
13
-
14
-
15
-
16
-
17
-
18
-
19
-
20
-
21
-
22
-
23
-
24
-
25
-
26
-
27
-
28
-
29
-
30
-
31
-
32
-
33
-
34
-
35
-
36
-
37
-
38
-
39
-
40
-
41
-
42
-
43
-
44
-
45
-
46
-
47
-
48
-
49
-
50
-
51
-
 52
52 -
 53
53 -
 54
54 -
 55
55 -
 56
56 -
 57
57 -
 58
58 -
 59
59 -
 60
60 -
 61
61 -
 62
62 -
63
-
64
-
65
-
66
-
67
-
68
-
69
-
70
-
71
-
72
-
73
-
74
-
75
-
76
-
77
-
78
-
79
-
80
-
81
-
82
-
83
-
84
-
85
-
86
-
87
-
88
-
89
-
90
-
91
-
92
-
93
-
94
-
95
-
96
-
97
-
98
-
99
-
100
-
101
-
102
-
103
-
104
-
105
-
106
-
107
-
108
-
109
-
110
-
111
-
112
-
113
-
114
-
115
-
116
-
117
-
118
-
119
-
120
-
121
-
122
-
123
-
124
-
125
-
126
-
127
-
128
-
129
-
130
-
131
-
132
-
133
-
134
-
135
-
136
-
137
-
138
-
139
-
140
-
141
-
142
-
143
-
144
-
145
-
146
-
147
-
148
-
149
-
150
-
151
-
152
-
153
-
154
-
155
-
156
-
157
-
158
-
159
-
160
-
161
-
162
-
163
-
164
 |
 |