D-Link DSN-540 Software User's Guide for DSN-1100-10 - Page 34
Logging in from the Home
 |
UPC - 790069324017
View all D-Link DSN-540 manuals
Add to My Manuals
Save this manual to your list of manuals |
Page 34 highlights
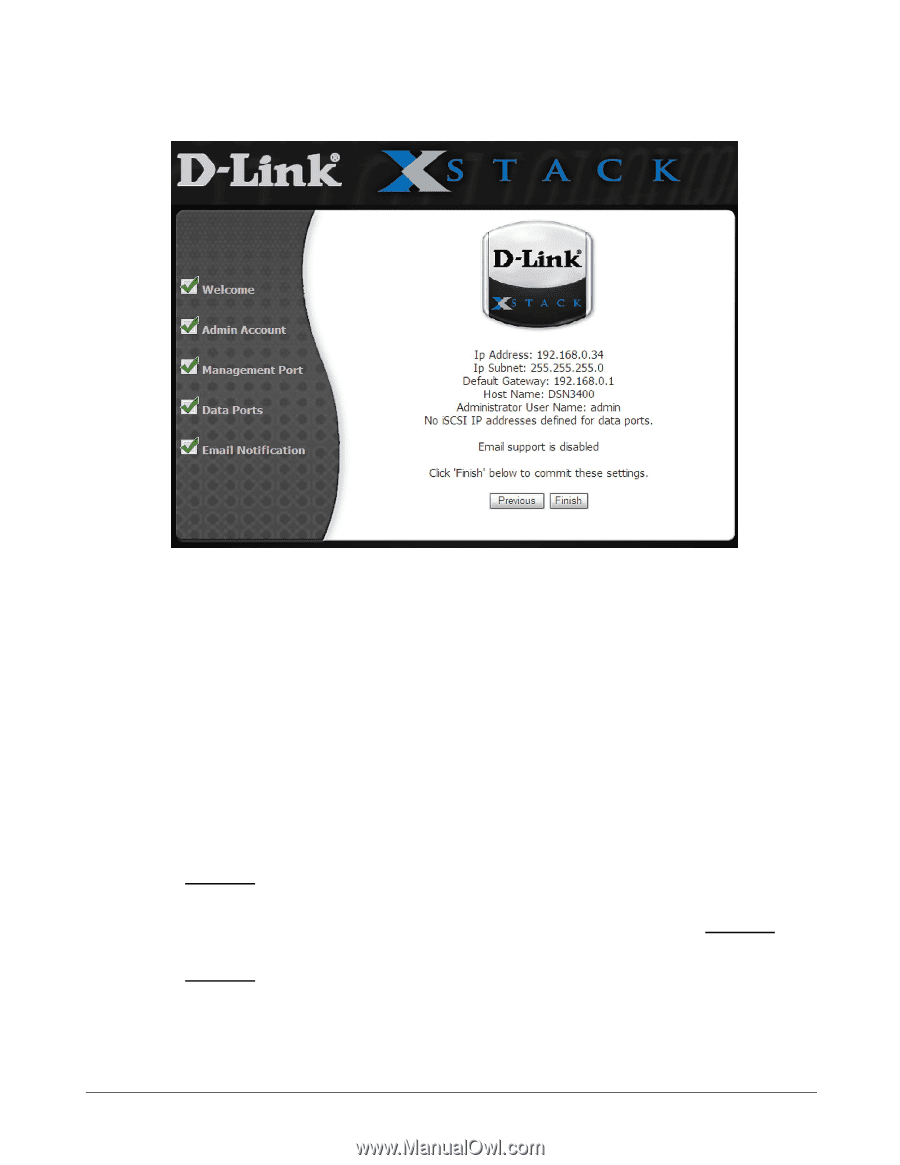
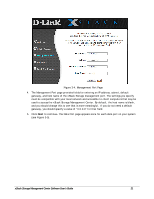
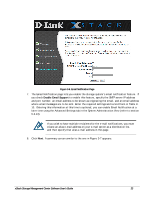
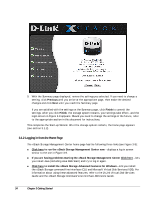
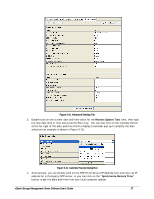
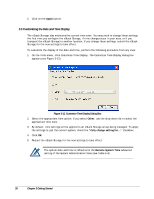
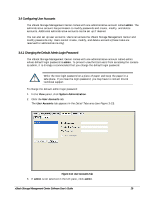
Figure 3-7. Summary Screen 9. With the Summary page displayed, review the settings you selected. If you need to change a setting, click Previous until you arrive at the appropriate page, then make the desired changes and click Next until you reach the Summary page. If you are satisfied with the settings on the Summary page, click Finish to commit the settings. After you click Finish, the storage system restarts, your settings take effect, and the login screen in Figure 3-8 appears. Should you need to change the settings in the future, refer to the appropriate section in this document for instructions. This completes the Start-up Wizard. After the storage system restarts, the home page appears (see section 3.1.2). 3.1.2 Logging in from the Home Page The xStack Storage Management Center home page has the following three links (see Figure 3-8): Click here to run the xStack Storage Management Center now - displays a log in screen similar to the one in Figure 3-9. If you are having problems starting the xStack Storage Management Center Click here - lets you install Java (including Java Web Start) and try to log in again. Click here to install the xStack Storage Advanced Features for Windows - lets you install the xStack Storage command-line interface (CLI) and Microsoft Virtual Disk Services (VDS). For information about using these advanced features, refer to the D-Link Virtual Disk Services Guide and the xStack Storage Command Line Interface Reference Guide. 24 Chapter 3 Getting Started
-
 1
1 -
2
-
3
-
4
-
5
-
6
-
7
-
8
-
9
-
10
-
11
-
12
-
13
-
14
-
15
-
16
-
17
-
18
-
19
-
20
-
21
-
22
-
23
-
24
-
25
-
26
-
27
-
28
-
 29
29 -
 30
30 -
 31
31 -
 32
32 -
 33
33 -
 34
34 -
 35
35 -
 36
36 -
 37
37 -
 38
38 -
 39
39 -
40
-
41
-
42
-
43
-
44
-
45
-
46
-
47
-
48
-
49
-
50
-
51
-
52
-
53
-
54
-
55
-
56
-
57
-
58
-
59
-
60
-
61
-
62
-
63
-
64
-
65
-
66
-
67
-
68
-
69
-
70
-
71
-
72
-
73
-
74
-
75
-
76
-
77
-
78
-
79
-
80
-
81
-
82
-
83
-
84
-
85
-
86
-
87
-
88
-
89
-
90
-
91
-
92
-
93
-
94
-
95
-
96
-
97
-
98
-
99
-
100
-
101
-
102
-
103
-
104
-
105
-
106
-
107
-
108
-
109
-
110
-
111
-
112
-
113
-
114
-
115
-
116
-
117
-
118
-
119
-
120
-
121
-
122
-
123
-
124
-
125
-
126
-
127
-
128
-
129
-
130
-
131
-
132
-
133
-
134
-
135
-
136
-
137
-
138
-
139
-
140
-
141
-
142
-
143
-
144
-
145
-
146
-
147
-
148
-
149
-
150
-
151
-
152
-
153
-
154
-
155
-
156
-
157
-
158
 |
 |