HP xw3400 HP xw3400 Workstation - Service and Technical Reference Guide - Page 88
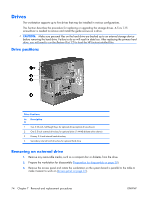
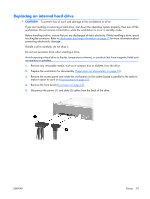
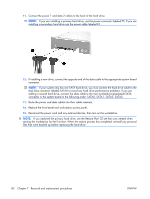
Refer to the illustration below to connect diskette drive cables., Install the access panel
 |
View all HP xw3400 manuals
Add to My Manuals
Save this manual to your list of manuals |
Page 88 highlights
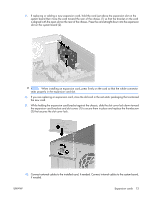
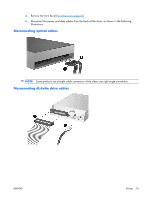
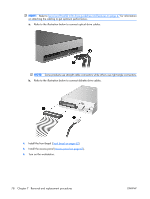
NOTE: Refer to Serial and Parallel ATA drive guidelines and features on page 47 for information on attaching the cabling to get optimum performance. a. Refer to the illustration below to connect optical drive cables. NOTE: Some products use straight cable connectors while others use right angle connectors. b. Refer to the illustration below to connect diskette drive cables. 4. Install the front bezel (Front bezel on page 62). 5. Install the access panel (Access panel on page 61). 6. Turn on the workstation. 78 Chapter 7 Removal and replacement procedures ENWW
-
 1
1 -
2
-
3
-
4
-
5
-
6
-
7
-
8
-
9
-
10
-
11
-
12
-
13
-
14
-
15
-
16
-
17
-
18
-
19
-
20
-
21
-
22
-
23
-
24
-
25
-
26
-
27
-
28
-
29
-
30
-
31
-
32
-
33
-
34
-
35
-
36
-
37
-
38
-
39
-
40
-
41
-
42
-
43
-
44
-
45
-
46
-
47
-
48
-
49
-
50
-
51
-
52
-
53
-
54
-
55
-
56
-
57
-
58
-
59
-
60
-
61
-
62
-
63
-
64
-
65
-
66
-
67
-
68
-
69
-
70
-
71
-
72
-
73
-
74
-
75
-
76
-
77
-
78
-
79
-
80
-
81
-
82
-
 83
83 -
 84
84 -
 85
85 -
 86
86 -
 87
87 -
 88
88 -
 89
89 -
 90
90 -
 91
91 -
 92
92 -
 93
93 -
94
-
95
-
96
-
97
-
98
-
99
-
100
-
101
-
102
-
103
-
104
-
105
-
106
-
107
-
108
-
109
-
110
-
111
-
112
-
113
-
114
-
115
-
116
-
117
-
118
-
119
-
120
-
121
-
122
-
123
-
124
-
125
-
126
-
127
-
128
-
129
-
130
-
131
-
132
-
133
-
134
-
135
-
136
-
137
-
138
-
139
-
140
-
141
-
142
-
143
-
144
-
145
-
146
-
147
-
148
-
149
-
150
-
151
-
152
-
153
-
154
-
155
-
156
-
157
-
158
-
159
-
160
-
161
-
162
-
163
-
164
-
165
-
166
-
167
-
168
-
169
-
170
-
171
-
172
-
173
-
174
-
175
-
176
-
177
-
178
-
179
-
180
-
181
-
182
 |
 |
NOTE:
Refer to
Serial and Parallel ATA drive guidelines and features
on page
47
for information
on attaching the cabling to get optimum performance.
a
.
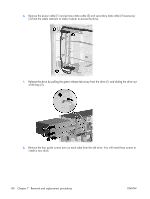
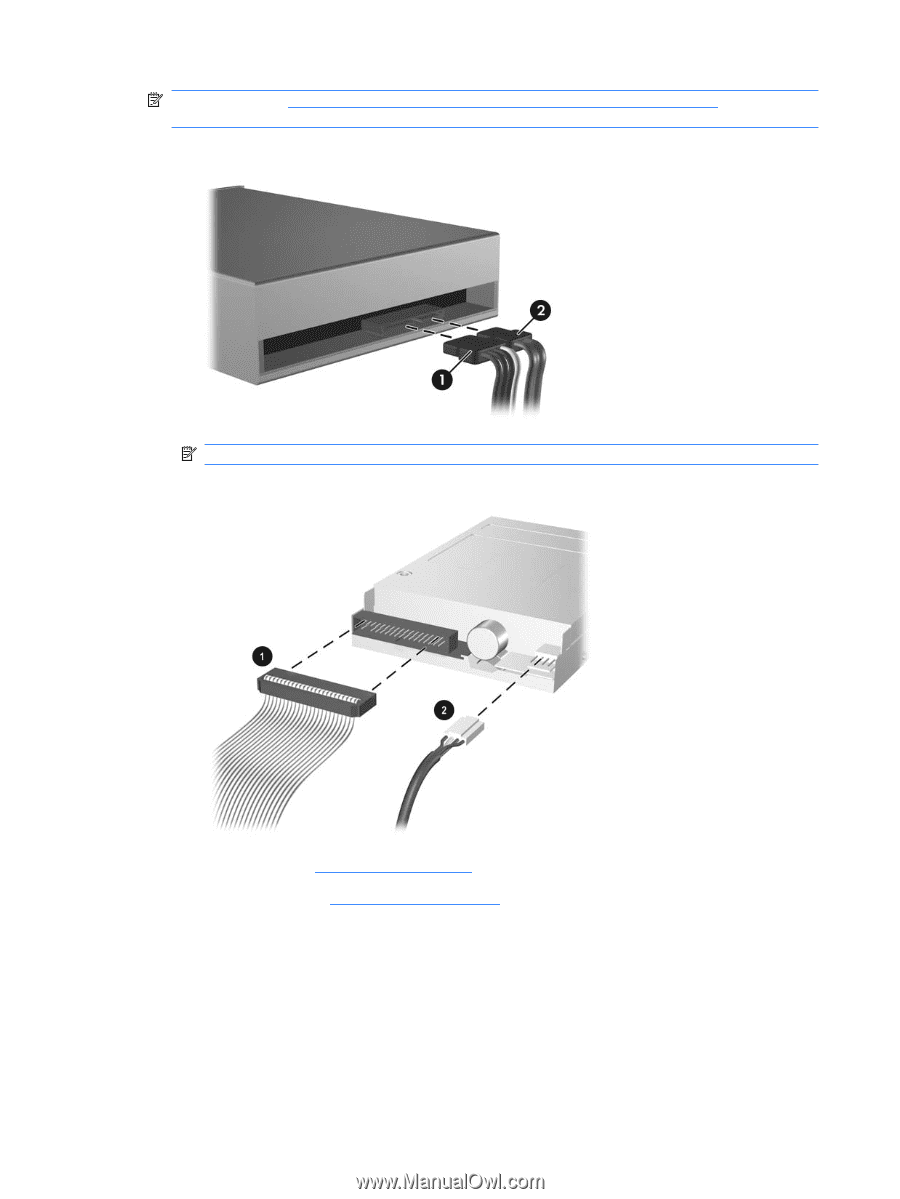
Refer to the illustration below to connect optical drive cables.
NOTE:
Some products use straight cable connectors while others use right angle connectors.
b
.
Refer to the illustration below to connect diskette drive cables.
4
.
Install the front bezel (
Front bezel
on page
62
).
5
.
Install the access panel (
Access panel
on page
61
).
6
.
Turn on the workstation.
78
Chapter
7
Removal and replacement procedures
ENWW