Intel SR2400SYSD2 User Guide - Page 43
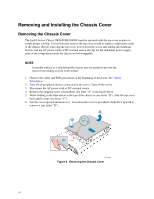
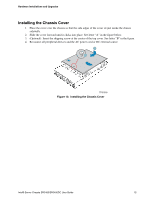
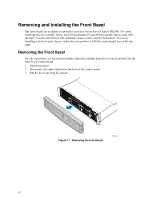
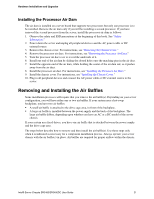
Installing the Processor Air Duct, Safety, Information., Removing the Chassis Cover.
 |
UPC - 735858169172
View all Intel SR2400SYSD2 manuals
Add to My Manuals
Save this manual to your list of manuals |
Page 43 highlights
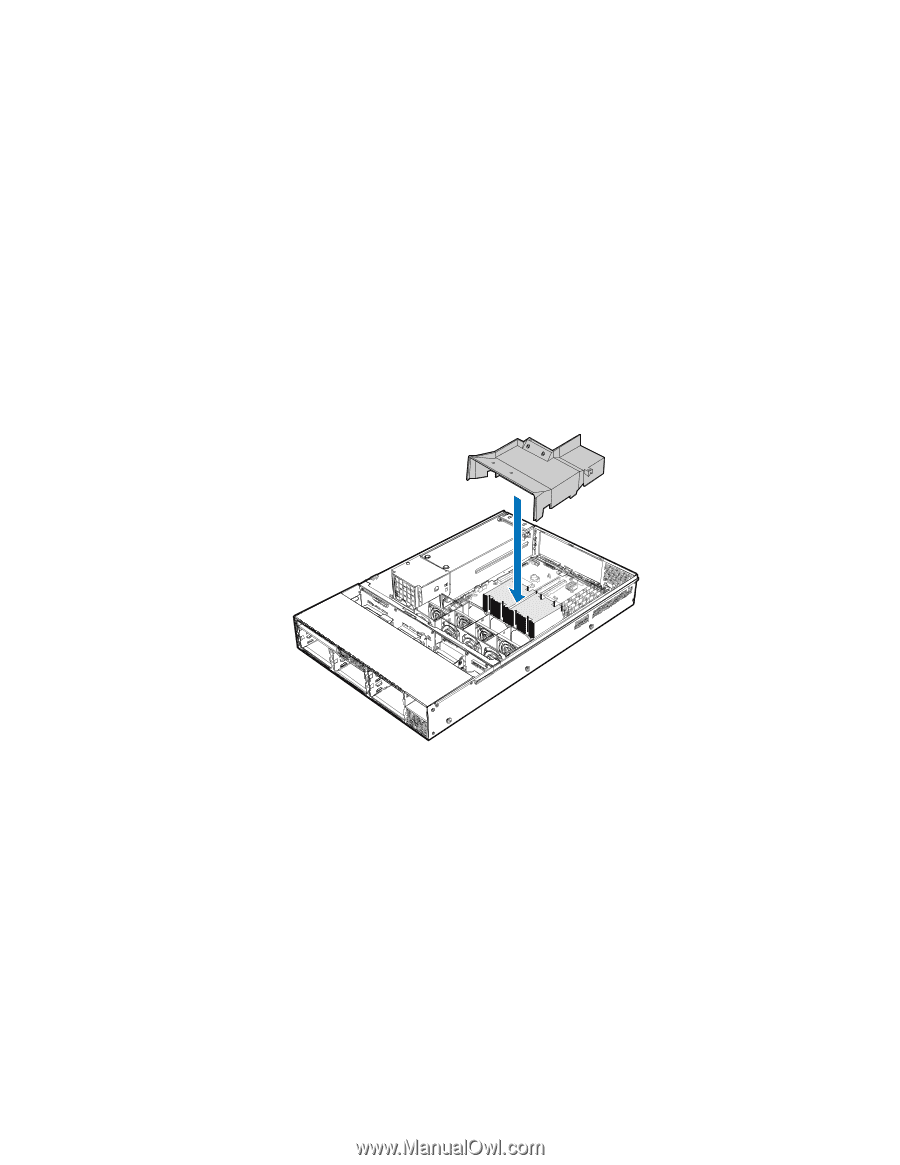
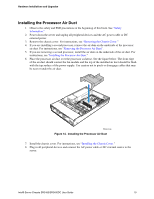
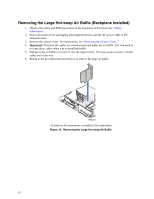
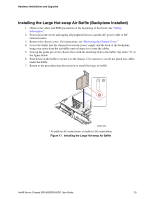
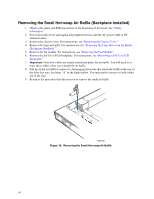
Hardware Installations and Upgrades Installing the Processor Air Duct 1. Observe the safety and ESD precautions at the beginning of this book. See "Safety Information." 2. Power down the server and unplug all peripheral devices and the AC power cable or DC external power. 3. Remove the chassis cover. For instructions, see "Removing the Chassis Cover." 4. If you are installing a second processor, remove the air dam on the underside of the processor air duct. For instructions, see "Removing the Processor Air Dam". 5. If you are removing a second processor, install the air dam on the underside of the air duct. For instructions, see "Installing the Processor Air Dam." 6. Place the processor air duct over the processor socket(s). See the figure below. The front edge of the air duct should contact the fan module and the top of the installed air duct should be flush with the top surface of the power supply. Use caution not to pinch or disengage cables that may be near or under the air duct. TP01116 Figure 14. Installing the Processor Air Duct 7. Install the chassis cover. For instructions, see "Installing the Chassis Cover." 8. Plug in all peripheral devices and connect the AC power cable or DC external source to the server. Intel® Server Chassis SR2400/SR2400DC User Guide 19
-
 1
1 -
2
-
3
-
4
-
5
-
6
-
7
-
8
-
9
-
10
-
11
-
12
-
13
-
14
-
15
-
16
-
17
-
18
-
19
-
20
-
21
-
22
-
23
-
24
-
25
-
26
-
27
-
28
-
29
-
30
-
31
-
32
-
33
-
34
-
35
-
36
-
37
-
 38
38 -
 39
39 -
 40
40 -
 41
41 -
 42
42 -
 43
43 -
 44
44 -
 45
45 -
 46
46 -
 47
47 -
 48
48 -
49
-
50
-
51
-
52
-
53
-
54
-
55
-
56
-
57
-
58
-
59
-
60
-
61
-
62
-
63
-
64
-
65
-
66
-
67
-
68
-
69
-
70
-
71
-
72
-
73
-
74
-
75
-
76
-
77
-
78
-
79
-
80
-
81
-
82
-
83
-
84
-
85
-
86
-
87
-
88
-
89
-
90
-
91
-
92
-
93
-
94
-
95
-
96
-
97
-
98
-
99
-
100
-
101
-
102
-
103
-
104
-
105
-
106
-
107
-
108
-
109
-
110
-
111
-
112
-
113
-
114
-
115
-
116
-
117
-
118
-
119
-
120
-
121
-
122
-
123
-
124
-
125
-
126
-
127
-
128
-
129
-
130
-
131
-
132
-
133
-
134
-
135
-
136
-
137
-
138
-
139
 |
 |