Toshiba ESTUDIO355 Troubleshooting Guide - Page 41
Clearing paper jams caused by a wrong paper size setting
 |
View all Toshiba ESTUDIO355 manuals
Add to My Manuals
Save this manual to your list of manuals |
Page 41 highlights
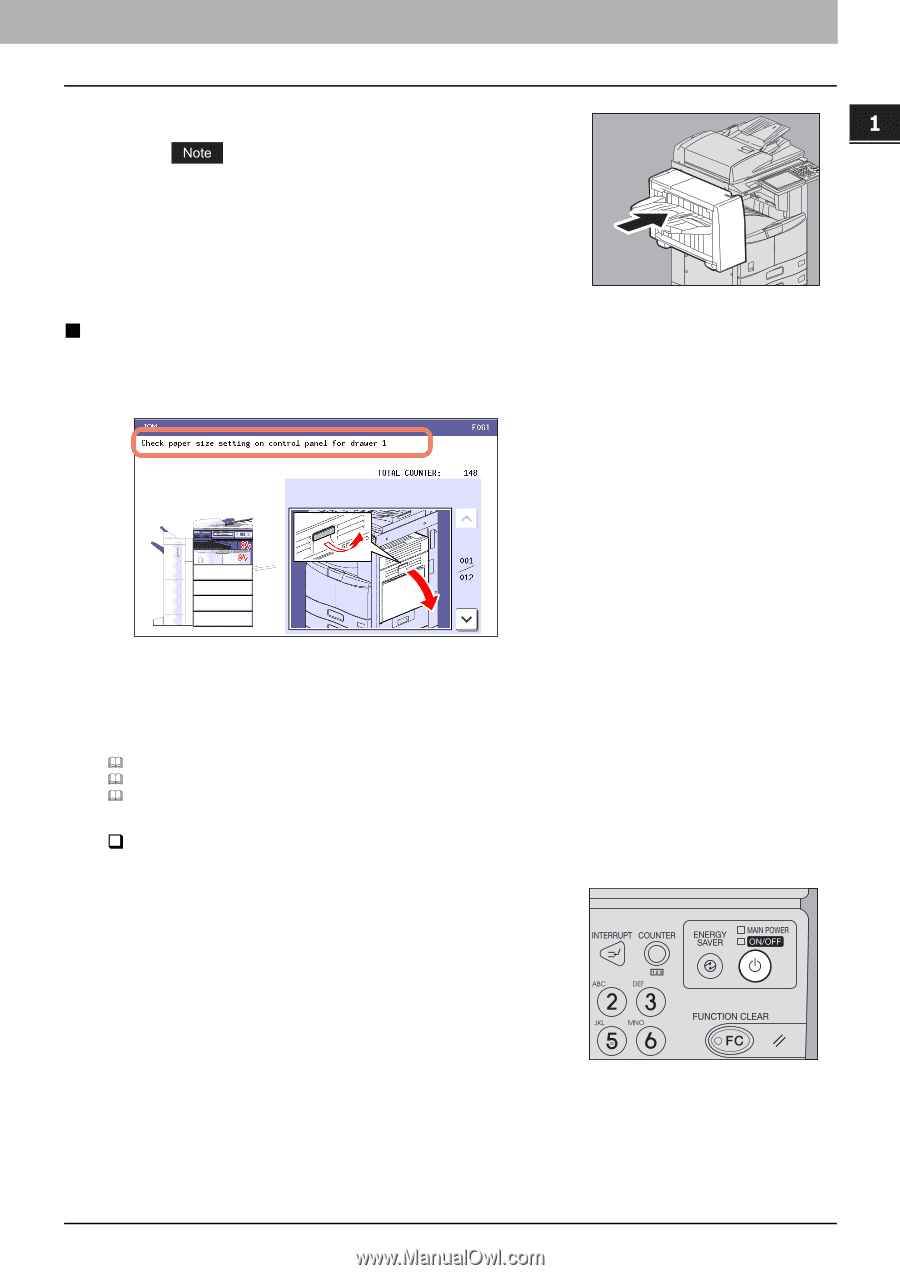
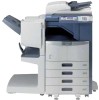
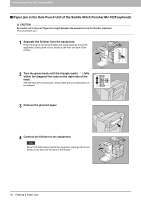
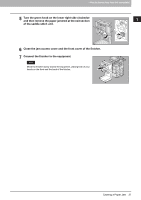
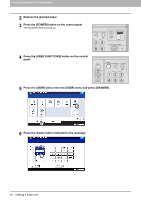
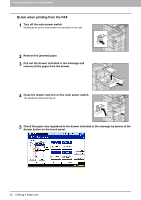
1.TROUBLESHOOTING FOR THE HARDWARE 1 TROUBLESHOOTING FOR THE HARDWARE 6 Connect the finisher to the equipment. Move the finisher slowly toward the equipment, placing both of your hands on the front and the back of the finisher. „ Clearing paper jams caused by a wrong paper size setting Paper jams occur when there is a mismatch between the size of the paper in a drawer or the bypass tray and the size registered for the corresponding drawer or the bypass tray in the equipment. The message "Check paper size setting on control panel for drawer N" or "Check paper size setting on control panel for Bypass" appears on the touch panel. In this case, just clearing the jammed paper does not prevent another paper jam. Be sure to follow the procedure below. During the operation, the guidance for clearing the paper jam on the touch panel is not displayed. Take notes of the following before operation: where the paper jam occurred and for which drawer the paper size setting is incorrectly registered. Troubleshooting differs depending on how the paper jam has occurred: P.39 "Jam when making copies or prints (using a drawer)" P.41 "Jam when making copies or prints (using the bypass tray)" P.42 "Jam when printing from the FAX" ‰ Jam when making copies or prints (using a drawer) 1 Press the [POWER] button on the control panel until a sound is heard. "Shutdown in progress" appears on the menu. After a while, the power of the equipment is turned OFF. Clearing a Paper Jam 39
-
 1
1 -
2
-
3
-
4
-
5
-
6
-
7
-
8
-
9
-
10
-
11
-
12
-
13
-
14
-
15
-
16
-
17
-
18
-
19
-
20
-
21
-
22
-
23
-
24
-
25
-
26
-
27
-
28
-
29
-
30
-
31
-
32
-
33
-
34
-
35
-
 36
36 -
 37
37 -
 38
38 -
 39
39 -
 40
40 -
 41
41 -
 42
42 -
 43
43 -
 44
44 -
 45
45 -
 46
46 -
47
-
48
-
49
-
50
-
51
-
52
-
53
-
54
-
55
-
56
-
57
-
58
-
59
-
60
-
61
-
62
-
63
-
64
-
65
-
66
-
67
-
68
-
69
-
70
-
71
-
72
-
73
-
74
-
75
-
76
-
77
-
78
-
79
-
80
-
81
-
82
-
83
-
84
-
85
-
86
-
87
-
88
-
89
-
90
-
91
-
92
-
93
-
94
-
95
-
96
-
97
-
98
-
99
-
100
-
101
-
102
-
103
-
104
-
105
-
106
-
107
-
108
-
109
-
110
-
111
-
112
-
113
-
114
-
115
-
116
-
117
-
118
-
119
-
120
-
121
-
122
-
123
-
124
-
125
-
126
-
127
-
128
-
129
-
130
-
131
-
132
 |
 |