Toshiba Tecra S1 User Guide - Page 82
Inserting and removing PC Cards, Inserting a PC Card - hard drive replacement
 |
View all Toshiba Tecra S1 manuals
Add to My Manuals
Save this manual to your list of manuals |
Page 82 highlights
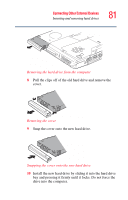
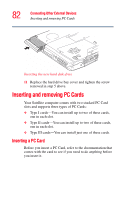
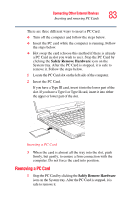
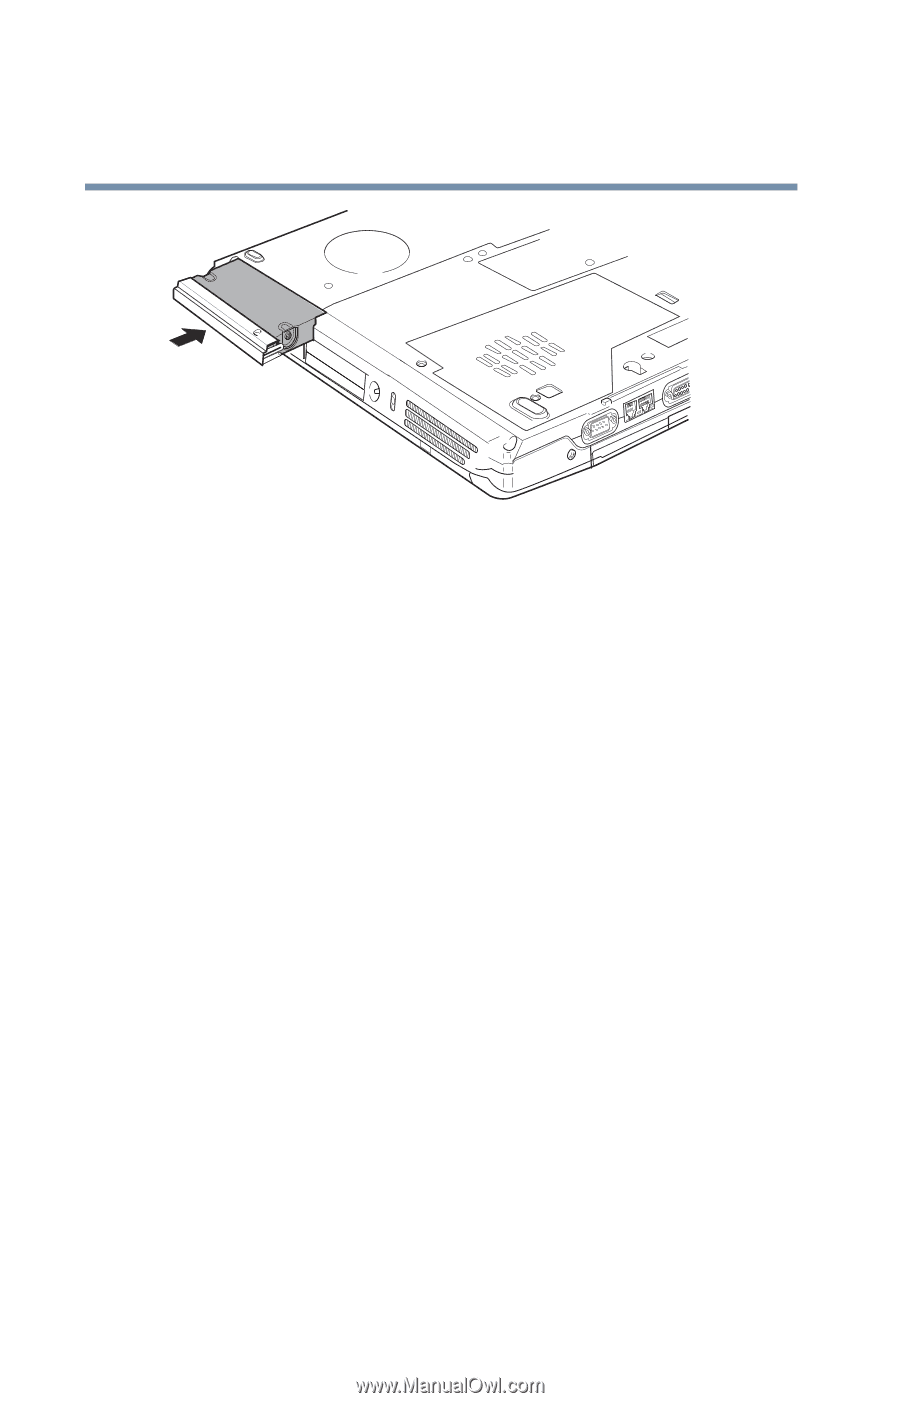
82 Connecting Other External Devices Inserting and removing PC Cards Inserting the new hard disk drive 11 Replace the hard drive bay cover and tighten the screw removed in step 5 above. Inserting and removing PC Cards Your Satellite computer comes with two stacked PC Card slots and supports three types of PC Cards: ❖ Type I cards-You can install up to two of these cards, one in each slot. ❖ Type II cards-You can install up to two of these cards, one in each slot. ❖ Type III cards-You can install just one of these cards. Inserting a PC Card Before you insert a PC Card, refer to the documentation that comes with the card to see if you need to do anything before you insert it.
-
 1
1 -
2
-
3
-
4
-
5
-
6
-
7
-
8
-
9
-
10
-
11
-
12
-
13
-
14
-
15
-
16
-
17
-
18
-
19
-
20
-
21
-
22
-
23
-
24
-
25
-
26
-
27
-
28
-
29
-
30
-
31
-
32
-
33
-
34
-
35
-
36
-
37
-
38
-
39
-
40
-
41
-
42
-
43
-
44
-
45
-
46
-
47
-
48
-
49
-
50
-
51
-
52
-
53
-
54
-
55
-
56
-
57
-
58
-
59
-
60
-
61
-
62
-
63
-
64
-
65
-
66
-
67
-
68
-
69
-
70
-
71
-
72
-
73
-
74
-
75
-
76
-
 77
77 -
 78
78 -
 79
79 -
 80
80 -
 81
81 -
 82
82 -
 83
83 -
 84
84 -
 85
85 -
 86
86 -
 87
87 -
88
-
89
-
90
-
91
-
92
-
93
-
94
-
95
-
96
-
97
-
98
-
99
-
100
-
101
-
102
-
103
-
104
-
105
-
106
-
107
-
108
-
109
-
110
-
111
-
112
-
113
-
114
-
115
-
116
-
117
-
118
-
119
-
120
-
121
-
122
-
123
-
124
-
125
-
126
-
127
-
128
-
129
-
130
-
131
-
132
-
133
-
134
-
135
-
136
-
137
-
138
-
139
-
140
-
141
-
142
-
143
-
144
-
145
-
146
-
147
-
148
-
149
-
150
-
151
-
152
-
153
-
154
-
155
-
156
-
157
-
158
-
159
-
160
-
161
-
162
-
163
-
164
-
165
-
166
-
167
-
168
-
169
-
170
-
171
-
172
-
173
-
174
-
175
-
176
-
177
-
178
-
179
-
180
-
181
-
182
-
183
-
184
-
185
-
186
-
187
-
188
-
189
-
190
-
191
-
192
-
193
-
194
-
195
-
196
-
197
-
198
-
199
-
200
-
201
-
202
-
203
-
204
-
205
-
206
-
207
-
208
-
209
-
210
-
211
-
212
-
213
-
214
-
215
-
216
-
217
-
218
-
219
-
220
-
221
-
222
-
223
-
224
-
225
-
226
-
227
-
228
-
229
-
230
-
231
-
232
-
233
-
234
-
235
-
236
-
237
-
238
-
239
-
240
-
241
-
242
-
243
-
244
-
245
-
246
-
247
-
248
-
249
-
250
-
251
-
252
-
253
-
254
-
255
-
256
-
257
-
258
-
259
-
260
-
261
-
262
-
263
-
264
-
265
-
266
-
267
-
268
-
269
-
270
-
271
-
272
-
273
-
274
-
275
-
276
-
277
-
278
-
279
-
280
 |
 |
82
Connecting Other External Devices
Inserting and removing PC Cards
Inserting the new hard disk drive
11
Replace the hard drive bay cover and tighten the screw
removed in step 5 above.
Inserting and removing PC Cards
Your Satellite computer comes with two stacked PC Card
slots and supports three types of PC Cards:
❖
Type I cards—You can install up to two of these cards,
one in each slot.
❖
Type II cards—You can install up to two of these cards,
one in each slot.
❖
Type III cards—You can install just one of these cards.
Inserting a PC Card
Before you insert a PC Card, refer to the documentation that
comes with the card to see if you need to do anything before
you insert it.