Yamaha CVP-201 Owner's Manual - Page 11
Turning the Power On and Off, Headphones, Other Connections, Connect the power cord. - midi
 |
View all Yamaha CVP-201 manuals
Add to My Manuals
Save this manual to your list of manuals |
Page 11 highlights
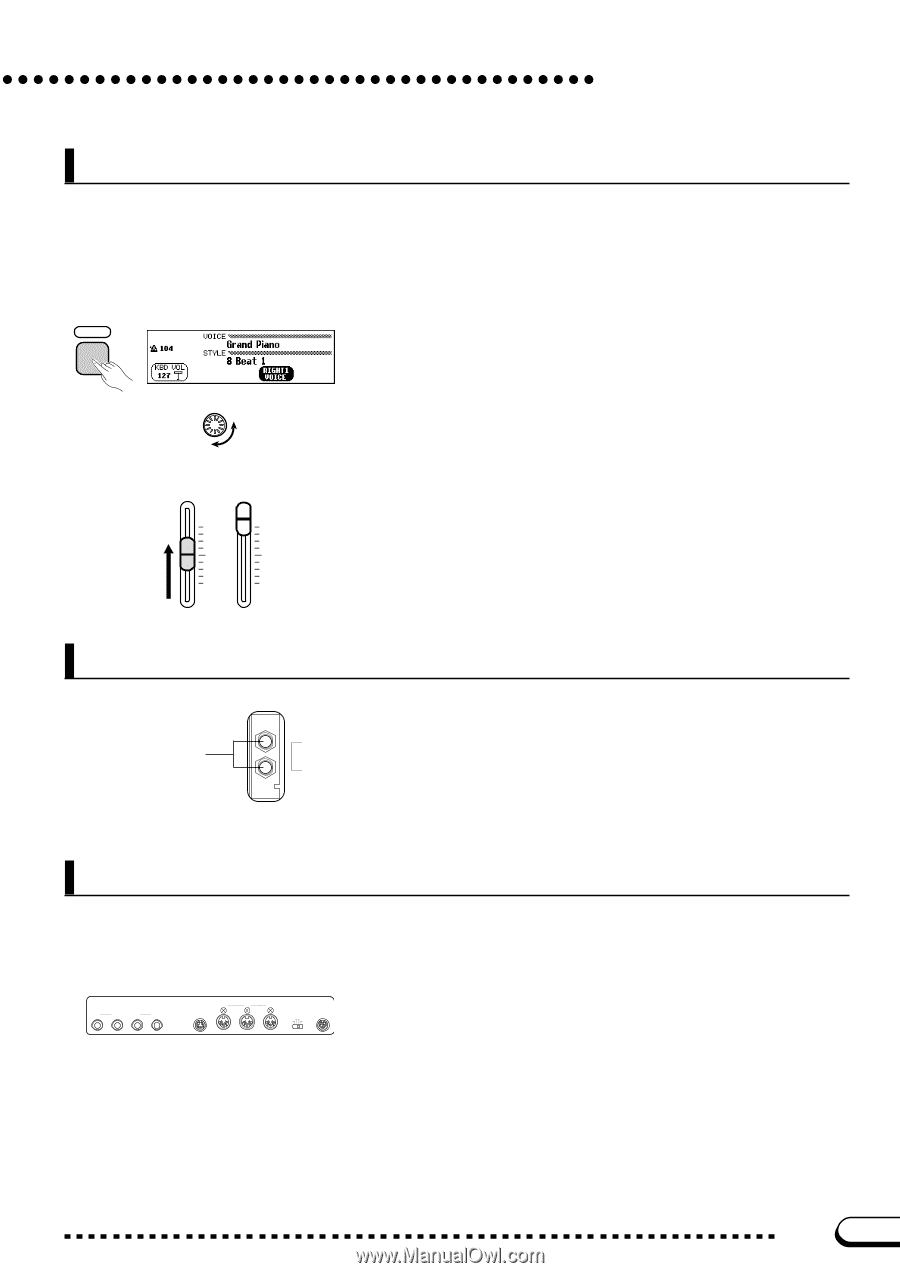
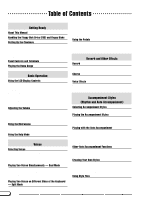
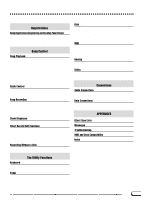
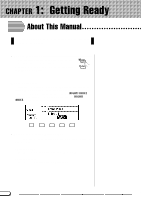
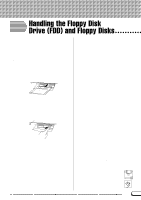
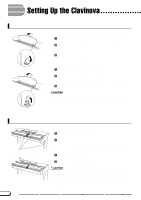
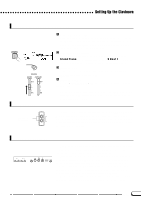
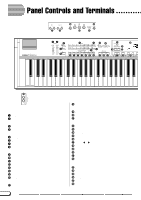
Setting Up the Clavinova Turning the Power On and Off POWER CONTRAST VOLUME MASTER VOLUME ACMP/SONG VOLUME MAX MAX MIN MIN Headphones Z Connect the power cord. Insert the plugs at the ends of the cord, one into the AC INLET on the bottom panel of the Clavinova, and the other into a standard AC outlet. In some areas, a plug adapter may be provided to match the pin configuration of the AC wall outlets in your area. X Press the [POWER] switch. The main display appears in the LCD display. (Initially, the voice Grand Piano and the accompaniment style 8 Beat 1 are selected.) The power lamp below the lower left end of the keyboard also lights. C Adjust the LCD. If the LCD is difficult to read, adjust the contrast with the [CONTRAST] knob at the left of the LCD. V Adjust the volume. Use the [MASTER VOLUME] slider to adjust the volume to an ap- propriate level. q When you're ready to turn off the power, press the [POWER] switch again. Both the LCD display and the power lamp below the left end of the keyboard will turn off. Standard stereo phone jacks Connect a set of stereo headphones (optional) to the [PHONES] jack. When headphones are connected, the internal speaker system is automatically shut off. Since the Clavinova has two PHONES jacks, two sets of headphones can be used simultaneously, allowing two people to enjoy listening to the performance. Other Connections AUX IN R L /L+R AUX OUT R L /L+R IN PEDAL MIDI OUT THRU HOST SELECT PC-2 PC-1 MIDI Mac TO HOST Your Clavinova is equipped with a variety of jacks and terminals that let you connect it to other audio and MIDI equipment. These connectors are located at the left end of the unit on the rear panel. You can connect other instruments that you want to play through the Clavinova's speakers to the AUX IN jacks, or output the Clavinova's sound to external speakers using the AUX OUT jacks. Use the MIDI terminals if you want the Clavinova to control - or be controlled by - another MIDI instrument. There's even a TO HOST terminal that lets you connect the Clavinova directly to a personal computer. Be sure to turn the power off when connecting or disconnecting other equipment. See the instructions in Chapter 9 of this manual for details. 9 PHONES CVP-201 11
-
 1
1 -
2
-
3
-
4
-
5
-
 6
6 -
 7
7 -
 8
8 -
 9
9 -
 10
10 -
 11
11 -
 12
12 -
 13
13 -
 14
14 -
 15
15 -
 16
16 -
17
-
18
-
19
-
20
-
21
-
22
-
23
-
24
-
25
-
26
-
27
-
28
-
29
-
30
-
31
-
32
-
33
-
34
-
35
-
36
-
37
-
38
-
39
-
40
-
41
-
42
-
43
-
44
-
45
-
46
-
47
-
48
-
49
-
50
-
51
-
52
-
53
-
54
-
55
-
56
-
57
-
58
-
59
-
60
-
61
-
62
-
63
-
64
-
65
-
66
-
67
-
68
-
69
-
70
-
71
-
72
-
73
-
74
-
75
-
76
-
77
-
78
-
79
-
80
-
81
-
82
-
83
-
84
-
85
-
86
-
87
-
88
-
89
-
90
-
91
-
92
-
93
-
94
-
95
-
96
-
97
-
98
-
99
-
100
-
101
-
102
-
103
-
104
-
105
-
106
-
107
-
108
-
109
-
110
-
111
-
112
-
113
-
114
-
115
-
116
-
117
-
118
-
119
-
120
-
121
-
122
-
123
-
124
-
125
-
126
-
127
-
128
-
129
-
130
-
131
-
132
-
133
-
134
-
135
-
136
-
137
-
138
-
139
-
140
-
141
-
142
-
143
-
144
-
145
-
146
-
147
-
148
-
149
-
150
-
151
-
152
-
153
-
154
-
155
-
156
-
157
-
158
-
159
-
160
-
161
-
162
-
163
-
164
-
165
-
166
-
167
-
168
-
169
-
170
-
171
-
172
-
173
-
174
-
175
-
176
-
177
-
178
 |
 |