Yamaha CVP-201 Owner's Manual - Page 112
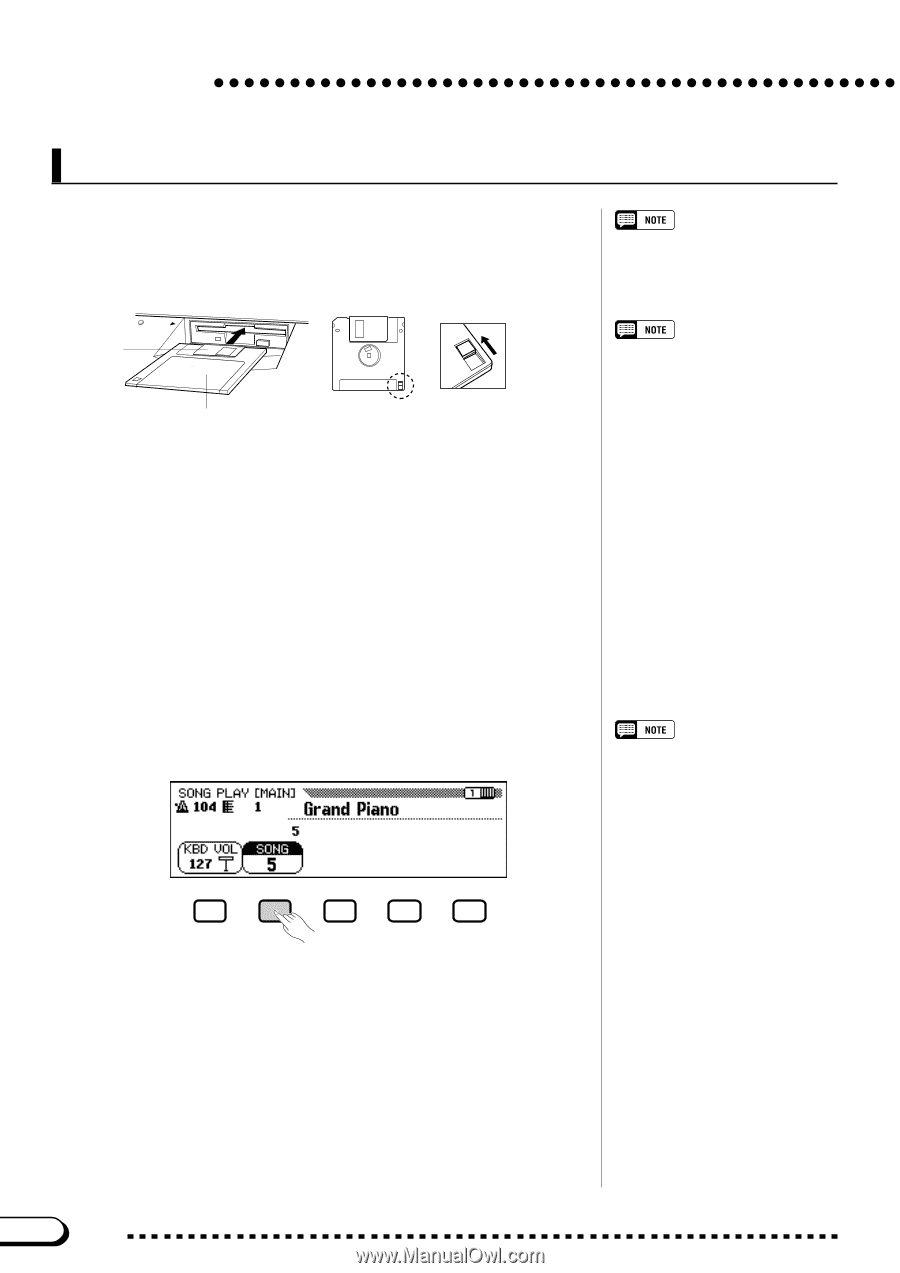
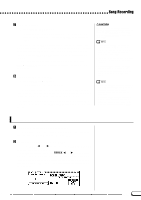
Quick Recording, Insert a formatted disk., Select the song number to be recorded.
 |
View all Yamaha CVP-201 manuals
Add to My Manuals
Save this manual to your list of manuals |
Page 112 highlights
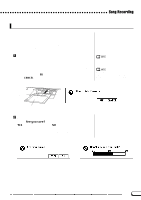
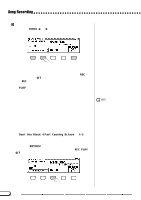
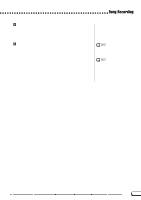
Song Recording Quick Recording Z Insert a formatted disk Make sure that the disk's write protect tab is set to the "write" position, then insert the disk face up with the shutter forward until it clicks into place. Shutter DISK IN USE Label side of disk Write protect tab closed (unlocked - write enabled) ➔ The DISK IN USE lamp stays lit until the Clavinova reads and recognizes the disk. ➾ If the Song Play mode is not automatically called up, press the [SONG] button. ➔ The lamp lights and the SONG PLAY [MAIN] display appears. If the SONG PLAY [MAIN] display is not shown, use the PAGE [] buttons to select display page 1. The Song Play mode is not automatically engaged if the disk is inserted when one of the disk-related FUNCTION displays (page 139) or the CUSTOM STYLE display (page 74) is showing. Using Style File Disks When using Style File disks, first load the desired data from the Style File disk (page 86), then insert the recording disk. X Select the song number to be recorded Select the SONG function, then use the SONG button, the data dial, or the [-] and [+] buttons to select the desired song number for recording. ➾ Select a song number between 1 and 60. If you select a song number between 61 and 99, you will not be able to select the Song Record mode in step 3. The Clavinova can play back up to 99 songs on a single disk, but it can only record songs in song numbers up to 60. The selected number is the location where the song will be recorded. If a song name appears beside the song number, the selected song already contains data. Make sure that it doesn't contain data you want to keep before moving on to the next step! If you record to a song that contains data, the existing data will be replaced by the new data. 112 CVP-201 110
-
 1
1 -
2
-
3
-
4
-
5
-
6
-
7
-
8
-
9
-
10
-
11
-
12
-
13
-
14
-
15
-
16
-
17
-
18
-
19
-
20
-
21
-
22
-
23
-
24
-
25
-
26
-
27
-
28
-
29
-
30
-
31
-
32
-
33
-
34
-
35
-
36
-
37
-
38
-
39
-
40
-
41
-
42
-
43
-
44
-
45
-
46
-
47
-
48
-
49
-
50
-
51
-
52
-
53
-
54
-
55
-
56
-
57
-
58
-
59
-
60
-
61
-
62
-
63
-
64
-
65
-
66
-
67
-
68
-
69
-
70
-
71
-
72
-
73
-
74
-
75
-
76
-
77
-
78
-
79
-
80
-
81
-
82
-
83
-
84
-
85
-
86
-
87
-
88
-
89
-
90
-
91
-
92
-
93
-
94
-
95
-
96
-
97
-
98
-
99
-
100
-
101
-
102
-
103
-
104
-
105
-
106
-
 107
107 -
 108
108 -
 109
109 -
 110
110 -
 111
111 -
 112
112 -
 113
113 -
 114
114 -
 115
115 -
 116
116 -
 117
117 -
118
-
119
-
120
-
121
-
122
-
123
-
124
-
125
-
126
-
127
-
128
-
129
-
130
-
131
-
132
-
133
-
134
-
135
-
136
-
137
-
138
-
139
-
140
-
141
-
142
-
143
-
144
-
145
-
146
-
147
-
148
-
149
-
150
-
151
-
152
-
153
-
154
-
155
-
156
-
157
-
158
-
159
-
160
-
161
-
162
-
163
-
164
-
165
-
166
-
167
-
168
-
169
-
170
-
171
-
172
-
173
-
174
-
175
-
176
-
177
-
178
 |
 |