Yamaha CVP-201 Owner's Manual - Page 111
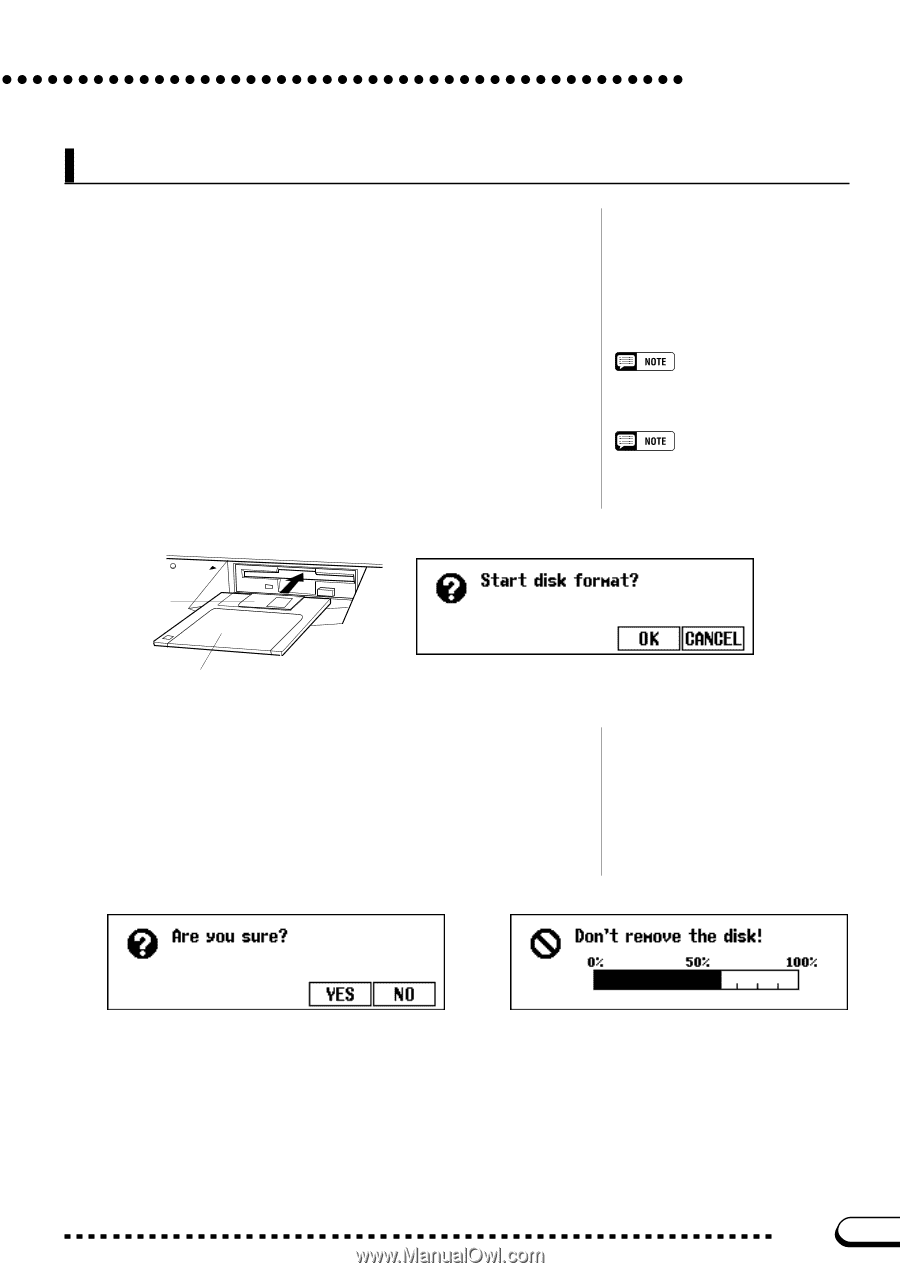
Recording Setup: Disk Format, Insert a disk., Execute the format operation.
 |
View all Yamaha CVP-201 manuals
Add to My Manuals
Save this manual to your list of manuals |
Page 111 highlights
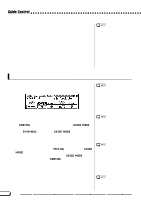
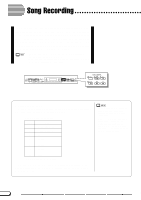
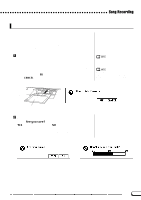
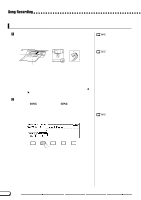
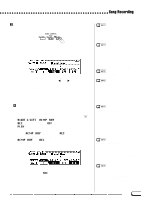
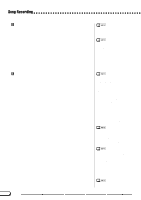
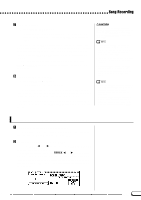
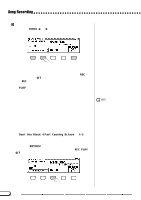
Song Recording Recording Setup: Disk Format Before you can record to the included blank disk, you will have to format it. Commercially available blank disks must also be formatted for use. You can use the Format function in the FUNCTION [DISK 5] display (page 146) to re-format floppy disks that have already been used for recording. Z Insert a disk...Gently insert the included blank disk for recording into the disk drive face-up and shutter end first, until it clicks into place. ➔ A few seconds after inserting the disk into the disk drive, a "Start disk format?" message appears in the display. To start formatting, press the OK button. To cancel the format operation, press CANCEL. The same display appears when inserting blank unformatted disks, or disks of different formats. Format Types 2DD disks are formatted to 720 KB, while 2HD disks are formatted to 1.44 MB. DISK IN USE Shutter Label side of disk X Execute the format operation An "Are you sure?" message appears in the LCD display; press YES to execute the operation, or NO button to cancel it. A bar graph appears in the LCD display during formatting to indicate progress of the operation. The display automatically returns to the previous display when formatting is completed. 109 CVP-201 111
-
 1
1 -
2
-
3
-
4
-
5
-
6
-
7
-
8
-
9
-
10
-
11
-
12
-
13
-
14
-
15
-
16
-
17
-
18
-
19
-
20
-
21
-
22
-
23
-
24
-
25
-
26
-
27
-
28
-
29
-
30
-
31
-
32
-
33
-
34
-
35
-
36
-
37
-
38
-
39
-
40
-
41
-
42
-
43
-
44
-
45
-
46
-
47
-
48
-
49
-
50
-
51
-
52
-
53
-
54
-
55
-
56
-
57
-
58
-
59
-
60
-
61
-
62
-
63
-
64
-
65
-
66
-
67
-
68
-
69
-
70
-
71
-
72
-
73
-
74
-
75
-
76
-
77
-
78
-
79
-
80
-
81
-
82
-
83
-
84
-
85
-
86
-
87
-
88
-
89
-
90
-
91
-
92
-
93
-
94
-
95
-
96
-
97
-
98
-
99
-
100
-
101
-
102
-
103
-
104
-
105
-
 106
106 -
 107
107 -
 108
108 -
 109
109 -
 110
110 -
 111
111 -
 112
112 -
 113
113 -
 114
114 -
 115
115 -
 116
116 -
117
-
118
-
119
-
120
-
121
-
122
-
123
-
124
-
125
-
126
-
127
-
128
-
129
-
130
-
131
-
132
-
133
-
134
-
135
-
136
-
137
-
138
-
139
-
140
-
141
-
142
-
143
-
144
-
145
-
146
-
147
-
148
-
149
-
150
-
151
-
152
-
153
-
154
-
155
-
156
-
157
-
158
-
159
-
160
-
161
-
162
-
163
-
164
-
165
-
166
-
167
-
168
-
169
-
170
-
171
-
172
-
173
-
174
-
175
-
176
-
177
-
178
 |
 |