Yamaha CVP-201 Owner's Manual - Page 74
Select a source style., Change the beat and length., Select the you want to record.
 |
View all Yamaha CVP-201 manuals
Add to My Manuals
Save this manual to your list of manuals |
Page 74 highlights
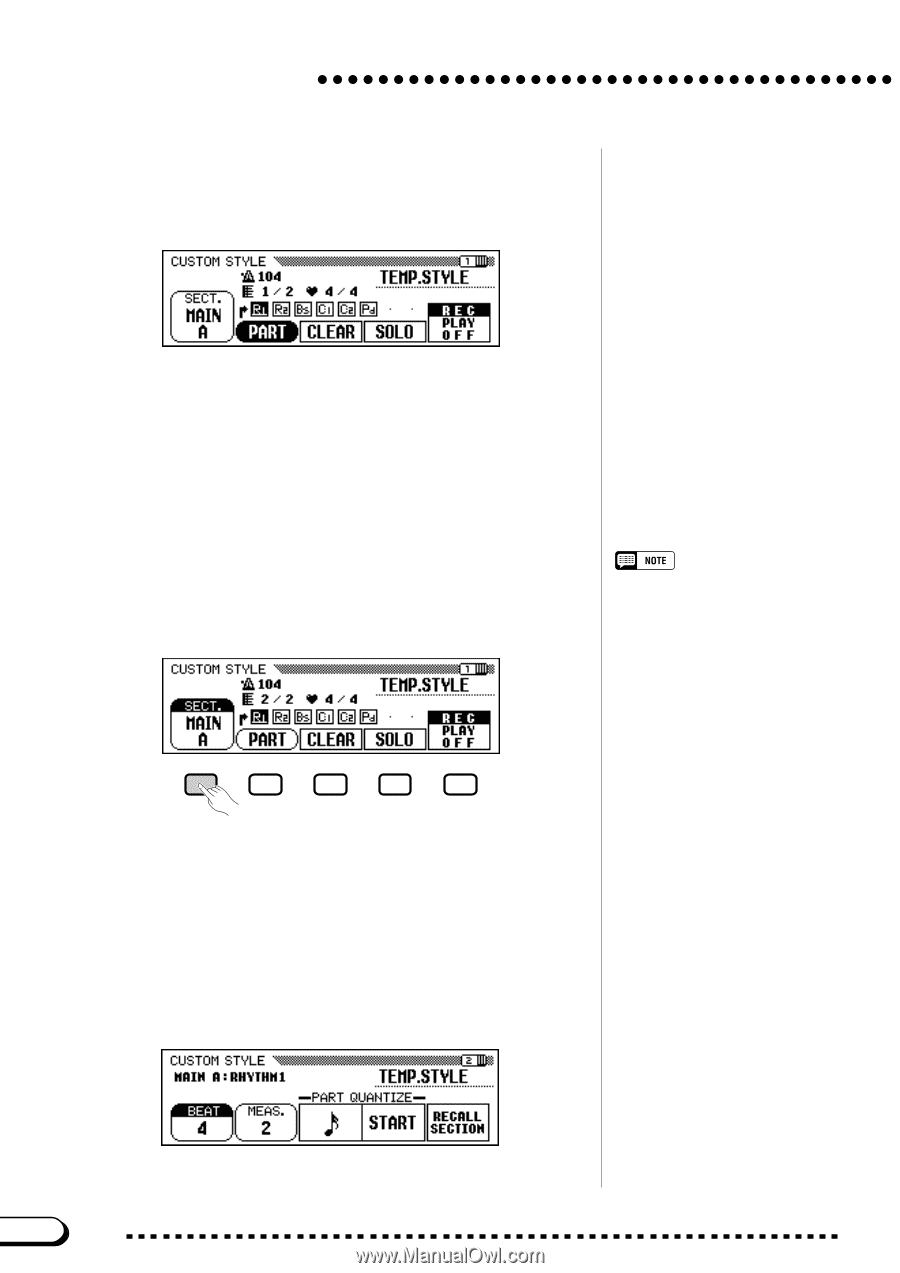
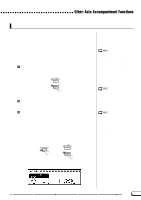
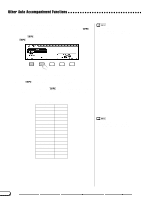
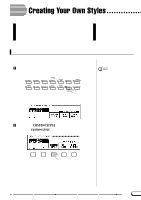
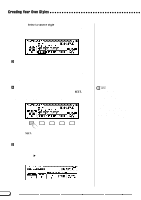
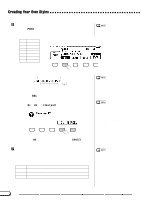
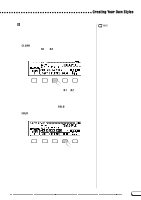
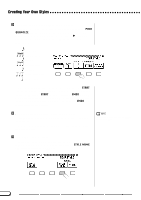
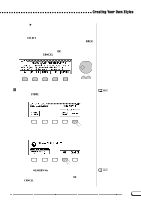
Creating Your Own Styles ➔ The "Select a source style" message is displayed for a few seconds, then replaced by page 1 of the CUSTOM STYLE display. The style that was selected in the DISK/CUSTOM STYLE display begins playing. C Select a source style Select a preset style that is close to the style you want to create. Preset style selection is carried out in the normal way (page 49). You can also use the style already selected in the DISK/CUSTOM STYLE display as the basis for your new style, or select a different DISK/CUSTOM style just as you would a preset style. V Select the section you want to record In page 1 of the CUSTOM STYLE display, press the SECT. button as many times as necessary to display the section you want to record: MAIN A, MAIN B, MAIN C, MAIN D, INTRO, FILL IN, or ENDING. • In the CUSTOM STYLE display, the variations and patterns that make up a style are referred to as "sections." • A custom style includes only one intro section, one fill-in section, and one ending section. • The custom style's intro, fill-in, and ending sections are based on the corresponding patterns for the style variation (MAIN A, MAIN B, MAIN C, or MAIN D) that was selected when the CUSTOM STYLE button was pressed (page 73). ➔ The SECT. function is highlighted, and each section is displayed in turn. The Clavinova plays the currently displayed section repeatedly. B Change the beat and section length If you want to create a style with a different time signature than the selected style, or change the number of measures in the selected section, press the PAGE [>] button. ➔ Page 2 of the CUSTOM STYLE display appears. 72 74 CVP-201
-
 1
1 -
2
-
3
-
4
-
5
-
6
-
7
-
8
-
9
-
10
-
11
-
12
-
13
-
14
-
15
-
16
-
17
-
18
-
19
-
20
-
21
-
22
-
23
-
24
-
25
-
26
-
27
-
28
-
29
-
30
-
31
-
32
-
33
-
34
-
35
-
36
-
37
-
38
-
39
-
40
-
41
-
42
-
43
-
44
-
45
-
46
-
47
-
48
-
49
-
50
-
51
-
52
-
53
-
54
-
55
-
56
-
57
-
58
-
59
-
60
-
61
-
62
-
63
-
64
-
65
-
66
-
67
-
68
-
 69
69 -
 70
70 -
 71
71 -
 72
72 -
 73
73 -
 74
74 -
 75
75 -
 76
76 -
 77
77 -
 78
78 -
 79
79 -
80
-
81
-
82
-
83
-
84
-
85
-
86
-
87
-
88
-
89
-
90
-
91
-
92
-
93
-
94
-
95
-
96
-
97
-
98
-
99
-
100
-
101
-
102
-
103
-
104
-
105
-
106
-
107
-
108
-
109
-
110
-
111
-
112
-
113
-
114
-
115
-
116
-
117
-
118
-
119
-
120
-
121
-
122
-
123
-
124
-
125
-
126
-
127
-
128
-
129
-
130
-
131
-
132
-
133
-
134
-
135
-
136
-
137
-
138
-
139
-
140
-
141
-
142
-
143
-
144
-
145
-
146
-
147
-
148
-
149
-
150
-
151
-
152
-
153
-
154
-
155
-
156
-
157
-
158
-
159
-
160
-
161
-
162
-
163
-
164
-
165
-
166
-
167
-
168
-
169
-
170
-
171
-
172
-
173
-
174
-
175
-
176
-
177
-
178
 |
 |