Yamaha CVP-201 Owner's Manual - Page 64
Changing the Split Point, Enter the chord., Stop the Auto Accompaniment., START/STOP], ENDING]
 |
View all Yamaha CVP-201 manuals
Add to My Manuals
Save this manual to your list of manuals |
Page 64 highlights
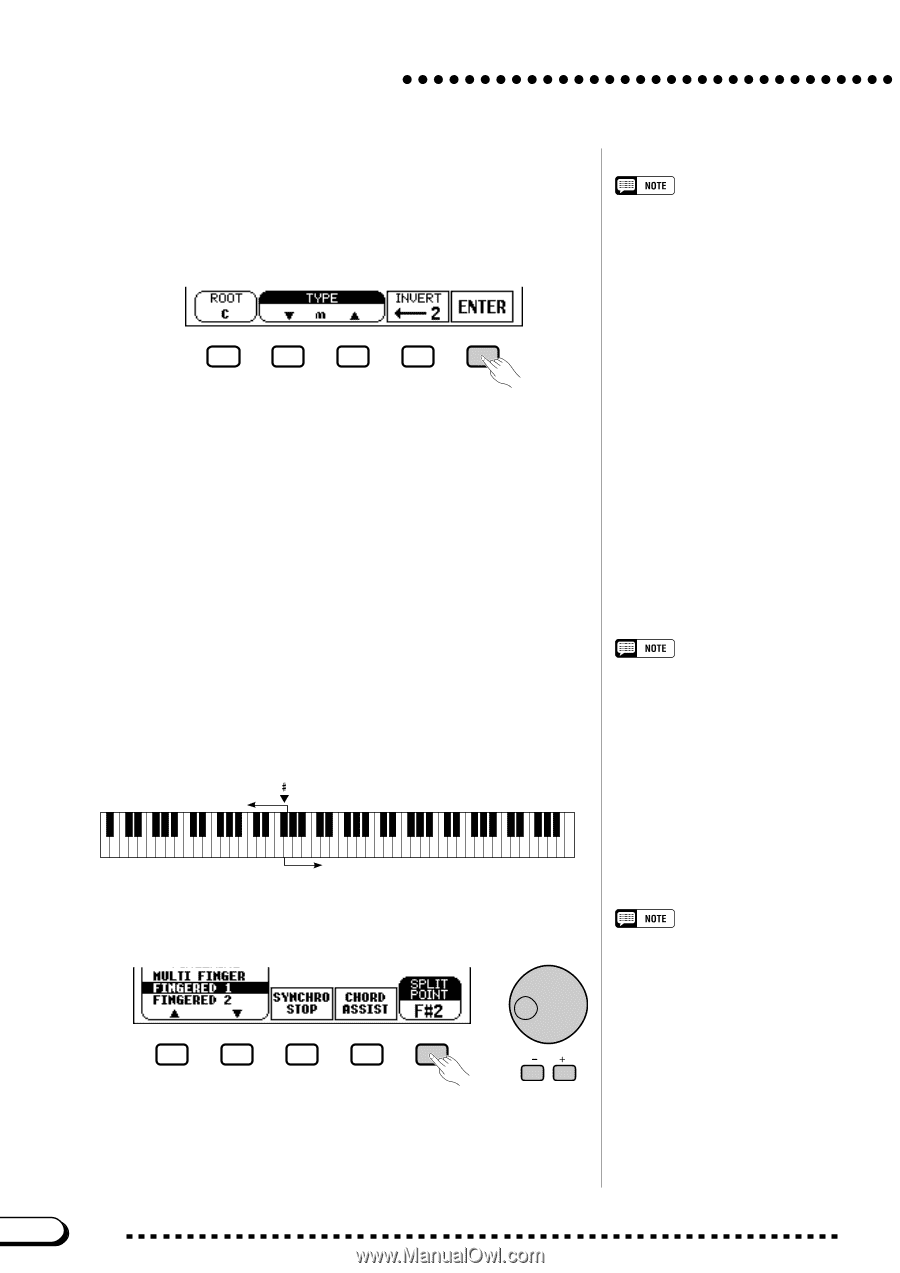
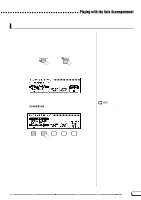
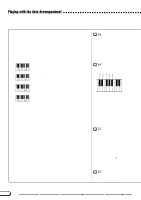
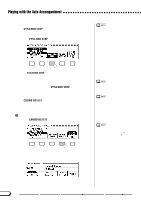
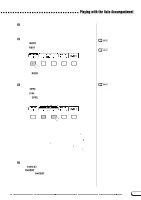
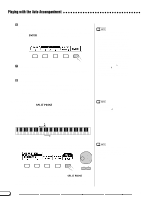
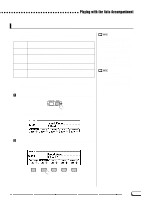
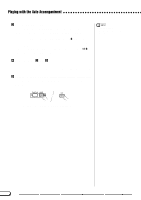
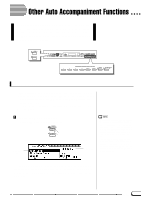
Playing with the Auto Accompaniment N Enter the chord. The keyboard guide lamps indicate the fingering for the selected chord. At this point you can either play the chord on the keyboard or press the ENTER button to hear the accompaniment play it. M Stop the Auto Accompaniment. When you're done with Chord Assistance, press [START/STOP] or [ENDING] to stop the accompaniment. < Turn Chord Assistance off. To turn Chord Assistance off, press [EXIT] or [ACMP ON]. ➔ The main display appears. If you press [ACMP ON], the Auto Accompaniment is turned off at the same time. • Any chords recognized in Fingered 1 mode can be entered from the keyboard. • The Clavinova displays the name of the chord recognized from the keyboard at the left edge of the LCD display, under the tempo. You can compare this chord root and type displayed by the ROOT and TYPE functions to make sure you're fingering the chord correctly. When the root of the chord being played corresponds to one of the black keys on the keyboard, the root may be displayed as either flat or sharp; for example, Bb may also be displayed as A# (see the sidebar on page 60 for details). • A flashing keyboard guide lamp indicates a note which may be omitted. s Changing the Split Point You can use the SPLIT POINT function in the ACCOMPANIMENT MODE display to set the split point at any desired key position. The keys to the left of (and including) the split point control the chords played by the Auto Accompaniment in every accompaniment mode except Full Keyboard. F 2 Left range SPLIT POINT function • Settings: Any key of the keyboard • Basic setting: F#2 C0 C1 C2 C3 C4 C5 C6 C7 Right range Use the data dial or the [-] and [+] buttons to change the split point. Press the [-] and [+] buttons simultaneously to restore the basic setting. • The split point cannot be set when Full Keyboard mode is selected. • Changing the split point here also changes it for the Split mode (see page 39). ➔ The selected key name is displayed by the SPLIT POINT function. If the Auto Accompaniment or the Split mode (page 36) is on, the keyboard guide lamp corresponding to the selected split point lights. 64 CVP-201 62
-
 1
1 -
2
-
3
-
4
-
5
-
6
-
7
-
8
-
9
-
10
-
11
-
12
-
13
-
14
-
15
-
16
-
17
-
18
-
19
-
20
-
21
-
22
-
23
-
24
-
25
-
26
-
27
-
28
-
29
-
30
-
31
-
32
-
33
-
34
-
35
-
36
-
37
-
38
-
39
-
40
-
41
-
42
-
43
-
44
-
45
-
46
-
47
-
48
-
49
-
50
-
51
-
52
-
53
-
54
-
55
-
56
-
57
-
58
-
 59
59 -
 60
60 -
 61
61 -
 62
62 -
 63
63 -
 64
64 -
 65
65 -
 66
66 -
 67
67 -
 68
68 -
 69
69 -
70
-
71
-
72
-
73
-
74
-
75
-
76
-
77
-
78
-
79
-
80
-
81
-
82
-
83
-
84
-
85
-
86
-
87
-
88
-
89
-
90
-
91
-
92
-
93
-
94
-
95
-
96
-
97
-
98
-
99
-
100
-
101
-
102
-
103
-
104
-
105
-
106
-
107
-
108
-
109
-
110
-
111
-
112
-
113
-
114
-
115
-
116
-
117
-
118
-
119
-
120
-
121
-
122
-
123
-
124
-
125
-
126
-
127
-
128
-
129
-
130
-
131
-
132
-
133
-
134
-
135
-
136
-
137
-
138
-
139
-
140
-
141
-
142
-
143
-
144
-
145
-
146
-
147
-
148
-
149
-
150
-
151
-
152
-
153
-
154
-
155
-
156
-
157
-
158
-
159
-
160
-
161
-
162
-
163
-
164
-
165
-
166
-
167
-
168
-
169
-
170
-
171
-
172
-
173
-
174
-
175
-
176
-
177
-
178
 |
 |