Yamaha CVP-201 Owner's Manual - Page 120
Select the punch-in mode., Start playback and recording., Stop recording., PLAY/STOP], PAUSE]
 |
View all Yamaha CVP-201 manuals
Add to My Manuals
Save this manual to your list of manuals |
Page 120 highlights
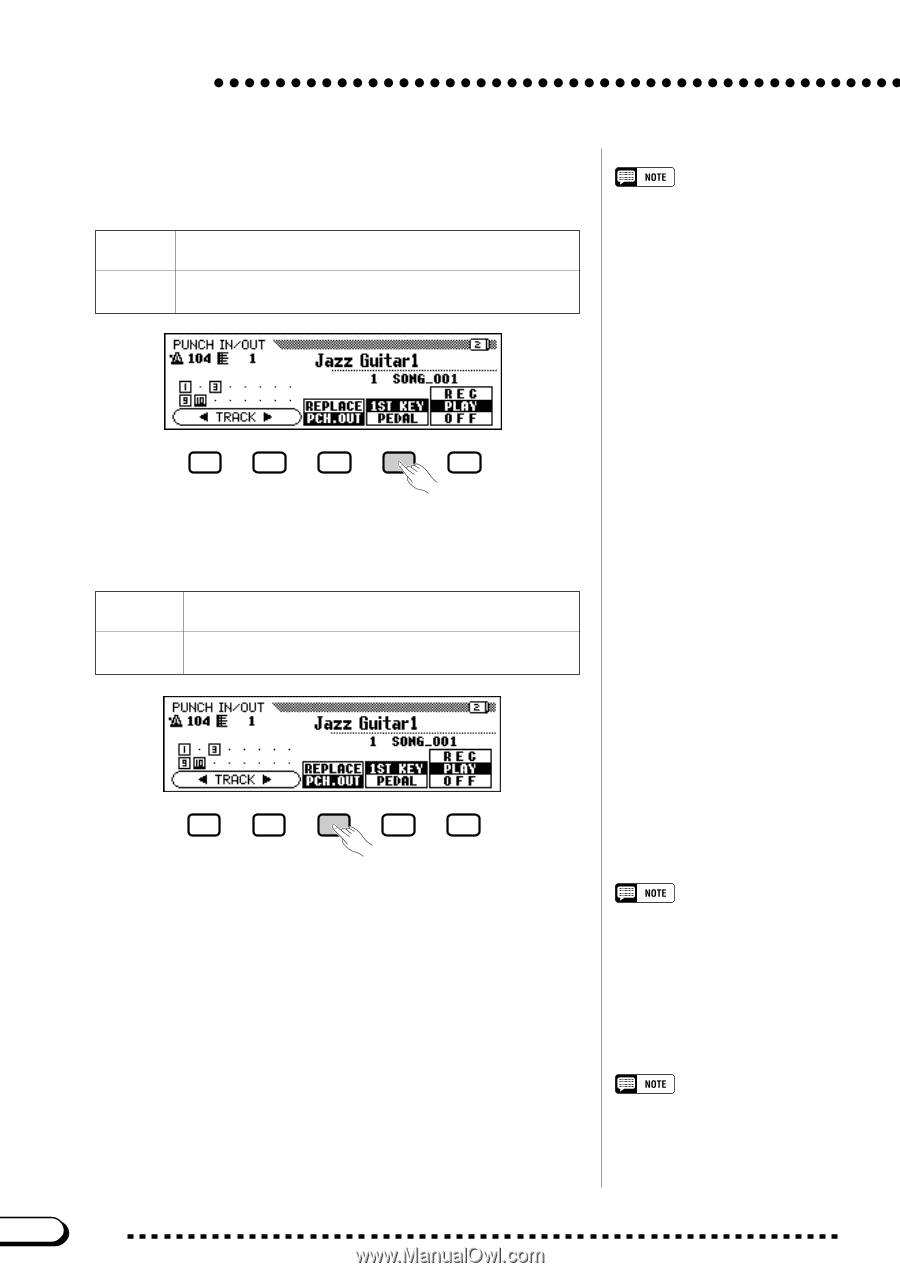
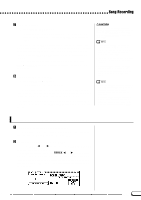
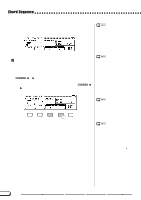
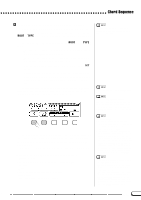
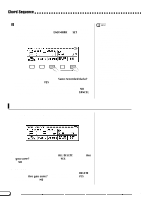
Song Recording B Select the punch-in mode Select the desired punch-in mode with the fourth LCD button. Two modes are available, as described below. 1ST KEY PEDAL Recording begins as soon as the first key is played, after Punch-in playback is started in step 7 (below). Recording begins as soon as the left pedal is pressed, after Punch-in playback is started in step 7 (below). When the PEDAL punch-in mode is selected, the left pedal is automatically assigned for this function only (the normal pedal function is canceled). N Select the punch-out mode Select the desired punch-out mode with the center LCD button. Two modes are available, as described below. REPLACE PCH.OUT When recording is stopped, all data following the punch-out point will be erased. When recording is stopped, all data following the punch-out point will remain intact. M Start playback and recording Press the [PLAY/STOP] or [PAUSE] button to start playback from the current paused location. To punch in (i.e., start recording) when the 1ST KEY mode is selected, simply begin playing at the point from which you want to record. To punch in (i.e., start recording) when the PEDAL mode is selected, press the left pedal at the point from which you want to record. When the PEDAL Punch-in mode is selected, recording can be started directly by pressing the left pedal, without first pressing the [PLAY/STOP] or [PAUSE] button to start playback. < Stop recording Press the [PLAY/STOP] button. ➔ Recording stops. When the data has been written to disk, the [REC] lamp goes out and the SONG PLAY display reappears. When the PEDAL mode is selected, recording can also be stopped by pressing the left pedal. 120 CVP-201 118
-
 1
1 -
2
-
3
-
4
-
5
-
6
-
7
-
8
-
9
-
10
-
11
-
12
-
13
-
14
-
15
-
16
-
17
-
18
-
19
-
20
-
21
-
22
-
23
-
24
-
25
-
26
-
27
-
28
-
29
-
30
-
31
-
32
-
33
-
34
-
35
-
36
-
37
-
38
-
39
-
40
-
41
-
42
-
43
-
44
-
45
-
46
-
47
-
48
-
49
-
50
-
51
-
52
-
53
-
54
-
55
-
56
-
57
-
58
-
59
-
60
-
61
-
62
-
63
-
64
-
65
-
66
-
67
-
68
-
69
-
70
-
71
-
72
-
73
-
74
-
75
-
76
-
77
-
78
-
79
-
80
-
81
-
82
-
83
-
84
-
85
-
86
-
87
-
88
-
89
-
90
-
91
-
92
-
93
-
94
-
95
-
96
-
97
-
98
-
99
-
100
-
101
-
102
-
103
-
104
-
105
-
106
-
107
-
108
-
109
-
110
-
111
-
112
-
113
-
114
-
 115
115 -
 116
116 -
 117
117 -
 118
118 -
 119
119 -
 120
120 -
 121
121 -
 122
122 -
 123
123 -
 124
124 -
 125
125 -
126
-
127
-
128
-
129
-
130
-
131
-
132
-
133
-
134
-
135
-
136
-
137
-
138
-
139
-
140
-
141
-
142
-
143
-
144
-
145
-
146
-
147
-
148
-
149
-
150
-
151
-
152
-
153
-
154
-
155
-
156
-
157
-
158
-
159
-
160
-
161
-
162
-
163
-
164
-
165
-
166
-
167
-
168
-
169
-
170
-
171
-
172
-
173
-
174
-
175
-
176
-
177
-
178
 |
 |