Cisco 7921G Administration Guide - Page 137
Configuring USB Settings, Configuring Trace Settings
 |
UPC - 882658123108
View all Cisco 7921G manuals
Add to My Manuals
Save this manual to your list of manuals |
Page 137 highlights
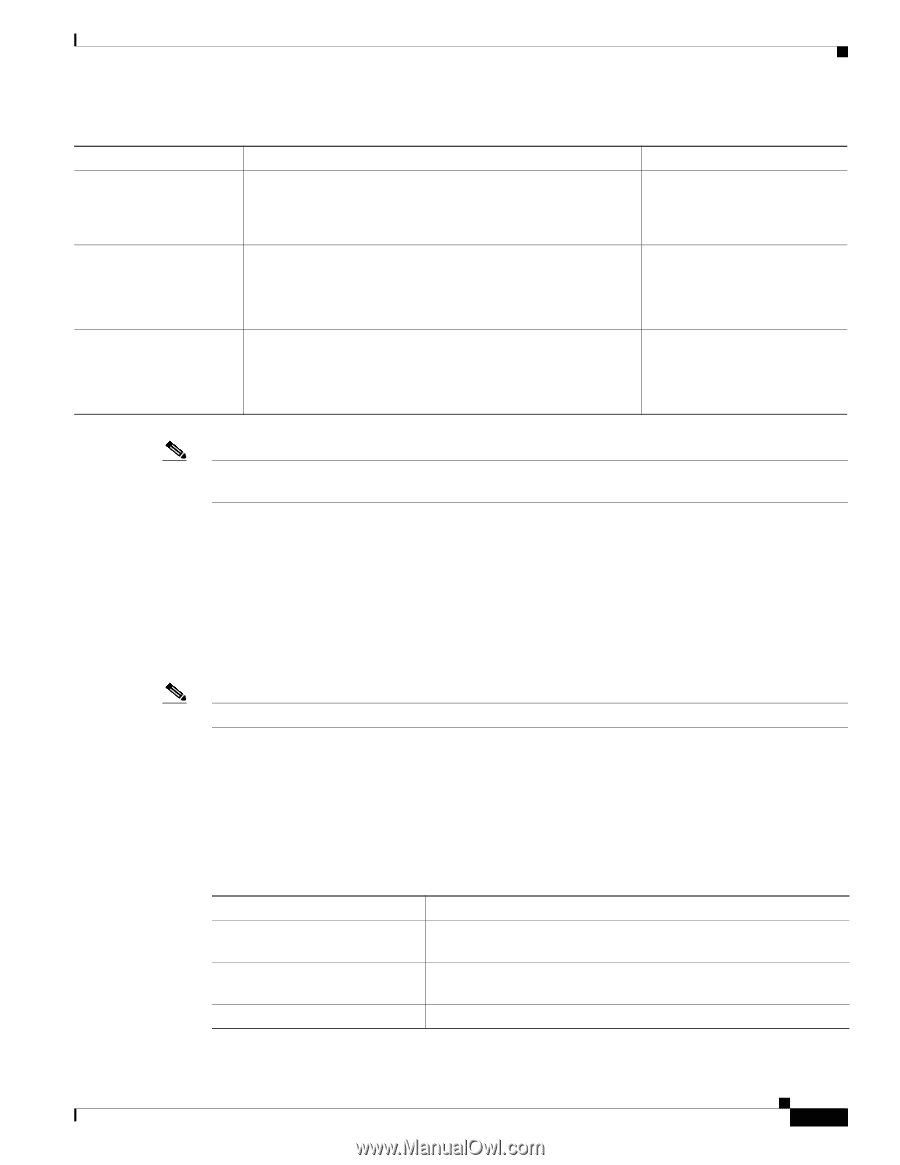
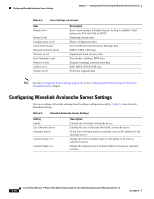
Chapter 6 Configuring the Phone Using the Wavelink Avalanche Server Configuring USB Settings Table 6-3 Profile Settings (continued) Item Antenna Selection for 802.11B 802.11G Power Settings 802.11A Power Settings Description • Vertical • Horizontal • Diversity Enabled-Identifies enabled channels in WLAN to improve scanning for the phone Max Tx Power-Sets the maximum transmit power for the phone Enabled-Identifies enabled channels in WLAN to improve scanning for the phone Max Tx Power-Sets the maximum transmit power for the phone For More Information, See... Note If you uncheck all channels in the 802.11 G Power Settings or 802.11 A Power Settings, the phone will not be able to access the WLAN. Configuring USB Settings You can change the IP address of the USB port on your phone by choosing one of the following options in the DHCP Enabled field: • Yes-Obtains an IP address automatically. • No-You can specify the IP address and subnet mask on this page. Note See also Configuring USB Settings, page 4-28. Configuring Trace Settings You can configure trace settings to determine how the phone creates and saves trace files. Table 6-4 describes the trace settings. Table 6-4 Trace Settings Item Number of Files Enable Remote Syslog Remote IP Address Description Choose the number of trace files that the phone saves, from 2-10 files. Set up a remote server to store trace logs. If enabled, enter remote address and remote port. Enter remote IP address if Enable Remote Syslog is enabled. OL-15985-01 Cisco Unified Wireless IP Phone 7921G Administration Guide for Cisco Unified Communications Manager Release 7.0 6-9
-
 1
1 -
2
-
3
-
4
-
5
-
6
-
7
-
8
-
9
-
10
-
11
-
12
-
13
-
14
-
15
-
16
-
17
-
18
-
19
-
20
-
21
-
22
-
23
-
24
-
25
-
26
-
27
-
28
-
29
-
30
-
31
-
32
-
33
-
34
-
35
-
36
-
37
-
38
-
39
-
40
-
41
-
42
-
43
-
44
-
45
-
46
-
47
-
48
-
49
-
50
-
51
-
52
-
53
-
54
-
55
-
56
-
57
-
58
-
59
-
60
-
61
-
62
-
63
-
64
-
65
-
66
-
67
-
68
-
69
-
70
-
71
-
72
-
73
-
74
-
75
-
76
-
77
-
78
-
79
-
80
-
81
-
82
-
83
-
84
-
85
-
86
-
87
-
88
-
89
-
90
-
91
-
92
-
93
-
94
-
95
-
96
-
97
-
98
-
99
-
100
-
101
-
102
-
103
-
104
-
105
-
106
-
107
-
108
-
109
-
110
-
111
-
112
-
113
-
114
-
115
-
116
-
117
-
118
-
119
-
120
-
121
-
122
-
123
-
124
-
125
-
126
-
127
-
128
-
129
-
130
-
131
-
 132
132 -
 133
133 -
 134
134 -
 135
135 -
 136
136 -
 137
137 -
 138
138 -
 139
139 -
 140
140 -
 141
141 -
 142
142 -
143
-
144
-
145
-
146
-
147
-
148
-
149
-
150
-
151
-
152
-
153
-
154
-
155
-
156
-
157
-
158
-
159
-
160
-
161
-
162
-
163
-
164
-
165
-
166
-
167
-
168
-
169
-
170
-
171
-
172
-
173
-
174
-
175
-
176
-
177
-
178
-
179
-
180
-
181
-
182
-
183
-
184
-
185
-
186
-
187
-
188
-
189
-
190
-
191
-
192
-
193
-
194
-
195
-
196
-
197
-
198
-
199
-
200
-
201
-
202
-
203
-
204
-
205
-
206
-
207
-
208
-
209
-
210
-
211
-
212
-
213
-
214
-
215
-
216
-
217
-
218
-
219
-
220
-
221
-
222
-
223
-
224
-
225
-
226
-
227
-
228
-
229
-
230
-
231
-
232
-
233
-
234
 |
 |