HP Q7699A HP LaserJet 9040/9050 - User Guide - Page 101
Clearing jams from the input tray areas, To clear jams in optional Tray 1
 |
View all HP Q7699A manuals
Add to My Manuals
Save this manual to your list of manuals |
Page 101 highlights
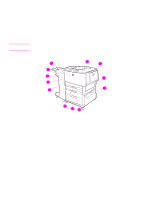
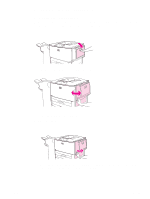
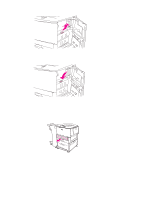
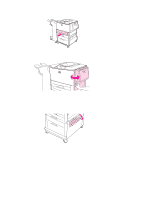
Clearing jams from the input tray areas To clear jams in optional Tray 1 1 Check for paper in the optional Tray 1 area, and remove any paper from this area. Carefully check to be sure you have removed all pieces of torn paper. 2 Open and close the right door to reset the printer. To clear jams inside the right door 1 Open the right door. 2 Check for paper in the right door area, and remove any paper from this area. Carefully check to be sure you have removed all pieces of torn paper. ENWW Clearing jams 99
-
 1
1 -
2
-
3
-
4
-
5
-
6
-
7
-
8
-
9
-
10
-
11
-
12
-
13
-
14
-
15
-
16
-
17
-
18
-
19
-
20
-
21
-
22
-
23
-
24
-
25
-
26
-
27
-
28
-
29
-
30
-
31
-
32
-
33
-
34
-
35
-
36
-
37
-
38
-
39
-
40
-
41
-
42
-
43
-
44
-
45
-
46
-
47
-
48
-
49
-
50
-
51
-
52
-
53
-
54
-
55
-
56
-
57
-
58
-
59
-
60
-
61
-
62
-
63
-
64
-
65
-
66
-
67
-
68
-
69
-
70
-
71
-
72
-
73
-
74
-
75
-
76
-
77
-
78
-
79
-
80
-
81
-
82
-
83
-
84
-
85
-
86
-
87
-
88
-
89
-
90
-
91
-
92
-
93
-
94
-
95
-
 96
96 -
 97
97 -
 98
98 -
 99
99 -
 100
100 -
 101
101 -
 102
102 -
 103
103 -
 104
104 -
 105
105 -
 106
106 -
107
-
108
-
109
-
110
-
111
-
112
-
113
-
114
-
115
-
116
-
117
-
118
-
119
-
120
-
121
-
122
-
123
-
124
-
125
-
126
-
127
-
128
-
129
-
130
-
131
-
132
-
133
-
134
-
135
-
136
-
137
-
138
-
139
-
140
-
141
-
142
-
143
-
144
-
145
-
146
-
147
-
148
-
149
-
150
-
151
-
152
-
153
-
154
-
155
-
156
-
157
-
158
-
159
-
160
-
161
-
162
-
163
-
164
-
165
-
166
-
167
-
168
-
169
-
170
-
171
-
172
-
173
-
174
-
175
-
176
-
177
-
178
-
179
-
180
-
181
-
182
-
183
-
184
-
185
-
186
-
187
-
188
-
189
-
190
-
191
-
192
-
193
-
194
-
195
-
196
-
197
-
198
-
199
-
200
-
201
-
202
-
203
-
204
-
205
-
206
-
207
-
208
-
209
-
210
-
211
-
212
-
213
-
214
-
215
-
216
-
217
-
218
 |
 |
ENWW
Clearing jams
99
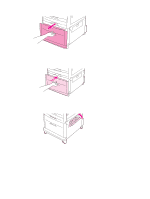
Clearing jams from the input tray areas
To clear jams in optional Tray 1
1
Check for paper in the optional Tray 1 area, and remove any paper from this area. Carefully
check to be sure you have removed all pieces of torn paper.
2
Open and close the right door to reset the printer.
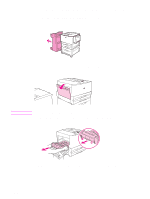
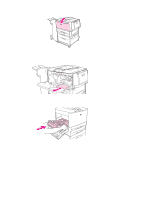
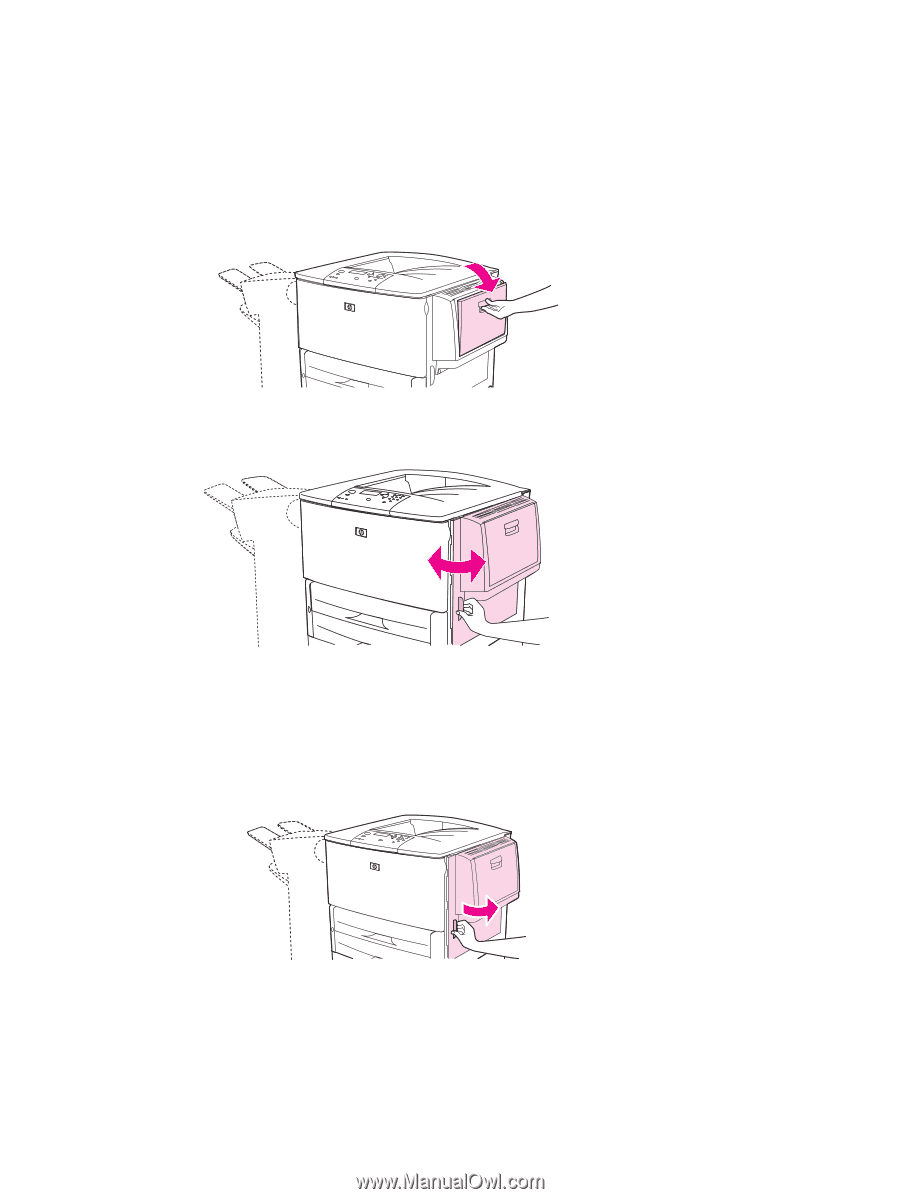
To clear jams inside the right door
1
Open the right door.
2
Check for paper in the right door area, and remove any paper from this area. Carefully check
to be sure you have removed all pieces of torn paper.