IBM 8840 Hardware Maintenance Manual - Page 70
bracket
 |
UPC - 000435863799
View all IBM 8840 manuals
Add to My Manuals
Save this manual to your list of manuals |
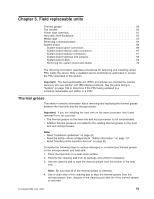
Page 70 highlights
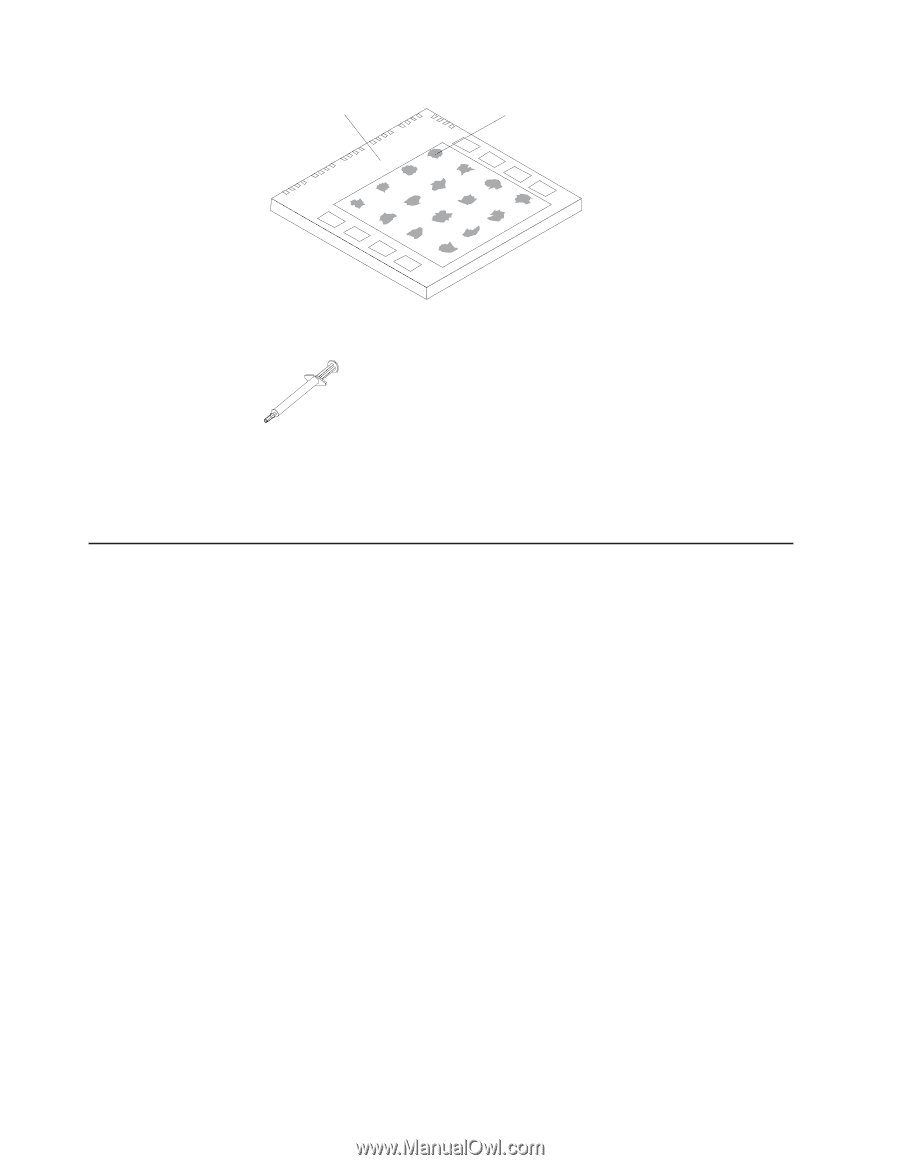
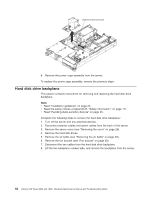
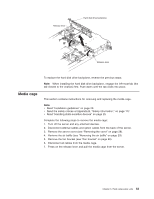
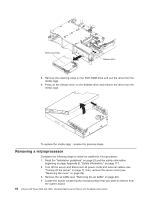
Microprocessor 0.01 mL of thermal grease 5. Use the thermal grease syringe to place 16 uniformly spaced dots of 0.01mL each on the top of the microprocessor. Fan bracket Note: 0.01mL is one tick mark on the syringe. If the grease is properly applied, approximately half (0.22mL) of the grease will remain in the syringe. 6. Install the heat sink onto the microprocessor as described in "Installing a microprocessor" on page 42. This section contains instructions for removing and replacing the fan bracket. Note: v Read "Installation guidelines" on page 23. v Read the safety notices at Appendix B, "Safety information," on page 117. v Read "Handling static-sensitive devices" on page 25. Complete the following steps to remove the fan bracket: 1. Turn off the server and any attached devices. 2. Disconnect external cables and option cables from the back of the server. 3. Remove the server cover (see "Removing the cover" on page 28). 4. Remove the air baffle (see "Removing the air baffle" on page 29). 5. Release the fan bracket retention latches. 60 xSeries 346 Types 8840 and 1880: Hardware Maintenance Manual and Troubleshooting Guide
-
 1
1 -
2
-
3
-
4
-
5
-
6
-
7
-
8
-
9
-
10
-
11
-
12
-
13
-
14
-
15
-
16
-
17
-
18
-
19
-
20
-
21
-
22
-
23
-
24
-
25
-
26
-
27
-
28
-
29
-
30
-
31
-
32
-
33
-
34
-
35
-
36
-
37
-
38
-
39
-
40
-
41
-
42
-
43
-
44
-
45
-
46
-
47
-
48
-
49
-
50
-
51
-
52
-
53
-
54
-
55
-
56
-
57
-
58
-
59
-
60
-
61
-
62
-
63
-
64
-
 65
65 -
 66
66 -
 67
67 -
 68
68 -
 69
69 -
 70
70 -
 71
71 -
 72
72 -
 73
73 -
 74
74 -
 75
75 -
76
-
77
-
78
-
79
-
80
-
81
-
82
-
83
-
84
-
85
-
86
-
87
-
88
-
89
-
90
-
91
-
92
-
93
-
94
-
95
-
96
-
97
-
98
-
99
-
100
-
101
-
102
-
103
-
104
-
105
-
106
-
107
-
108
-
109
-
110
-
111
-
112
-
113
-
114
-
115
-
116
-
117
-
118
-
119
-
120
-
121
-
122
-
123
-
124
-
125
-
126
-
127
-
128
-
129
-
130
-
131
-
132
-
133
-
134
-
135
-
136
-
137
-
138
-
139
-
140
-
141
-
142
-
143
-
144
-
145
-
146
-
147
-
148
-
149
-
150
-
151
-
152
-
153
-
154
-
155
-
156
-
157
-
158
-
159
-
160
-
161
-
162
-
163
-
164
-
165
-
166
-
167
-
168
-
169
-
170
-
171
-
172
-
173
-
174
-
175
-
176
 |
 |