Kenmore 18221 Owners Manual - Page 18
Ii. Getting, Readyto - sewing machines
 |
View all Kenmore 18221 manuals
Add to My Manuals
Save this manual to your list of manuals |
Page 18 highlights
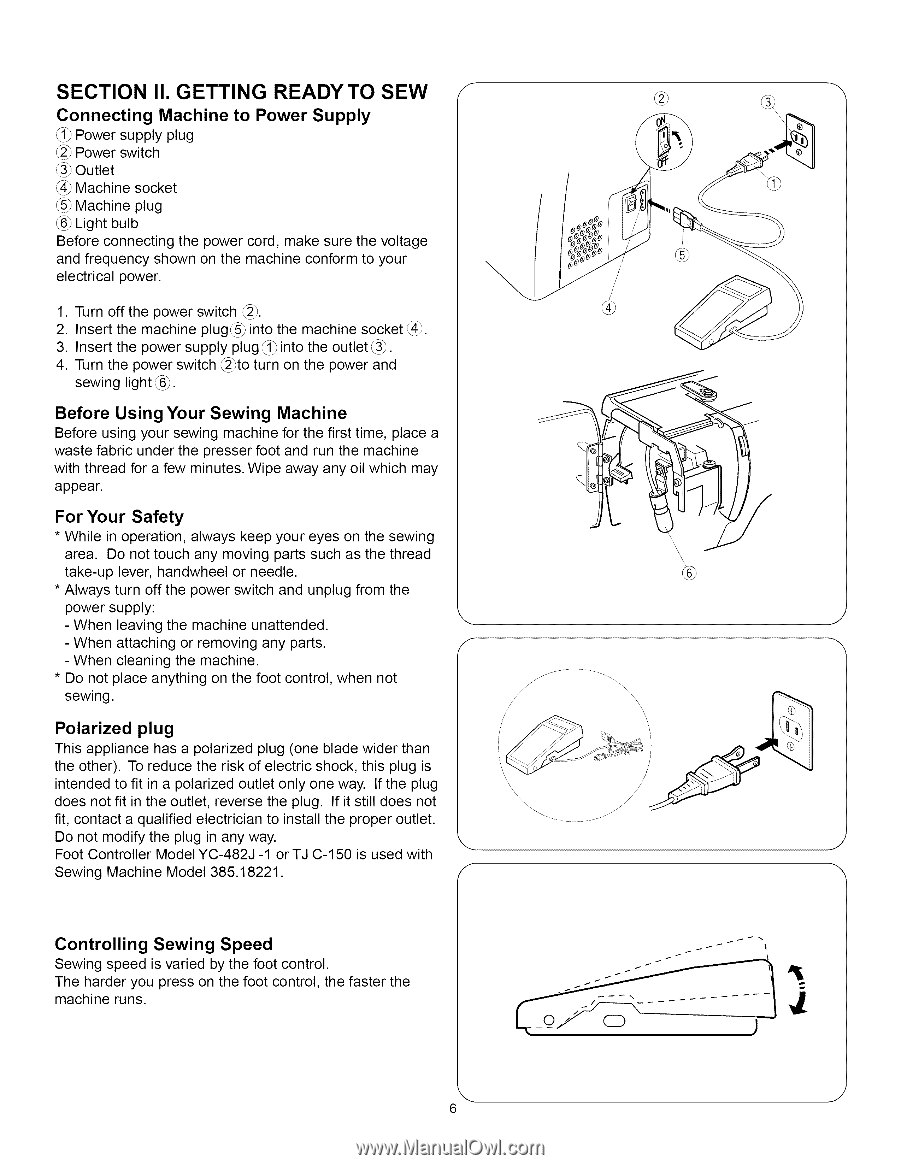
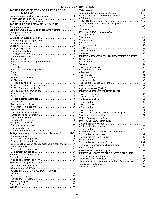
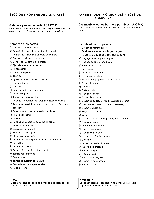
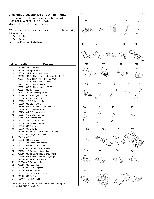
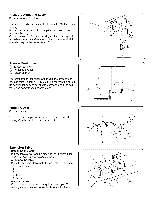
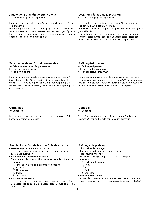
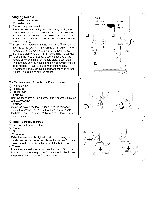
SECTION II. GETTING READYTO SEW f Connecting Machine to Power Supply _1_Power supply plug (2_P' ower switch (3_Outlet _4_Machine socket @ Machine plug @ Light bulb Before connecting the power cord, make sure the voltage and frequency shown on the machine conform to your electrical power. 1. Turn off the power switch _2_. 2. Insert the machine plug@ into the machine socket _4_. 3. Insert the power supply plug _1_in, to the outlet _3_. 4. Turn the power switch :_to turn on the power and sewing light ,_6_'. Before Using Your Sewing Machine Before using your sewing machine for the first time, place a waste fabric under the presser foot and run the machine with thread for a few minutes. Wipe away any oil which may appear. For Your Safety * While in operation, always keep your eyes on the sewing area. Do not touch any moving parts such as the thread take-up lever, handwheel or needle. * Always turn off the power switch and unplug from the power supply: - When leaving the machine unattended. - When attaching or removing any parts. S - When cleaning the machine. * Do not place anything on the foot control, when not sewing. Polarized plug This appliance has a polarized plug (one blade wider than the other). To reduce the risk of electric shock, this plug is intended to fit in a polarized outlet only one way. If the plug does not fit in the outlet, reverse the plug. If it still does not fit, contact a qualified electrician to install the proper outlet. Do not modify the plug in any way. Foot Controller Model YC-482J -1 or TJ C-150 is used with Sewing Machine Model 385.18221. / Controlling Sewing Speed Sewing speed is varied by the foot control. The harder you press on the foot control, the faster the machine runs. ,. 6 \\ \\\\\ \ / / / J J x ,i j
-
 1
1 -
2
-
3
-
4
-
5
-
6
-
7
-
8
-
9
-
10
-
11
-
12
-
 13
13 -
 14
14 -
 15
15 -
 16
16 -
 17
17 -
 18
18 -
 19
19 -
 20
20 -
 21
21 -
 22
22 -
 23
23 -
24
-
25
-
26
-
27
-
28
-
29
-
30
-
31
-
32
-
33
-
34
-
35
-
36
-
37
-
38
-
39
-
40
-
41
-
42
-
43
-
44
-
45
-
46
-
47
-
48
-
49
-
50
-
51
-
52
-
53
-
54
-
55
-
56
-
57
-
58
-
59
-
60
-
61
-
62
-
63
-
64
-
65
-
66
-
67
-
68
-
69
-
70
-
71
-
72
-
73
-
74
-
75
-
76
-
77
-
78
-
79
-
80
-
81
-
82
-
83
-
84
-
85
-
86
-
87
-
88
-
89
-
90
-
91
-
92
-
93
-
94
-
95
-
96
-
97
-
98
-
99
-
100
-
101
-
102
-
103
-
104
-
105
-
106
-
107
-
108
-
109
-
110
-
111
 |
 |