Kenmore 18221 Owners Manual - Page 86
Buttonhole
 |
View all Kenmore 18221 manuals
Add to My Manuals
Save this manual to your list of manuals |
Page 86 highlights
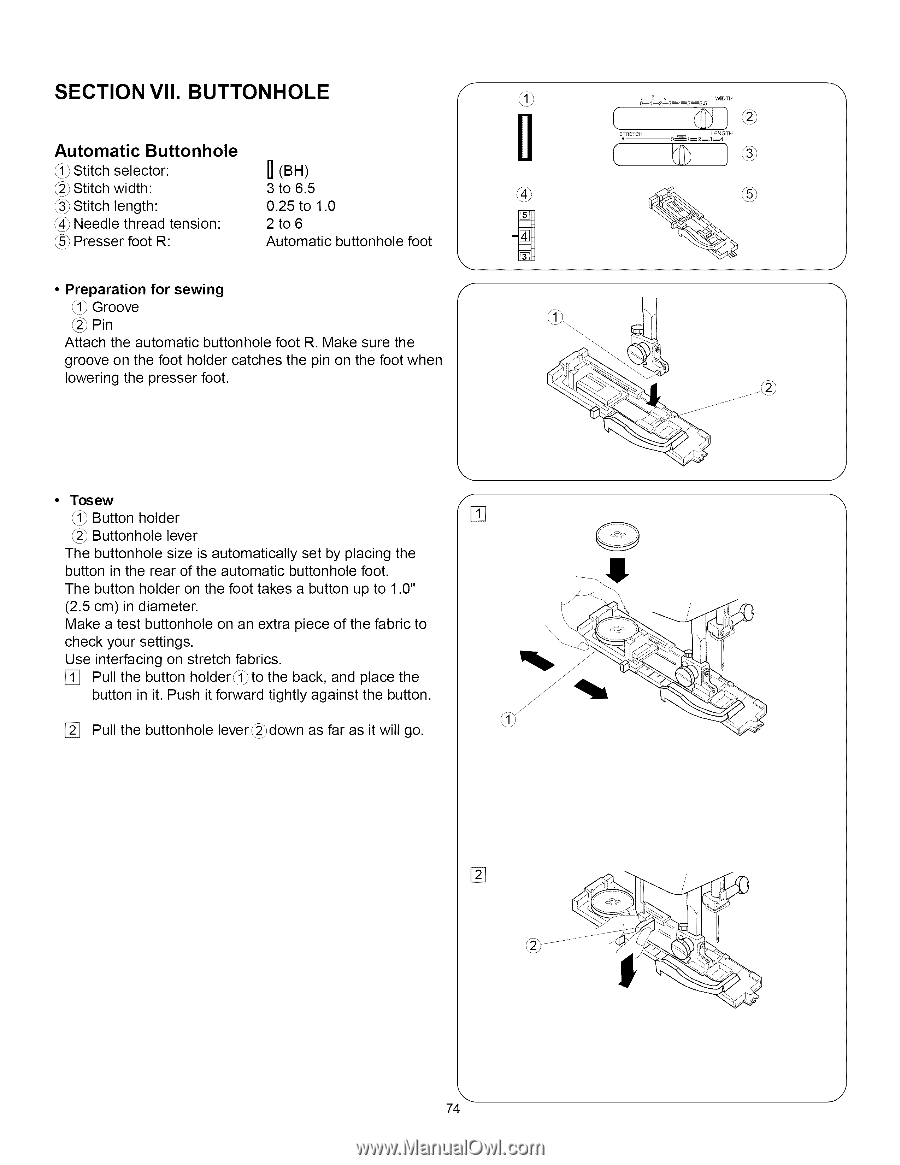
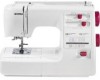
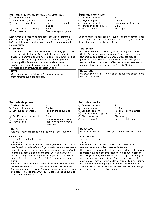
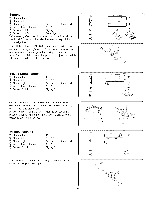
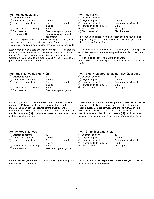
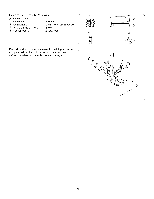
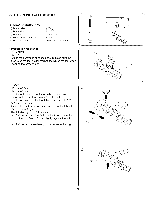
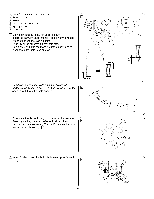
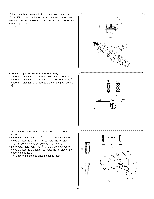
SECTION VII. BUTTONHOLE f Automatic Buttonhole _i) Stitch selector: _2_Stitch width: ,_3_Stitch length: _4_Needle thread tension: _5) Presser foot R: II (BH) 3 to 6.5 0.25 to 1.0 2to6 Automatic buttonhole foot • Preparation for sewing f (i) Groove _2_Pin Attach the automatic buttonhole foot R. Make sure the groove on the foot holder catches the pin on the foot when lowering the presser foot. 0--1 --2--3_4_5_6,5 _;_'°" o---.=... _2__" J -x J to$ ew -x 'J_ Button holder _2_Buttonhole lever The buttonhole size is automatically set by placing the button in the rear of the automatic buttonhole foot. The button holder on the foot takes a button up to 1.0" (2.5 cm) in diameter. Make a test buttonhole on an extra piece of the fabric to check your settings. \\\\ Use interfacing on stretch fabrics. [] Pull the button holder'_!)to the back, and place the button in it. Push it forward tightly against the button. / ,\1_i [] Pull the buttonhole lever ,_2_d)own as far as it will go. [] ,. j 74
-
 1
1 -
2
-
3
-
4
-
5
-
6
-
7
-
8
-
9
-
10
-
11
-
12
-
13
-
14
-
15
-
16
-
17
-
18
-
19
-
20
-
21
-
22
-
23
-
24
-
25
-
26
-
27
-
28
-
29
-
30
-
31
-
32
-
33
-
34
-
35
-
36
-
37
-
38
-
39
-
40
-
41
-
42
-
43
-
44
-
45
-
46
-
47
-
48
-
49
-
50
-
51
-
52
-
53
-
54
-
55
-
56
-
57
-
58
-
59
-
60
-
61
-
62
-
63
-
64
-
65
-
66
-
67
-
68
-
69
-
70
-
71
-
72
-
73
-
74
-
75
-
76
-
77
-
78
-
79
-
80
-
 81
81 -
 82
82 -
 83
83 -
 84
84 -
 85
85 -
 86
86 -
 87
87 -
 88
88 -
 89
89 -
 90
90 -
 91
91 -
92
-
93
-
94
-
95
-
96
-
97
-
98
-
99
-
100
-
101
-
102
-
103
-
104
-
105
-
106
-
107
-
108
-
109
-
110
-
111
 |
 |