Xerox 6400XF WorkCentre 6400 System Administrator Guide - Page 49
Microsoft Networking, Configuring Microsoft Networking, Configuring WINS, Primary Server IP Address
 |
UPC - 095205759334
View all Xerox 6400XF manuals
Add to My Manuals
Save this manual to your list of manuals |
Page 49 highlights
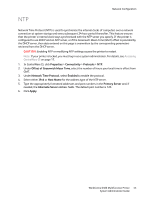
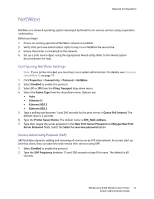
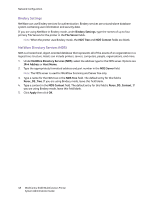
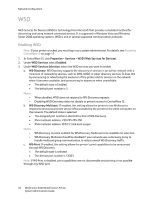
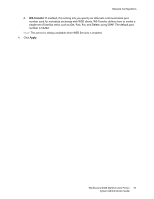
Microsoft Networking Network Configuration Configuring Microsoft Networking Note: If your printer is locked, you must log in as a system administrator. For details, see Accessing CentreWare IS on page 17. 1. Click Properties > Connectivity > Protocols > Microsoft Networking. 2. Select Enabled to enable the protocol. 3. Type the workgroup name in the Workgroup field. 4. Type the host name in the SMB Host Name field. 5. Type a descriptive comment, if desired, in the SMB Host Name Comment field. 6. Type the name of the share in the Share Name field. 7. Type a descriptive comment, if desired, in the Share Name Comment field. 8. Type the maximum number of connections allowed in Maximum Connections. The range is between 10 and 30. 9. Type the desired number of seconds until the connection times out in the Connection Timeout field. The range is between 1 and 32767 seconds. Configuring WINS When running WINS, the printer registers its IP address and NetBIOS host name with a WINS server. WINS allows users to communicate with the printer using host name only, removing a significant overhead from the systems administrators. To manually enable WINS and configure primary and secondary WINS servers through CentreWare IS: 1. Under Server Information, select Enabled to enable the protocol. 2. Type the IP Address in the Primary Server IP Address for your primary server. 3. If desired, type the IP Address in the Secondary Server IP Address for a secondary server. Note: If DHCP is configured, WINS IP Addresses will be overridden. 4. Click Apply. Note: The settings are not applied until you restart the printer. 5. Click OK. WorkCentre 6400 Multifunction Printer 49 System Administrator Guide
-
 1
1 -
2
-
3
-
4
-
5
-
6
-
7
-
8
-
9
-
10
-
11
-
12
-
13
-
14
-
15
-
16
-
17
-
18
-
19
-
20
-
21
-
22
-
23
-
24
-
25
-
26
-
27
-
28
-
29
-
30
-
31
-
32
-
33
-
34
-
35
-
36
-
37
-
38
-
39
-
40
-
41
-
42
-
43
-
 44
44 -
 45
45 -
 46
46 -
 47
47 -
 48
48 -
 49
49 -
 50
50 -
 51
51 -
 52
52 -
 53
53 -
 54
54 -
55
-
56
-
57
-
58
-
59
-
60
-
61
-
62
-
63
-
64
-
65
-
66
-
67
-
68
-
69
-
70
-
71
-
72
-
73
-
74
-
75
-
76
-
77
-
78
-
79
-
80
-
81
-
82
-
83
-
84
-
85
-
86
-
87
-
88
-
89
-
90
-
91
-
92
-
93
-
94
-
95
-
96
-
97
-
98
-
99
-
100
-
101
-
102
-
103
-
104
-
105
-
106
-
107
-
108
-
109
-
110
-
111
-
112
-
113
-
114
-
115
-
116
-
117
-
118
-
119
-
120
-
121
-
122
-
123
-
124
-
125
-
126
-
127
-
128
-
129
-
130
-
131
-
132
-
133
-
134
-
135
-
136
-
137
-
138
-
139
-
140
-
141
-
142
-
143
-
144
-
145
-
146
-
147
-
148
-
149
-
150
-
151
-
152
-
153
-
154
-
155
-
156
-
157
-
158
-
159
-
160
-
161
-
162
-
163
-
164
-
165
-
166
-
167
-
168
-
169
-
170
-
171
-
172
-
173
-
174
-
175
-
176
-
177
-
178
-
179
-
180
-
181
-
182
-
183
-
184
 |
 |
