Xerox M118i System Administration Guide - Page 87
Network Communication Setup
 |
UPC - 095205219265
View all Xerox M118i manuals
Add to My Manuals
Save this manual to your list of manuals |
Page 87 highlights
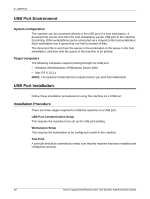
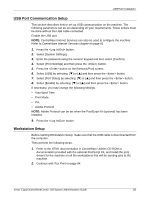
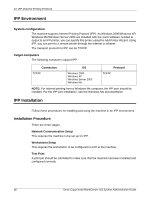
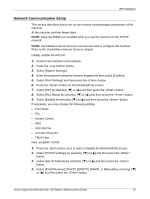
IPP Installation Network Communication Setup This section describes how to set up the network communication parameters of the machine. At the machine, perform these steps. NOTE: Keep the SNMP port enabled while you use the machine on the TCP/IP network. NOTE: CentreWare Internet Services can also be used to configure the machine. Refer to the CentreWare Internet Services chapter. Initially, enable the IPP port. 1. Connect the machine to the network. 2. Press the button. 3. Select [System Settings]. 4. Enter the password using the numeric keypad and then select [Confirm]. 5. Select [Print Settings] and then press the button. 6. Press the button on the [Network/Port] screen. 7. Select [IPP] by selecting [T] or [S] and then press the button. 8. Select [Port Status] by selecting [T] or [S] and then press the button. 9. Select [Enable] by selecting [T] or [S] and then press the button. If necessary, you may change the following settings. • Print Mode • PJL • Access Control • DNS • ADD Port No. • Connect Time-Out • TBCP Filter Next, establish TCP/IP. 1. Press the button once or twice to display the [Network/Port] screen. 2. Select [TCP/IP Settings] by selecting [T] or [S] and then press the button. 3. Select [Get IP Address] by selecting [T] or [S] and then press the button. 4. Select [DHCP/Autonet], [DHCP], [BOOTP], [RARP], or [Manual] by selecting [T] or [S] and then press the button. Xerox CopyCentre/WorkCentre 118 System Administration Guide 87
-
 1
1 -
2
-
3
-
4
-
5
-
6
-
7
-
8
-
9
-
10
-
11
-
12
-
13
-
14
-
15
-
16
-
17
-
18
-
19
-
20
-
21
-
22
-
23
-
24
-
25
-
26
-
27
-
28
-
29
-
30
-
31
-
32
-
33
-
34
-
35
-
36
-
37
-
38
-
39
-
40
-
41
-
42
-
43
-
44
-
45
-
46
-
47
-
48
-
49
-
50
-
51
-
52
-
53
-
54
-
55
-
56
-
57
-
58
-
59
-
60
-
61
-
62
-
63
-
64
-
65
-
66
-
67
-
68
-
69
-
70
-
71
-
72
-
73
-
74
-
75
-
76
-
77
-
78
-
79
-
80
-
81
-
 82
82 -
 83
83 -
 84
84 -
 85
85 -
 86
86 -
 87
87 -
 88
88 -
 89
89 -
 90
90 -
 91
91 -
 92
92 -
93
-
94
-
95
-
96
-
97
-
98
-
99
-
100
-
101
-
102
-
103
-
104
-
105
-
106
-
107
-
108
-
109
-
110
-
111
-
112
-
113
-
114
-
115
-
116
-
117
-
118
-
119
-
120
-
121
-
122
-
123
-
124
-
125
-
126
-
127
-
128
-
129
-
130
-
131
-
132
-
133
-
134
 |
 |
