LG VS750 Owner's Manual - Page 57
 |
UPC - 652810814379
View all LG VS750 manuals
Add to My Manuals
Save this manual to your list of manuals |
Page 57 highlights
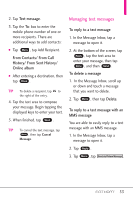
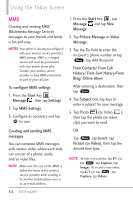
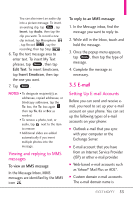
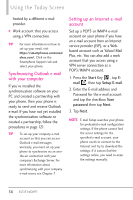
You can also insert an audio clip into a picture message. To insert an existing clip, tap Menu , tap Insert, tap Audio, then tap the clip you want. To record a new clip instead, tap Microphone , tap Record , say the recording, then tap Stop . 6. Tap the text message area to enter text. To insert My Text phrases, tap Menu , then tap Edit Text. To insert Emoticons, tap Insert Emoticon, then tap the one you want. 7. Tap Send . NOTES • To designate recipient(s) as addressee, copied addressee, or blindcopy addressee, tap the To: box, the To: box again then tap To, Cc or Bcc as needed. • To remove a photo, text, or audio, tap next to the item to remove. • Additional slides are added automatically if you insert multiple photos into the message. Viewing and replying to MMS messages To view an MMS message In the Message Inbox, MMS messages are identified by the MMS icon . To reply to an MMS message 1. In the Message inbox, find the message you want to reply to. 2. While still in the Inbox, touch and hold the message. 3. Once the popup menu appears, tap Reply , then tap the type of message. 4. Complete the message as necessary. 3.5 E-mail Setting Up E-mail Accounts Before you can send and receive email, you need to set up your e-mail account on your phone. You can set up the following types of e-mail accounts on your phone: ● Outlook e-mail that you sync with your computer or the Exchange Server. ● E-mail account that you have from an Internet Service Provider (ISP) or other e-mail provider. ● Web-based e-mail accounts such as Yahoo!® Mail Plus or AOL®. ● Custom domain e-mail accounts. The e-mail domain name is 55
-
 1
1 -
2
-
3
-
4
-
5
-
6
-
7
-
8
-
9
-
10
-
11
-
12
-
13
-
14
-
15
-
16
-
17
-
18
-
19
-
20
-
21
-
22
-
23
-
24
-
25
-
26
-
27
-
28
-
29
-
30
-
31
-
32
-
33
-
34
-
35
-
36
-
37
-
38
-
39
-
40
-
41
-
42
-
43
-
44
-
45
-
46
-
47
-
48
-
49
-
50
-
51
-
 52
52 -
 53
53 -
 54
54 -
 55
55 -
 56
56 -
 57
57 -
 58
58 -
 59
59 -
 60
60 -
 61
61 -
 62
62 -
63
-
64
-
65
-
66
-
67
-
68
-
69
-
70
-
71
-
72
-
73
-
74
-
75
-
76
-
77
-
78
-
79
-
80
-
81
-
82
-
83
-
84
-
85
-
86
-
87
-
88
-
89
-
90
-
91
-
92
-
93
-
94
-
95
-
96
-
97
-
98
-
99
-
100
-
101
-
102
-
103
-
104
-
105
-
106
-
107
-
108
-
109
-
110
-
111
-
112
-
113
-
114
-
115
-
116
-
117
-
118
-
119
-
120
-
121
-
122
-
123
-
124
-
125
-
126
-
127
-
128
-
129
-
130
-
131
-
132
-
133
-
134
-
135
-
136
-
137
-
138
-
139
-
140
-
141
-
142
-
143
-
144
-
145
-
146
-
147
-
148
-
149
-
150
-
151
-
152
-
153
-
154
-
155
-
156
-
157
-
158
-
159
-
160
-
161
-
162
-
163
-
164
-
165
-
166
-
167
-
168
-
169
-
170
-
171
-
172
-
173
-
174
-
175
-
176
-
177
-
178
-
179
-
180
-
181
-
182
-
183
-
184
-
185
-
186
-
187
-
188
 |
 |
