Panasonic PT-DZ12000U Operating Instructions - Page 76
Setting the startup logo
 |
UPC - 791871111550
View all Panasonic PT-DZ12000U manuals
Add to My Manuals
Save this manual to your list of manuals |
Page 76 highlights
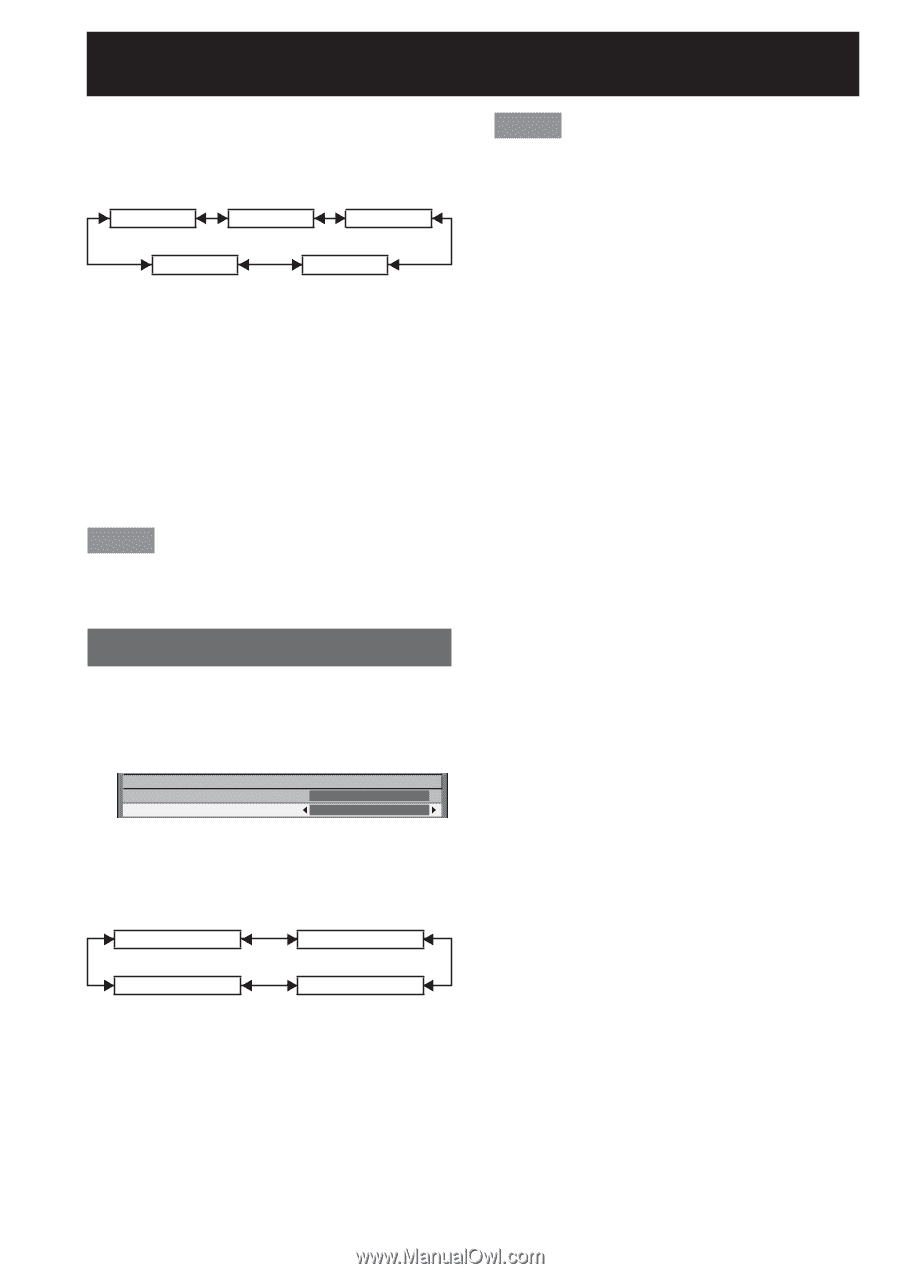
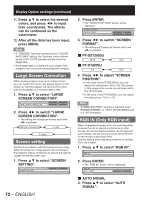
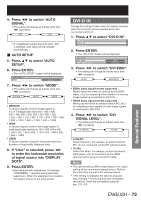
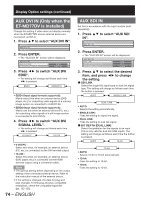
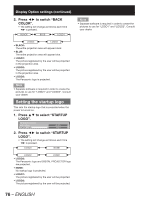
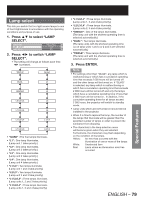
Display Option settings (continued) 2. Press ◄► to switch "BACK COLOR". • The setting will change as follows each time ◄► is pressed. BLACK BLUE LOGO1 LOGO3 LOGO2 • BLACK: The entire projection area will appear black. • BLUE: The entire projection area will appear blue. • LOGO1: The picture registered by the user will be projected in the projection area. • LOGO2: The picture registered by the user will be projected in the projection area. • LOGO3: The Panasonic logo is projected. Note • Separate software is required in order to create the pictures to use for "LOGO1" and "LOGO2". Consult your dealer. Setting the startup logo This sets the startup logo that is projected when the power is turned on. 1. Press ▲▼ to select "STARTUP LOGO". ON-SCREEN DISPLAY BACK COLOR STARTUP LOGO BLACK LOGO3 2. Press ◄► to switch "STARTUP LOGO". • The setting will change as follows each time ◄► is pressed. LOGO3 NONE LOGO2 LOGO1 • LOGO3: The Panasonic logo and DIGITAL PROJECTOR logo are projected. • NONE: No startup logo is projected. • LOGO1: The picture registered by the user will be projected. • LOGO2: The picture registered by the user will be projected. Note • Separate software is required in order to create the pictures to use for "LOGO1" and "LOGO2". Consult your dealer. 76 - ENGLISH
-
 1
1 -
2
-
3
-
4
-
5
-
6
-
7
-
8
-
9
-
10
-
11
-
12
-
13
-
14
-
15
-
16
-
17
-
18
-
19
-
20
-
21
-
22
-
23
-
24
-
25
-
26
-
27
-
28
-
29
-
30
-
31
-
32
-
33
-
34
-
35
-
36
-
37
-
38
-
39
-
40
-
41
-
42
-
43
-
44
-
45
-
46
-
47
-
48
-
49
-
50
-
51
-
52
-
53
-
54
-
55
-
56
-
57
-
58
-
59
-
60
-
61
-
62
-
63
-
64
-
65
-
66
-
67
-
68
-
69
-
70
-
 71
71 -
 72
72 -
 73
73 -
 74
74 -
 75
75 -
 76
76 -
 77
77 -
 78
78 -
 79
79 -
 80
80 -
 81
81 -
82
-
83
-
84
-
85
-
86
-
87
-
88
-
89
-
90
-
91
-
92
-
93
-
94
-
95
-
96
-
97
-
98
-
99
-
100
-
101
-
102
-
103
-
104
-
105
-
106
-
107
-
108
-
109
-
110
-
111
-
112
-
113
-
114
-
115
-
116
-
117
-
118
-
119
-
120
-
121
-
122
-
123
-
124
-
125
-
126
-
127
-
128
-
129
-
130
-
131
-
132
-
133
-
134
-
135
-
136
-
137
-
138
 |
 |