Canon PIXMA MX392 Manual - Page 89
Destination, Output Size, Image corrections
 |
View all Canon PIXMA MX392 manuals
Add to My Manuals
Save this manual to your list of manuals |
Page 89 highlights
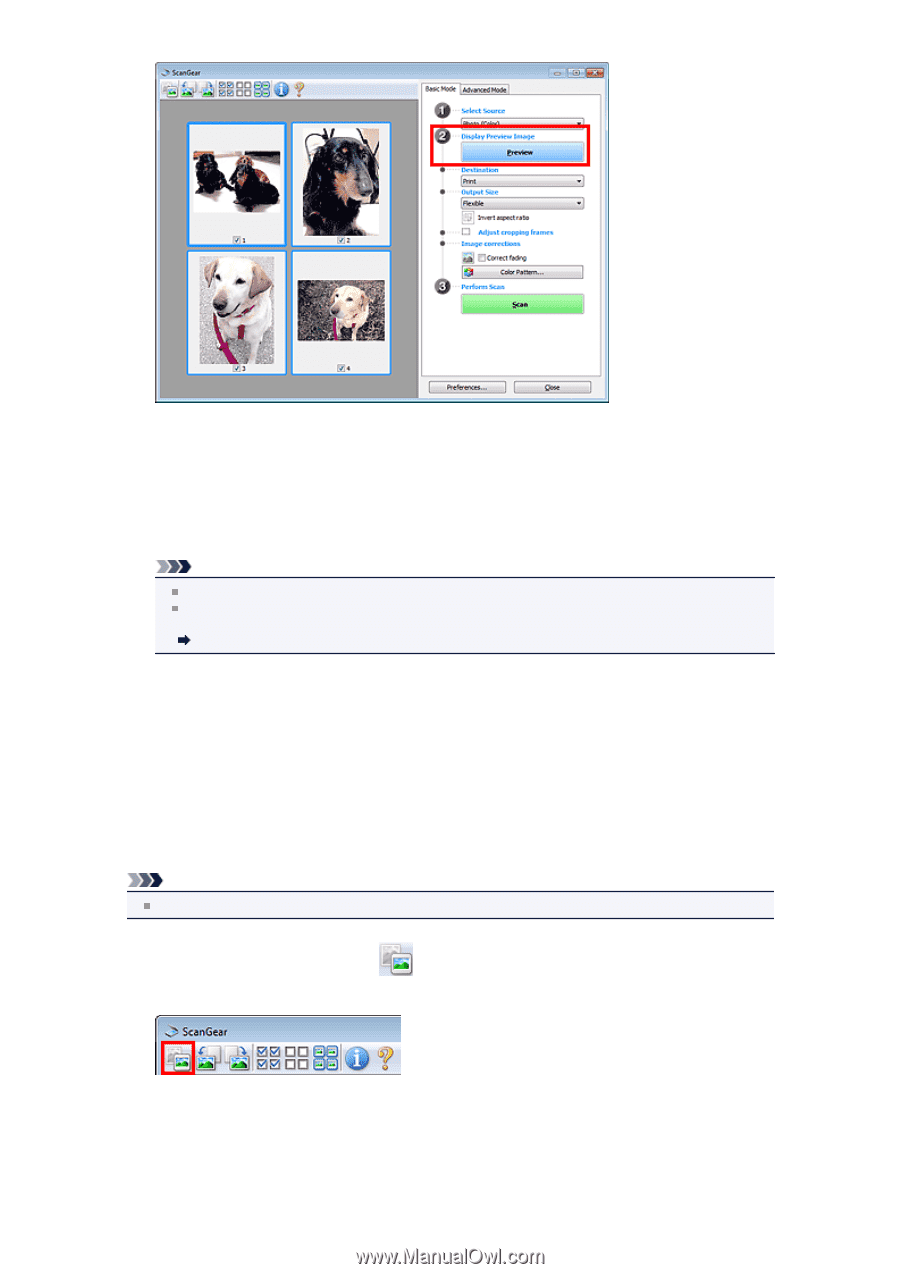
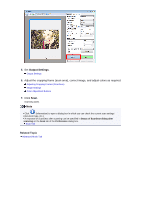
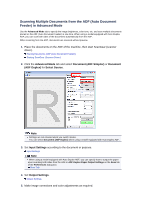
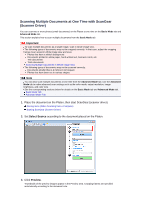
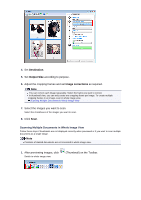
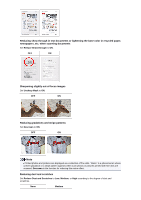
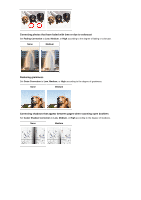
4. Set Destination. 5. Set Output Size according to purpose. 6. Adjust the cropping frames and set Image corrections as required. Note You can correct each image separately. Select the frame you want to correct. In thumbnail view, you can only create one cropping frame per image. To create multiple cropping frames in an image, scan in whole image view. Scanning Multiple Documents in Whole Image View 7. Select the images you want to scan. Select the checkboxes of the images you want to scan. 8. Click Scan. Scanning Multiple Documents in Whole Image View Follow these steps if thumbnails are not displayed correctly when previewed or if you want to scan multiple documents as a single image. Note Positions of slanted documents are not corrected in whole image view. 1. After previewing images, click Switch to whole image view. (Thumbnail) on the Toolbar.
-
 1
1 -
2
-
3
-
4
-
5
-
6
-
7
-
8
-
9
-
10
-
11
-
12
-
13
-
14
-
15
-
16
-
17
-
18
-
19
-
20
-
21
-
22
-
23
-
24
-
25
-
26
-
27
-
28
-
29
-
30
-
31
-
32
-
33
-
34
-
35
-
36
-
37
-
38
-
39
-
40
-
41
-
42
-
43
-
44
-
45
-
46
-
47
-
48
-
49
-
50
-
51
-
52
-
53
-
54
-
55
-
56
-
57
-
58
-
59
-
60
-
61
-
62
-
63
-
64
-
65
-
66
-
67
-
68
-
69
-
70
-
71
-
72
-
73
-
74
-
75
-
76
-
77
-
78
-
79
-
80
-
81
-
82
-
83
-
 84
84 -
 85
85 -
 86
86 -
 87
87 -
 88
88 -
 89
89 -
 90
90 -
 91
91 -
 92
92 -
 93
93 -
 94
94 -
95
-
96
-
97
-
98
-
99
-
100
-
101
-
102
-
103
-
104
-
105
-
106
-
107
-
108
-
109
-
110
-
111
-
112
-
113
-
114
-
115
-
116
-
117
-
118
-
119
-
120
-
121
-
122
-
123
-
124
-
125
-
126
-
127
-
128
-
129
-
130
-
131
-
132
-
133
-
134
-
135
-
136
-
137
-
138
-
139
-
140
-
141
-
142
-
143
-
144
-
145
-
146
-
147
-
148
-
149
-
150
-
151
-
152
-
153
-
154
-
155
-
156
-
157
-
158
-
159
-
160
-
161
-
162
-
163
-
164
-
165
-
166
-
167
-
168
-
169
-
170
 |
 |