Dell 1135N User Guide - Page 55
Faxing
 |
View all Dell 1135N manuals
Add to My Manuals
Save this manual to your list of manuals |
Page 55 highlights
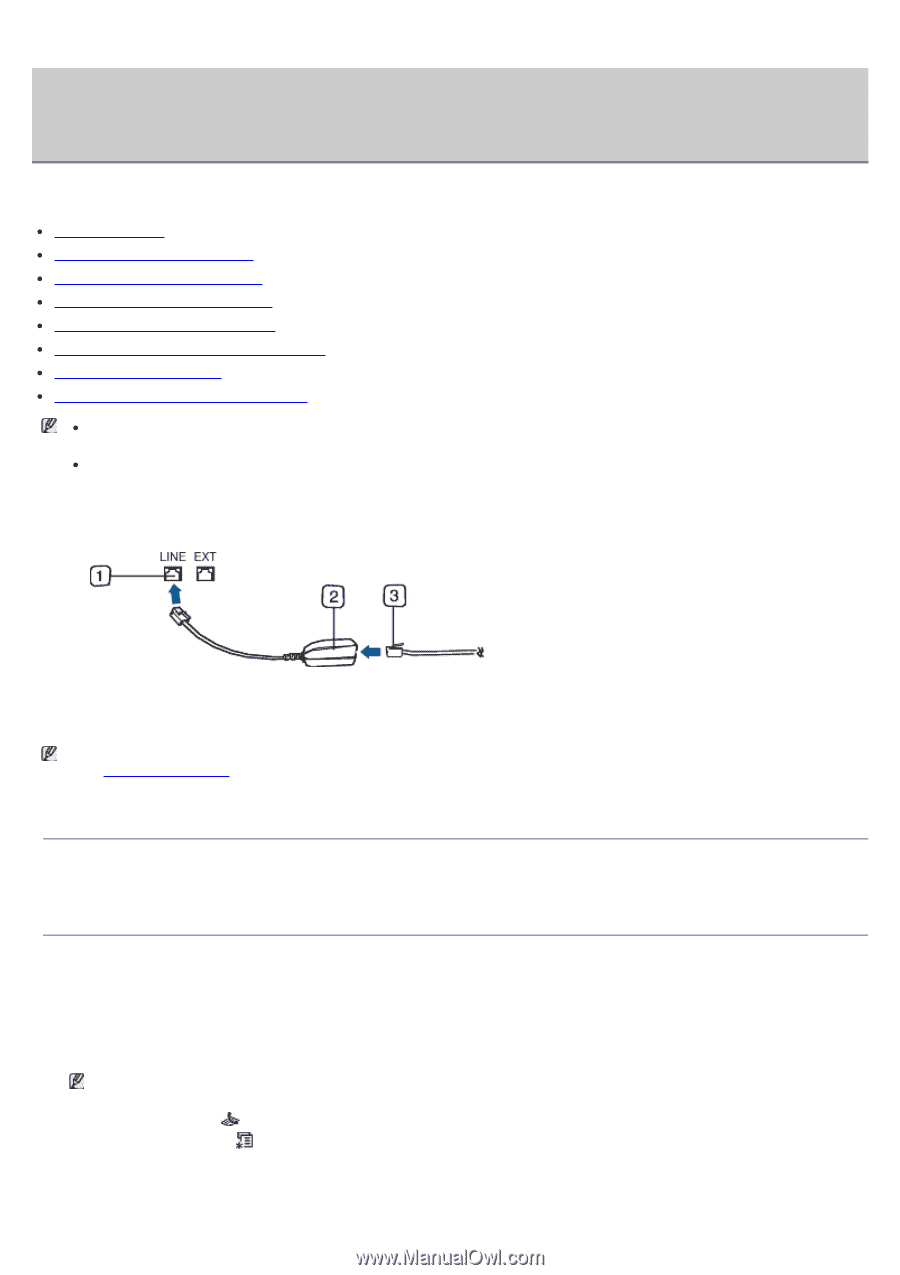
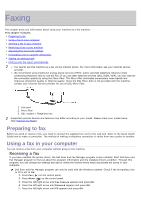
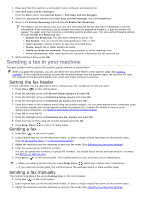
Faxing This chapter gives you information about using your machine as a fax machine. This chapter includes: Preparing to fax Using a fax in your computer Sending a fax in your machine Receiving a fax in your machine Adjusting the document settings Forwarding a fax to another destination Setting up address book Printing sent fax report automatically You cannot use this machine as a fax via the internet phone. For more information ask your internet service provider. We recommend using traditional analog phone services (PSTN: public switched telephone network) when connecting telephone lines to use the Fax. If you use other Internet services (DSL, ISDN, VolP), you can improve the connection quality by using the Micro-filter. The Micro-filter eliminates unnecessary noise signals and improves connection quality or Internet quality. Since the DSL Micro-filter is not provided with the machine, contact your Internet Service provider for use on DSL Micro-filter. 1. Line port 2. Micro filter 3. DSL modem / Telephone line Supported optional devices and features may differ according to your model. Please check your model name. (See Features by Model). Preparing to fax Before you send or receive a fax, you need to connect the supplied line cord to the wall jack. Refer to the Quick Install Guide how to make a connection. The method of making a telephone connection is varies from one country to another. Using a fax in your computer You can receive a fax from your computer without going to the machine. Receiving a fax If you have installed the printer driver, the Dell Scan and Fax Manager program is also installed. Start Dell Scan and Fax Manager program to find out about this program information and the installed driver's condition. Through this program, you can change fax settings and add or delete the folders where faxed documents are saved in your computer. Dell Scan and Fax Manager program can only be used with the Windows systems. Check if the forwarding a fax to PC is set to On: 1. Press Fax ( ) on the control panel. 2. Press Menu ( ) on the control panel. 3. Press the left/right arrow until Fax Feature appears and press OK. 4. Press the left/right arrow until Forward appears and press OK. 5. Press the left/right arrow until PC appears and press OK.
-
 1
1 -
2
-
3
-
4
-
5
-
6
-
7
-
8
-
9
-
10
-
11
-
12
-
13
-
14
-
15
-
16
-
17
-
18
-
19
-
20
-
21
-
22
-
23
-
24
-
25
-
26
-
27
-
28
-
29
-
30
-
31
-
32
-
33
-
34
-
35
-
36
-
37
-
38
-
39
-
40
-
41
-
42
-
43
-
44
-
45
-
46
-
47
-
48
-
49
-
 50
50 -
 51
51 -
 52
52 -
 53
53 -
 54
54 -
 55
55 -
 56
56 -
 57
57 -
 58
58 -
 59
59 -
 60
60 -
61
-
62
-
63
-
64
-
65
-
66
-
67
-
68
-
69
-
70
-
71
-
72
-
73
-
74
-
75
-
76
-
77
-
78
-
79
-
80
-
81
-
82
-
83
-
84
-
85
-
86
-
87
-
88
-
89
-
90
-
91
-
92
-
93
-
94
-
95
-
96
-
97
-
98
-
99
-
100
-
101
-
102
-
103
-
104
-
105
-
106
-
107
-
108
-
109
-
110
-
111
-
112
-
113
-
114
-
115
-
116
-
117
-
118
-
119
-
120
-
121
-
122
-
123
-
124
-
125
-
126
-
127
-
128
-
129
-
130
-
131
-
132
-
133
-
134
-
135
-
136
-
137
-
138
 |
 |