Dell 1135N User Guide - Page 85
Media and tray - ink
 |
View all Dell 1135N manuals
Add to My Manuals
Save this manual to your list of manuals |
Page 85 highlights
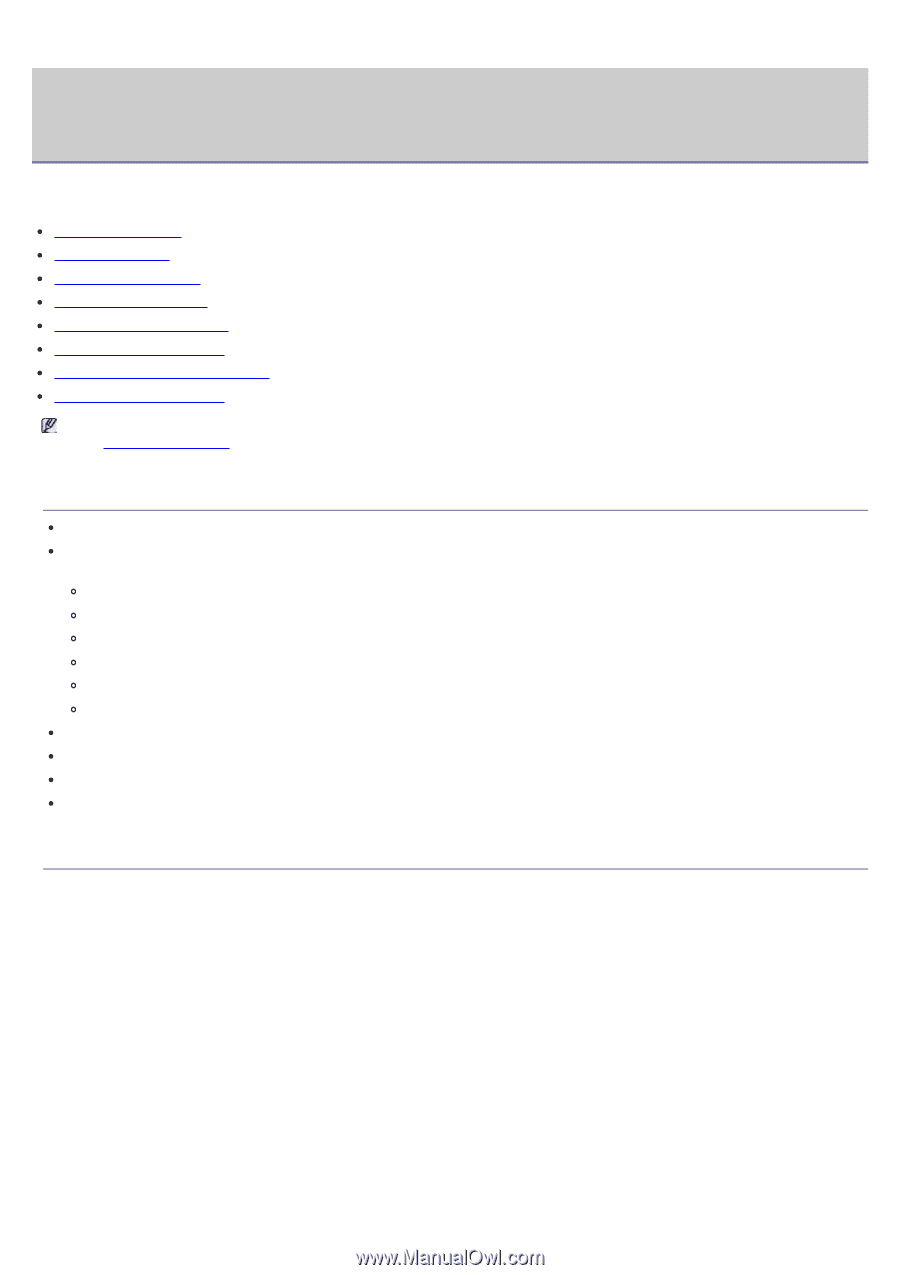
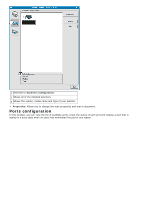
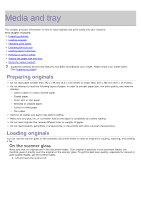
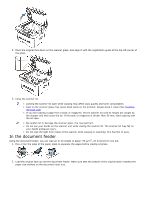
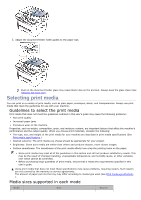
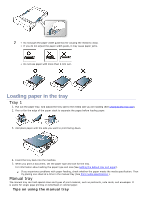
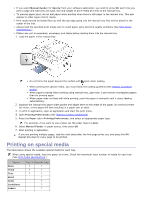
Media and tray This chapter provides information on how to load originals and print media into your machine. This chapter includes: Preparing originals Loading originals Selecting print media Changing the tray size Loading paper in the tray Printing on special media Setting the paper size and type Using the output support Supported optional devices and features may differ according to your model. Please check your model name. (See Features by Model). Preparing originals Do not load paper smaller than 142 x 148 mm (5.6 x 5.8 inches) or larger than 216 x 356 mm (8.5 x 14 inches). Do not attempt to load the following types of paper, in order to prevent paper jam, low print quality, and machine damage. Carbon-paper or carbon-backed paper Coated paper Onion skin or thin paper Wrinkled or creased paper Curled or rolled paper Torn paper Remove all staples and paper clips before loading. Make sure any glue, ink, or correction fluid on the paper is completely dry before loading. Do not load originals that include different sizes or weights of paper. Do not load booklets, pamphlets, transparencies, or documents with other unusual characteristics. Loading originals You can use the scanner glass or the automatic document feeder to load an original for copying, scanning, and sending a fax. On the scanner glass Make sure that no originals are in the document feeder. If an original is detected in the document feeder, the machine gives it priority over the original on the scanner glass. To get the best scan quality, especially for colored or gray-scaled images, use the scanner glass. 1. Lift and open the scanner lid.
-
 1
1 -
2
-
3
-
4
-
5
-
6
-
7
-
8
-
9
-
10
-
11
-
12
-
13
-
14
-
15
-
16
-
17
-
18
-
19
-
20
-
21
-
22
-
23
-
24
-
25
-
26
-
27
-
28
-
29
-
30
-
31
-
32
-
33
-
34
-
35
-
36
-
37
-
38
-
39
-
40
-
41
-
42
-
43
-
44
-
45
-
46
-
47
-
48
-
49
-
50
-
51
-
52
-
53
-
54
-
55
-
56
-
57
-
58
-
59
-
60
-
61
-
62
-
63
-
64
-
65
-
66
-
67
-
68
-
69
-
70
-
71
-
72
-
73
-
74
-
75
-
76
-
77
-
78
-
79
-
 80
80 -
 81
81 -
 82
82 -
 83
83 -
 84
84 -
 85
85 -
 86
86 -
 87
87 -
 88
88 -
 89
89 -
 90
90 -
91
-
92
-
93
-
94
-
95
-
96
-
97
-
98
-
99
-
100
-
101
-
102
-
103
-
104
-
105
-
106
-
107
-
108
-
109
-
110
-
111
-
112
-
113
-
114
-
115
-
116
-
117
-
118
-
119
-
120
-
121
-
122
-
123
-
124
-
125
-
126
-
127
-
128
-
129
-
130
-
131
-
132
-
133
-
134
-
135
-
136
-
137
-
138
 |
 |