Dell V305 User Guide - Page 59
Scanning Documents or Photos for E-Mailing
 |
UPC - 884116004004
View all Dell V305 manuals
Add to My Manuals
Save this manual to your list of manuals |
Page 59 highlights
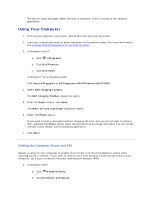
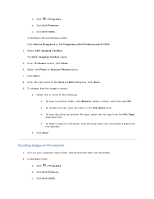
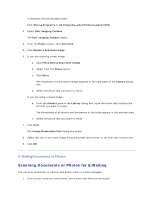
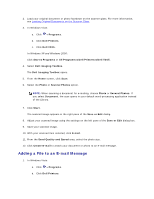
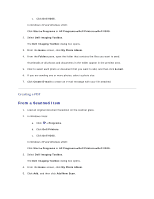
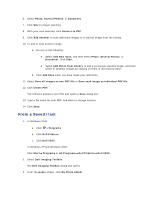
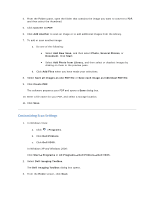
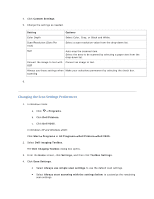
In Windows XP and Windows 2000: Click Start Programs or All Programs Dell Printers Dell V305. 3. Select Dell Imaging Toolbox. The Dell Imaging Toolbox opens. 4. From the Home screen, click Activities. 5. Click Resize a Scanned Image. 6. If you are scanning a new image: a. Click File New Scan New Image. b. Select from the Photo option. c. Click Start. The thumbnail of the scanned image appears in the right pane of the Library dialog box. d. Select the photo that you want to resize. If you are using a saved image: e. From the Folders pane in the Library dialog box, open the folder that contains the file that you want to resize. The thumbnails of all photos and documents in the folder appear in the preview area. f. Select the photo that you want to resize. 7. Click Next. The Image Resolution/Size dialog box opens. 8. Select the size of your new image using the preset photo sizes, or set your own custom size. 9. Click OK. EMailing Documents or Photos Scanning Documents or Photos for E-Mailing You can scan documents or photos, and attach them to e-mail messages. 1. Turn on your computer and printer, and ensure that they are connected.
-
 1
1 -
2
-
3
-
4
-
5
-
6
-
7
-
8
-
9
-
10
-
11
-
12
-
13
-
14
-
15
-
16
-
17
-
18
-
19
-
20
-
21
-
22
-
23
-
24
-
25
-
26
-
27
-
28
-
29
-
30
-
31
-
32
-
33
-
34
-
35
-
36
-
37
-
38
-
39
-
40
-
41
-
42
-
43
-
44
-
45
-
46
-
47
-
48
-
49
-
50
-
51
-
52
-
53
-
 54
54 -
 55
55 -
 56
56 -
 57
57 -
 58
58 -
 59
59 -
 60
60 -
 61
61 -
 62
62 -
 63
63 -
 64
64 -
65
-
66
-
67
-
68
-
69
-
70
-
71
-
72
-
73
-
74
-
75
-
76
-
77
-
78
-
79
-
80
-
81
-
82
-
83
-
84
-
85
-
86
-
87
-
88
-
89
-
90
-
91
-
92
-
93
-
94
-
95
-
96
-
97
-
98
-
99
-
100
-
101
-
102
-
103
-
104
-
105
-
106
-
107
-
108
-
109
-
110
-
111
-
112
-
113
-
114
-
115
-
116
-
117
-
118
-
119
-
120
-
121
-
122
-
123
-
124
-
125
-
126
-
127
-
128
-
129
-
130
-
131
-
132
-
133
 |
 |