Kyocera FS-1035MFP/DP KM-NET Viewer Operation Guide Rev-5.3 2011.7 - Page 44
Setting Group Authorization, Searching the Group List, Edit Group
 |
View all Kyocera FS-1035MFP/DP manuals
Add to My Manuals
Save this manual to your list of manuals |
Page 44 highlights
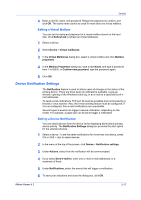
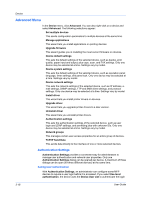
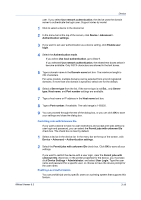
Device 3-22 1 In the menu bar, click Device > Advanced > Network groups. Alternatively, right-click on the device, and then in the context menu, click Advanced > Network groups. 2 To add a group, click Add group. 3 To edit a group, select one group. Click Properties. 4 The Add Group dialog box and the Edit Group dialog box contain the same settings. For the group named Other, the Group ID and Group name cannot be edited, but the Access level and Job authorization settings can be edited. 5 In the Group information section, in the Group ID text box, type an identifying number of up to 10 numeric characters. 6 In the Group name text box, type a name for the group. The maximum number of alphanumeric characters is 32. 7 For Access level select either User or Administrator. User is selected by default. 8 In the Job authorization settings, there is a list of printing system properties. You can select to either Permit or Prohibit each of the properties. If you want to permit all the properties, click Permit all at the top of the list. If you want to prohibit all the properties, click Prohibit all. 9 After making all your changes, click OK to save all your changes. The new group will be added to the group list for the selected device, or your edits will be saved to the existing group. You can delete a network group by selecting it in the list and clicking Delete group. The group named Other is used by the application and cannot be deleted. Setting Group Authorization Group authorization means all users can operate within permissions set for the group. You can activate or deactivate Group authorization for all groups listed in the Network Groups dialog box. 1 In the menu bar at the top of the screen, click Device > Advanced > Network groups. Alternatively, right-click on the device, and then in the context menu, click Advanced > Network groups. 2 In the toolbar, click the Authorize Groups icon. 3 Click On to activate group authorization. Click Off to deactivate group authorization. Click OK to save your choice. Searching the Group List In the Network Groups dialog box, you can search by Group ID or Group name to find a specific group. User Guide
-
 1
1 -
2
-
3
-
4
-
5
-
6
-
7
-
8
-
9
-
10
-
11
-
12
-
13
-
14
-
15
-
16
-
17
-
18
-
19
-
20
-
21
-
22
-
23
-
24
-
25
-
26
-
27
-
28
-
29
-
30
-
31
-
32
-
33
-
34
-
35
-
36
-
37
-
38
-
 39
39 -
 40
40 -
 41
41 -
 42
42 -
 43
43 -
 44
44 -
 45
45 -
 46
46 -
 47
47 -
 48
48 -
 49
49 -
50
-
51
-
52
-
53
-
54
-
55
-
56
-
57
-
58
-
59
-
60
-
61
-
62
-
63
-
64
-
65
-
66
-
67
-
68
-
69
-
70
-
71
-
72
-
73
-
74
-
75
-
76
-
77
-
78
-
79
-
80
-
81
-
82
-
83
-
84
-
85
-
86
 |
 |