Panasonic WJHD500A WJHD500A User Guide - Page 31
Mirroring Function
 |
View all Panasonic WJHD500A manuals
Add to My Manuals
Save this manual to your list of manuals |
Page 31 highlights
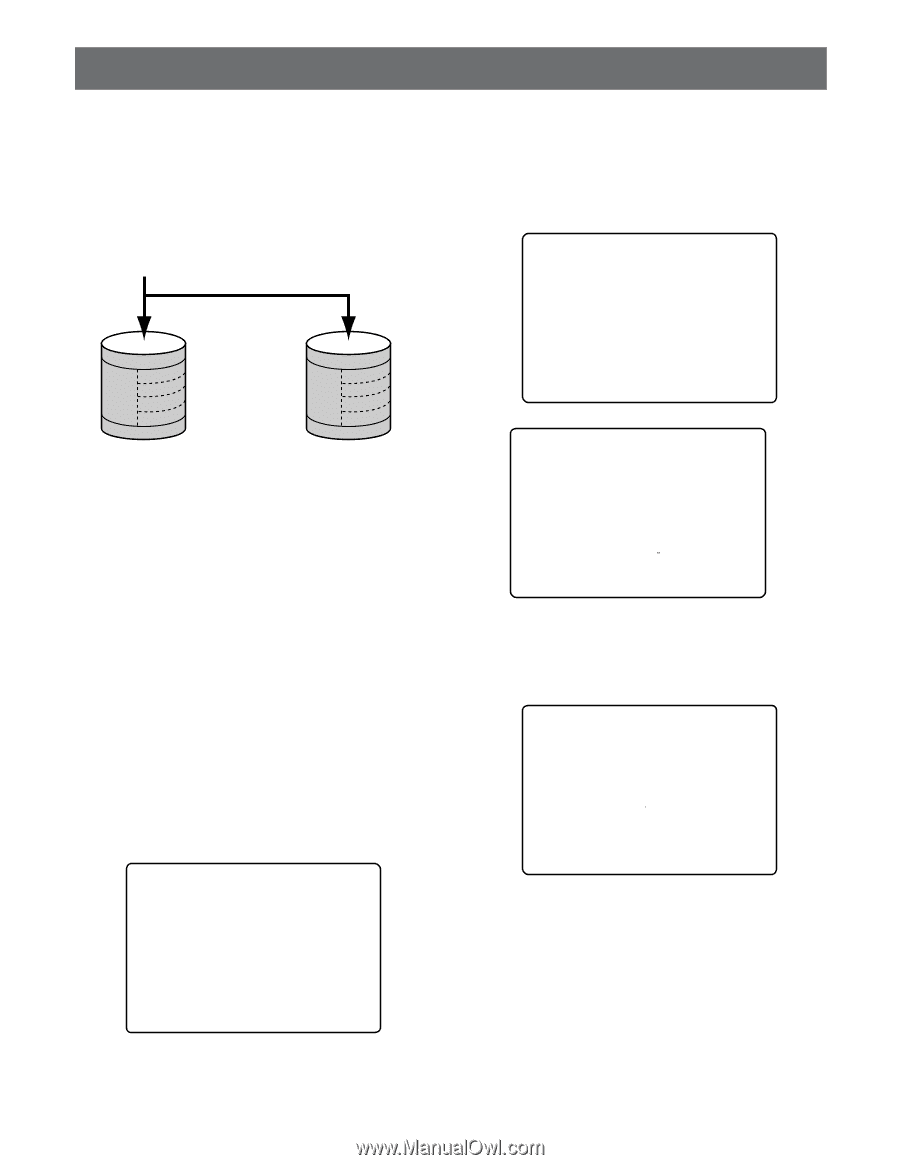
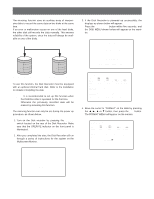
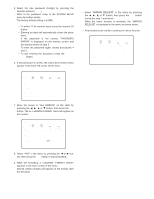
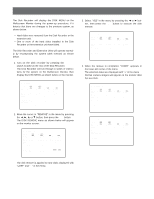
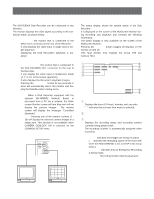
MIRRORING FUNCTION The mirroring function uses an auxiliary array of inexpensive disks to record the same data on two disks at the same time. If an error or malfunction occurs on one of the hard disks, the other disk still records the data normally. This ensures reliability of the system, since the data will always be available on one of the disks. Camera Images Recording Auxiliary Recording Manual Recorder Group 1 Timer Group 2 Recorder Group 3 Group 4 Emergency Recorder WJ-HD500 Disk 1 (Master) Manual Recorder Group 1 Timer Group 2 Recorder Group 3 Group 4 Emergency Recorder WJ-HD500 Disk 2 (Slave) To use this function, the Disk Recorder must be equipped with an optional internal hard disk. Refer to the installation for details of installing the disk. Note: It is recommended to set up this function when the Disk Recorder is operated for the first time. Otherwise the previously recorded data will be erased by activating this function. The mirroring function can only be set during the power up procedure, as shown below. 1. Turn on the Disk recorder by pressing the POWER switch located on the rear of the Disk Recorder. Make sure that the OPERATE indicator on the front panel is illuminated. 2. After you completed the start, the Disk Recorder will run through a series of instructions for the system on the Multiscreen Monitor. 3. If the Disk Recorder is powered up successfully, the displays as shown below will appear. Press the SETUP/ESC button within five seconds, and the DISK MENU shown below will appear on the monitor. [ SYSTEM CHECK ] SYSTEM CHECK DONE! PLEASE WAIT DISK MENU: [SETUP] KEY DISK MENU MAIN 1:¢¢GB EXT5 1:¢¢GB EXT4 1:* EXT3 1:LOST EXT2 1:LOST EXT1 1:EXT0 1:EXT DVD:- 2:¢¢GB 2:¢¢GB 2:* 2:LOST 2:LOST 2:2:- 3:¢¢GB 3:ADD 3:LOST 3:LOST 3:3:- 4:¢¢GB 4:ADD 4:LOST 4:LOST 4:4:- REMOVE FORMAT RESTART SELECT ITEM AND PRESS [SET] KEY 4. Move the cursor to "FORMAT" on the table by pressing the A, B, D or C button, then press the SET button. The FORMAT MENU will appear on the monitor. FORMAT MENU MAIN 1:¢¢GB EXT5 1:¢¢GB EXT4 1:ADD EXT3 1:EXT2 1:EXT1 1:EXT0 1:EXT DVD:- 2:¢¢GB 2:¢¢GB 2:ADD 2:2:2:2:- 3:¢¢GB 3:ADD 3:3:3:3:- 4:¢¢GB 4:ADD 4:4:4:4:- PASSWORDB----- [ SYSTEM CHECK ] PLEASE WAIT 32
-
 1
1 -
2
-
3
-
4
-
5
-
6
-
7
-
8
-
9
-
10
-
11
-
12
-
13
-
14
-
15
-
16
-
17
-
18
-
19
-
20
-
21
-
22
-
23
-
24
-
25
-
 26
26 -
 27
27 -
 28
28 -
 29
29 -
 30
30 -
 31
31 -
 32
32 -
 33
33 -
 34
34 -
 35
35 -
 36
36 -
37
-
38
-
39
-
40
-
41
-
42
-
43
-
44
-
45
-
46
-
47
-
48
-
49
-
50
-
51
-
52
-
53
-
54
-
55
-
56
-
57
-
58
-
59
-
60
-
61
-
62
-
63
-
64
-
65
-
66
-
67
-
68
-
69
-
70
-
71
-
72
-
73
-
74
-
75
-
76
-
77
-
78
-
79
-
80
-
81
-
82
-
83
-
84
-
85
-
86
-
87
-
88
-
89
-
90
-
91
-
92
-
93
-
94
-
95
-
96
-
97
-
98
-
99
-
100
-
101
-
102
 |
 |