Panasonic WJHD500A WJHD500A User Guide - Page 56
SETUP/ESC, Sequence Timing Setting, 1S - 30S, Quad Shift Setting, Quad Pattern Setup
 |
View all Panasonic WJHD500A manuals
Add to My Manuals
Save this manual to your list of manuals |
Page 56 highlights
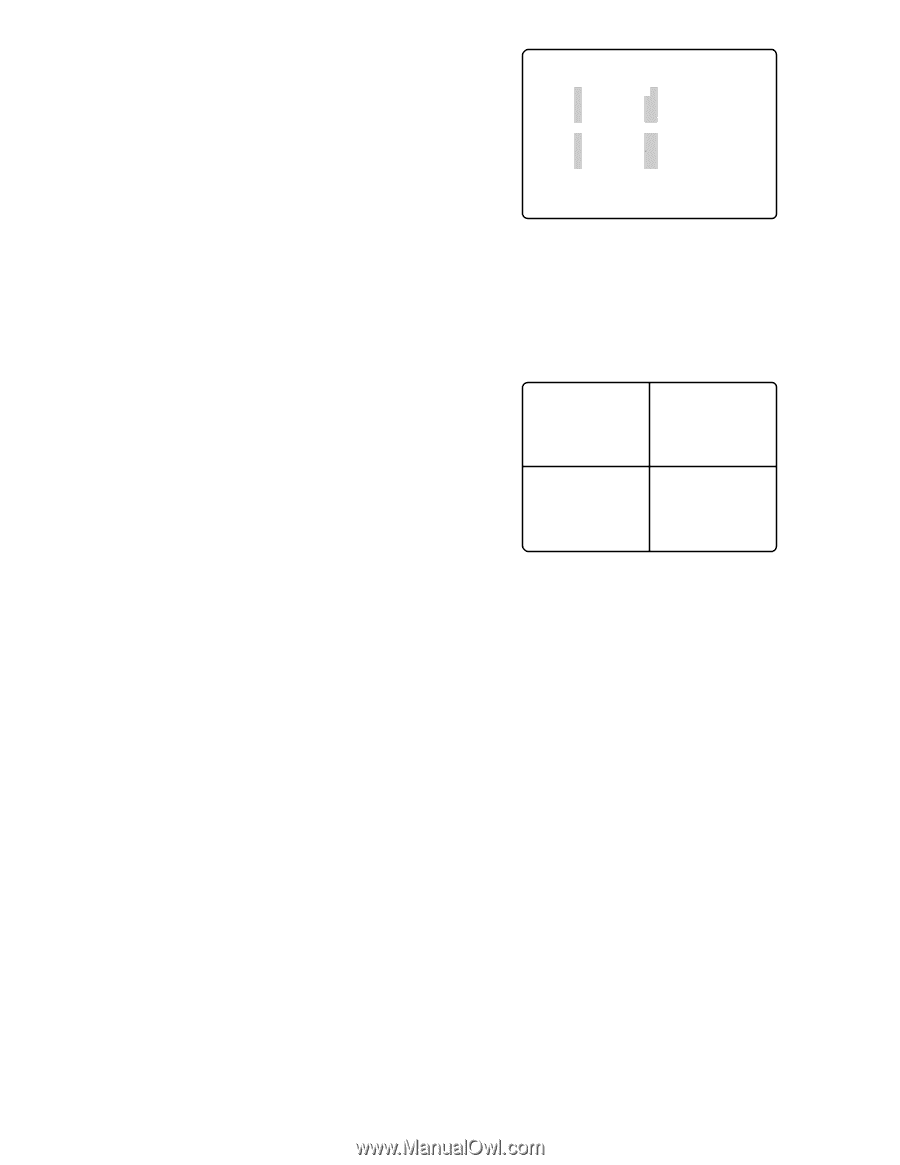
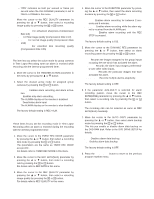
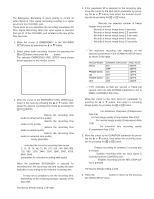
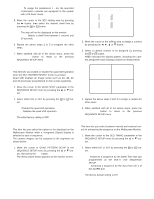
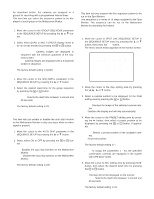
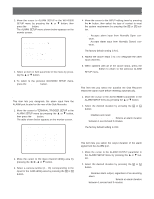
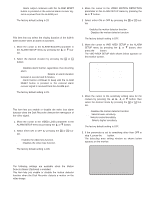
Note: To assign the parameters 1 - 64, the specified combination cameras are equipped in the system with a PS•Data* mode. 5. Move the cursor to the SEC editing area by pressing the B button, then select the desired dwell time by pressing the + or - button. 0S: The step will not be displayed on the monitor. 1S - 30S: Selects a dwell time between 1 second and 30 seconds. 6. Repeat the above steps 2 to 5 to program the other steps. 7. When satisfied with all of the above steps, press the SETUP/ESC button to return to the previous SEQUENCE SETUP menu. 5-1-2 MULTI QUAD PATTERN SETUP AREA CAM 4A-1 1 4A-2 2 4A-3 3 4A-4 4 AREA CAM 4C-1 9 4C-2 10 4C-3 11 4C-4 12 4B-1 5 4B-2 6 4B-3 7 4B-4 8 4D-1 13 4D-2 14 4D-3 15 4D-4 16 2. Move the cursor to the editing area to assign a camera by pressing the A, B, D or C button. 3. Select a camera number to be assigned by pressing the + or - button. AREA indicates the display pattern, including the camera assignment and display positions as shown below. q Quad Shift Setting This item lets you enable or disable the quad shift operation when the MULTISCREEN SELECT button is pressed. Quad shift displays an image series such as 4A, 4B, 4C and 4D previously programmed on four screen segments. 1. Move the cursor to the QUAD SHIFT parameter in the SEQUENCE SETUP menu by pressing the D or C button. 2. Select either ON or OFF by pressing the + or - button. ON: Enables the quad shift operation. OFF: Disables the quad shift operation. The initial factory setting is OFF. q Quad Pattern Setup This item lets you select the pattern to be displayed on the Multiscreen Monitor when a 4-segment (Quad) display is selected in spot or sequence. The camera images can be assigned to the segments as shown below. 1. Move the cursor to QUAD PATTERN SETUP in the SEQUENCE SETUP menu by pressing the D or C button, then press the SET button. The menu shown below appears on the monitor screen. 4A-1 4A-2 4A-3 4A-4 4. Repeat the above steps 2 and 3 to assign a camera for other areas. 5. When satisfied with all of the above steps, press the SETUP/ESC button to return to the previous SEQUENCE SETUP menu. q Sequence Timing Setting This item lets you select between internal and external control for advancing the sequence on the Multiscreen Monitor. 1. Move the cursor to the SEQ TIMING parameter in the SEQUENCE SETUP menu by pressing the D or C button. 2. Select either INT or EXT by pressing the + or - button. INT: Advances a sequence by the Dwell Time that was programmed on the MULTI LIVE SEQUENCE SETUP. EXT: Advances a sequence by the input from pin 5 of the ALARM port. The factory default setting is INT. 58
-
 1
1 -
2
-
3
-
4
-
5
-
6
-
7
-
8
-
9
-
10
-
11
-
12
-
13
-
14
-
15
-
16
-
17
-
18
-
19
-
20
-
21
-
22
-
23
-
24
-
25
-
26
-
27
-
28
-
29
-
30
-
31
-
32
-
33
-
34
-
35
-
36
-
37
-
38
-
39
-
40
-
41
-
42
-
43
-
44
-
45
-
46
-
47
-
48
-
49
-
50
-
 51
51 -
 52
52 -
 53
53 -
 54
54 -
 55
55 -
 56
56 -
 57
57 -
 58
58 -
 59
59 -
 60
60 -
 61
61 -
62
-
63
-
64
-
65
-
66
-
67
-
68
-
69
-
70
-
71
-
72
-
73
-
74
-
75
-
76
-
77
-
78
-
79
-
80
-
81
-
82
-
83
-
84
-
85
-
86
-
87
-
88
-
89
-
90
-
91
-
92
-
93
-
94
-
95
-
96
-
97
-
98
-
99
-
100
-
101
-
102
 |
 |