Panasonic WJHD500A WJHD500A User Guide - Page 72
Disk Management, Disk Information, Disk Space Indicator
 |
View all Panasonic WJHD500A manuals
Add to My Manuals
Save this manual to your list of manuals |
Page 72 highlights
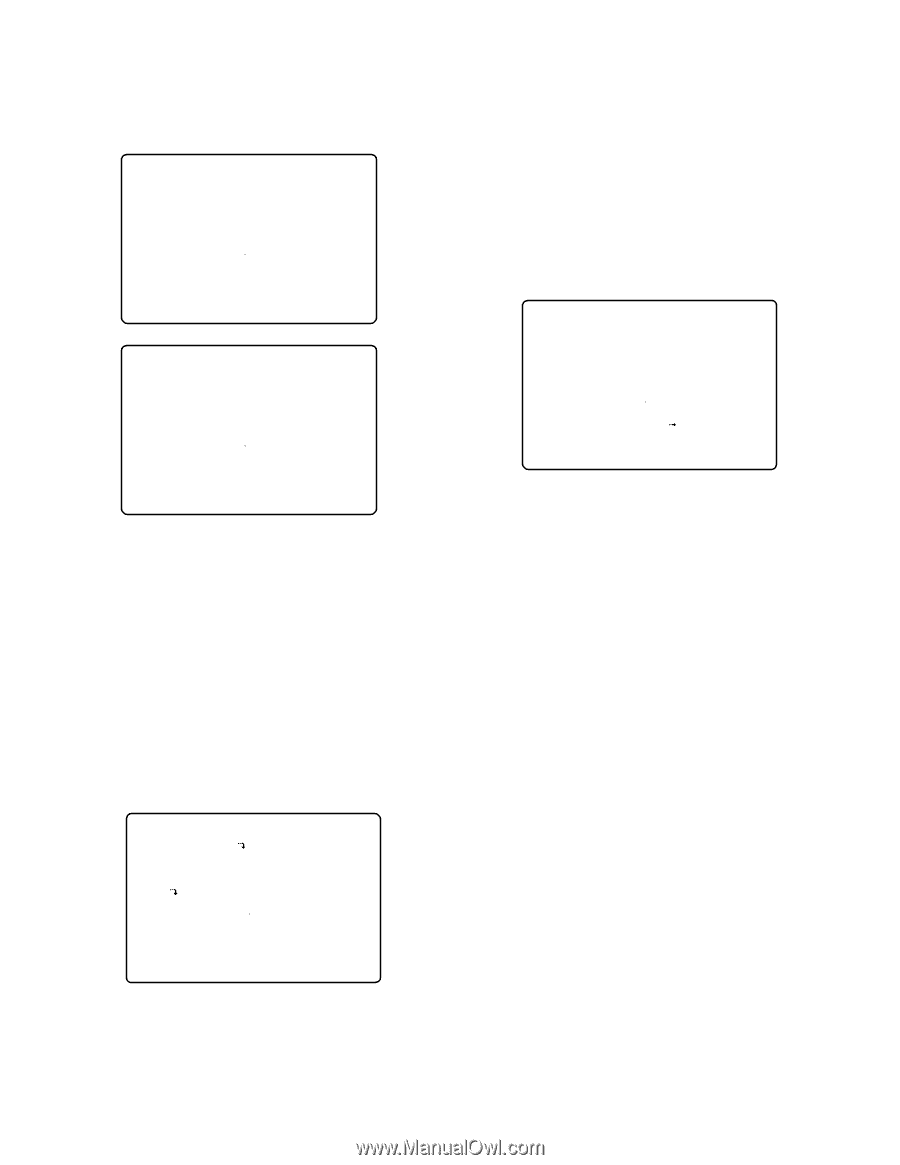
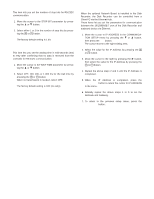
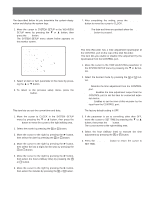
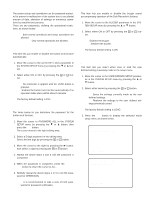
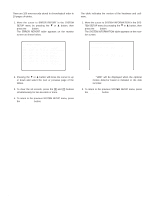
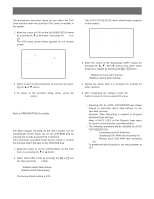
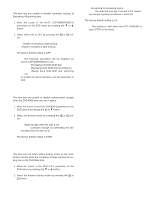
4. Select either YES or NO by pressing the + or - button. Select YES, then press the SET button to execute the selection (save or load). The display shown below appears on the monitor 9-2 USER DEFINED SETUP SAVE USER DEFINED SETUP SAVING COMPLETE! 9-1 USER DEFINED SETUP LOAD USER DEFINED SETUP LOADING COMPLETE! 2. Select an item or item parameter in the menu by pressing the D or C button. 3. To return to the previous setup menu, press the SETUP/ESC button. q Disk Information 1. Move the cursor to DISK INFORMATION in the DISK MANAGEMENT menu by pressing the C or D button, then press the SET button. The DISK INFORMATION table appears on the monitor, as shown below. 9-3-1 DISK INFO HDD TOTAL:¢¢¢GB HOURS HOURS HOURS HOURS MAIN 1:30000 2:30000 EXT5 1:30000 2:30000 3:30000 4:30000 EXT4 1:* 2:* 3:* 4:* EXT3 1:- 2:- 3:- 4:- EXT2 1:- 2:- 3:- 4:- EXT1 1:- 2:- 3:- 4:- EXT0 1:- 2:- 3:- 4:- EXT DVD:OK FORMAT:HD500 LEFT10% DATE :SEP12.00 12:25 STATUS:OK ¢¢GB SEP12.00 16:25 5. To return to the previous setup menu, press the SETUP/ESC button. s Disk Management The Hard Disk status can be displayed on the monitor screen. 1. Move the cursor to DISK MANAGEMENT in the SYSTEM SETUP menu by pressing the C or D button, then press the SET button. The DISK MANAGEMENT menu shown below appears on the monitor. 9-3 DISK MANAGEMENT DISK INFORMATION HDD FULL 1% ERASE 2. To return to the previous setup menu, press the SETUP/ESC button. q Disk Space Indicator This item lets you determine the indication mode for the FULL indicator when the remaining storage capacity is running low on the Hard Disk. 1. Move the cursor to the HDD FULL parameter in the DISK MANAGEMENT menu by pressing the C or D button. 2. Select the desired indicator mode by pressing the + or - button. OFF: No warning for remaining space 1 - 10%: The selected warning is issued if the remain- ing storage capacity is between 1 and 10%. The factory default setting is 1%. Note: This setting is applied to the display on the monitor screen and signal output from the CONTROL port. 74
-
 1
1 -
2
-
3
-
4
-
5
-
6
-
7
-
8
-
9
-
10
-
11
-
12
-
13
-
14
-
15
-
16
-
17
-
18
-
19
-
20
-
21
-
22
-
23
-
24
-
25
-
26
-
27
-
28
-
29
-
30
-
31
-
32
-
33
-
34
-
35
-
36
-
37
-
38
-
39
-
40
-
41
-
42
-
43
-
44
-
45
-
46
-
47
-
48
-
49
-
50
-
51
-
52
-
53
-
54
-
55
-
56
-
57
-
58
-
59
-
60
-
61
-
62
-
63
-
64
-
65
-
66
-
 67
67 -
 68
68 -
 69
69 -
 70
70 -
 71
71 -
 72
72 -
 73
73 -
 74
74 -
 75
75 -
 76
76 -
 77
77 -
78
-
79
-
80
-
81
-
82
-
83
-
84
-
85
-
86
-
87
-
88
-
89
-
90
-
91
-
92
-
93
-
94
-
95
-
96
-
97
-
98
-
99
-
100
-
101
-
102
 |
 |