Panasonic WJHD500A WJHD500A User Guide - Page 85
RECORDING, Internal Timer Recording, Power-on Time Lapse Recording, Manual Recording
 |
View all Panasonic WJHD500A manuals
Add to My Manuals
Save this manual to your list of manuals |
Page 85 highlights
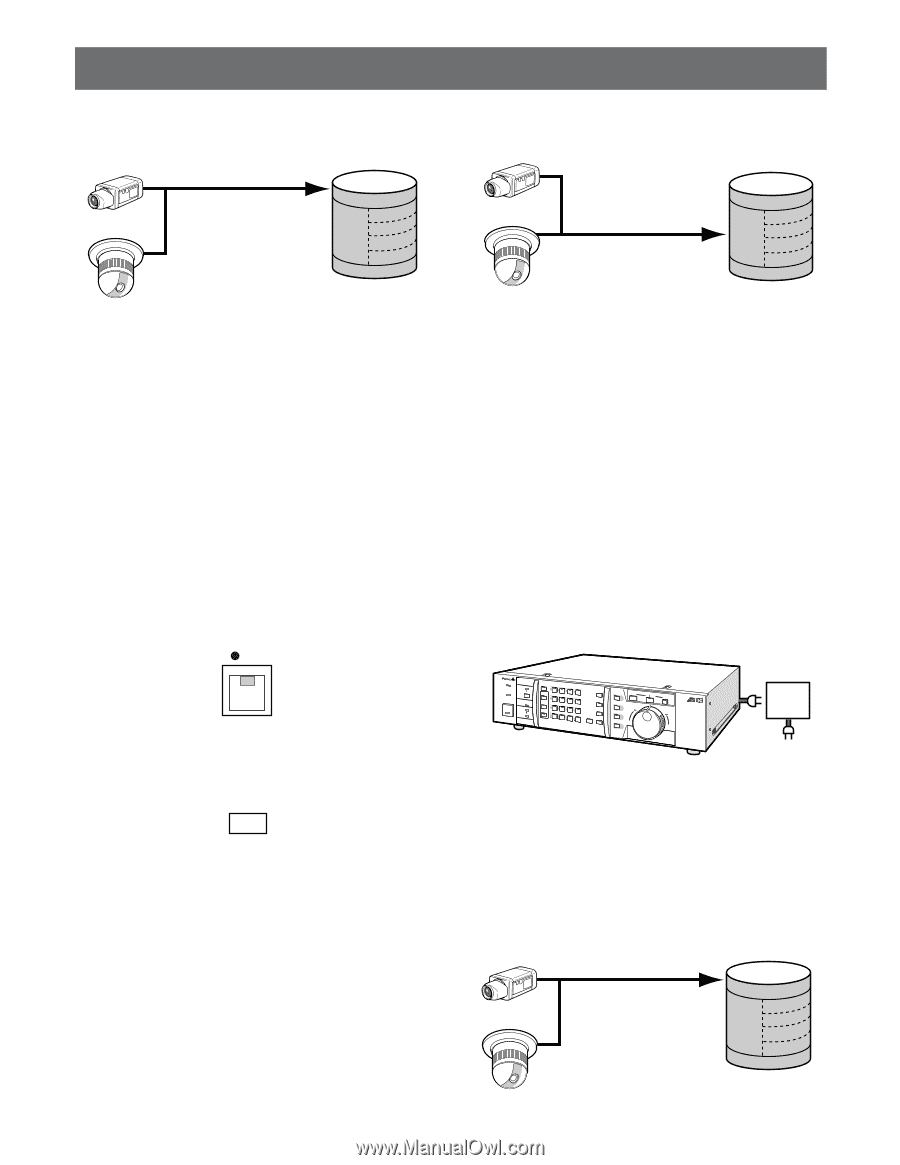
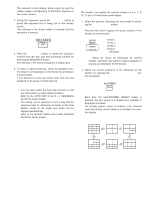
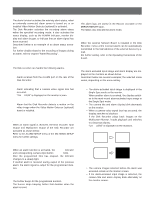
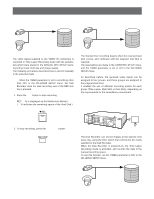
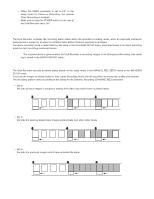
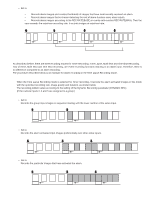
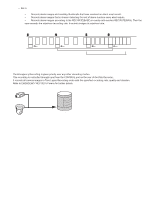
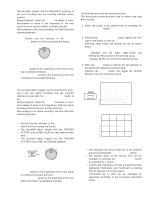
RECORDING s Manual Recording s Internal Timer Recording Manual Recorder Manual Recorder Group 1 Timer Group 2 Recorder Group 3 Group 4 Emergency Recorder HDD The video signal supplied to the VIDEO IN connectors is recorded in Time Lapse Recording mode with the parameters which were preset in the MANUAL REC SETUP menu: recording mode, field rate and image quality. The following procedure describes how to record manually in the selected mode. Note: When the TIMER parameter is set to something other than OFF in the WJ-HD500 SETUP menu, the Disk Recorder does not start recording even if the REC button is pressed. 1. Press the REC button to start recording. REC ✽✽% is displayed on the Multiscreen Monitor. (✽✽% indicates the remaining space of the Hard Disk.) REC 2. To stop recording, press the REC STOP button. REC STOP 88 Timer Recorder Manual Recorder Group 1 Timer Group 2 Recorder Group 3 Group 4 Emergency Recorder HDD The internal timer recording begins when the reserved start time comes, and continues until the reserved end time is reached. The reservations are made in the TIMER REC SETUP menu, and the TIMER parameter is set to INT in the WJ-HD500 SETUP menu. As described before, the received video inputs can be assigned to four groups, and those groups are assigned to the programmed timer. It enables the use of different recording modes for each group (Time Lapse, Multi Shot or One Shot), depending on the requirements for the surveillance environment. s Power-on Time Lapse Recording • FS 16 • • 500 DiRgietcaol Drdisekr WJ-HD Timer Switch AC Outlet The Disk Recorder can record images at the specific time every day, using the timer switch that controls the AC mains supplied to the Disk Recorder. When the Disk Recorder is powered-on, the Time Lapse Recording mode is activated, and records the data in the manual recording space. To use this function, set the TIMER parameter to EXT in the WJ-HD500 SETUP menu. Manual Recorder Manual Recorder Group 1 Timer Group 2 Recorder Group 3 Group 4 Emergency Recorder HDD
-
 1
1 -
2
-
3
-
4
-
5
-
6
-
7
-
8
-
9
-
10
-
11
-
12
-
13
-
14
-
15
-
16
-
17
-
18
-
19
-
20
-
21
-
22
-
23
-
24
-
25
-
26
-
27
-
28
-
29
-
30
-
31
-
32
-
33
-
34
-
35
-
36
-
37
-
38
-
39
-
40
-
41
-
42
-
43
-
44
-
45
-
46
-
47
-
48
-
49
-
50
-
51
-
52
-
53
-
54
-
55
-
56
-
57
-
58
-
59
-
60
-
61
-
62
-
63
-
64
-
65
-
66
-
67
-
68
-
69
-
70
-
71
-
72
-
73
-
74
-
75
-
76
-
77
-
78
-
79
-
 80
80 -
 81
81 -
 82
82 -
 83
83 -
 84
84 -
 85
85 -
 86
86 -
 87
87 -
 88
88 -
 89
89 -
 90
90 -
91
-
92
-
93
-
94
-
95
-
96
-
97
-
98
-
99
-
100
-
101
-
102
 |
 |