Canon S820D S820D Quick Start Guide - Page 46
Correcting Photos, Advanced Photo Correction
 |
View all Canon S820D manuals
Add to My Manuals
Save this manual to your list of manuals |
Page 46 highlights
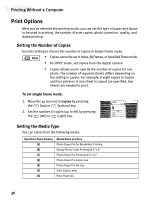
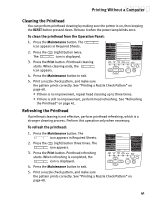
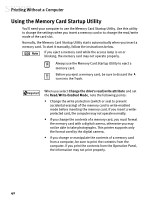
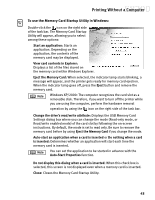
Printing Without a Computer Correcting Photos This function automatically corrects photos before printing them. This function is effective when printing photos that fogged because of fluorescent lighting effects or photos that do not have proper exposure. • When image correction is performed, printing may take longer. • The actual image and coloring may vary depending on the photo. To correct photos: 1. Press the Mode button to select the desired print mode. 2. Move the (cursor) to Optimize Image by pressing the (top) or (bottom) button. 3. Select OFF (disable)/ON (enable) for image correction by pressing the (left) or (right) button. Advanced Photo Correction To set more detailed photo correction, two correction functions are performed: a correction for color fogginess and exposure (Photo Optimizer PRO function), and a correction for reproducing vivid colors (Vivid Photo function). To set only one correction function, follow the procedure below. To do more detailed photo correction: 1. Select ON (enable) for Optimize Image by pressing the or (right) button. (left) To use only the correction function for color fogginess and exposure (Photo Optimizer PRO function). 2. Press the (right) key once. The display changes to [POP[ON]], and only the Photo Optimizer PRO function becomes enabled. To use only the correction function for reproducing vivid colors (VIVID function). 3. Press the (right) key twice. The display changes to [VP[ON]], and only the VIVID Photo function becomes enabled. 39
-
 1
1 -
2
-
3
-
4
-
5
-
6
-
7
-
8
-
9
-
10
-
11
-
12
-
13
-
14
-
15
-
16
-
17
-
18
-
19
-
20
-
21
-
22
-
23
-
24
-
25
-
26
-
27
-
28
-
29
-
30
-
31
-
32
-
33
-
34
-
35
-
36
-
37
-
38
-
39
-
40
-
 41
41 -
 42
42 -
 43
43 -
 44
44 -
 45
45 -
 46
46 -
 47
47 -
 48
48 -
 49
49 -
 50
50 -
 51
51 -
52
-
53
-
54
-
55
-
56
-
57
-
58
-
59
-
60
-
61
-
62
-
63
-
64
-
65
-
66
-
67
-
68
-
69
-
70
-
71
-
72
-
73
-
74
-
75
-
76
-
77
-
78
-
79
-
80
-
81
-
82
-
83
-
84
-
85
-
86
-
87
-
88
-
89
-
90
-
91
-
92
-
93
-
94
-
95
-
96
-
97
-
98
-
99
-
100
-
101
-
102
-
103
 |
 |
