Canon S820D S820D Quick Start Guide - Page 56
Replacing Ink Tanks
 |
View all Canon S820D manuals
Add to My Manuals
Save this manual to your list of manuals |
Page 56 highlights
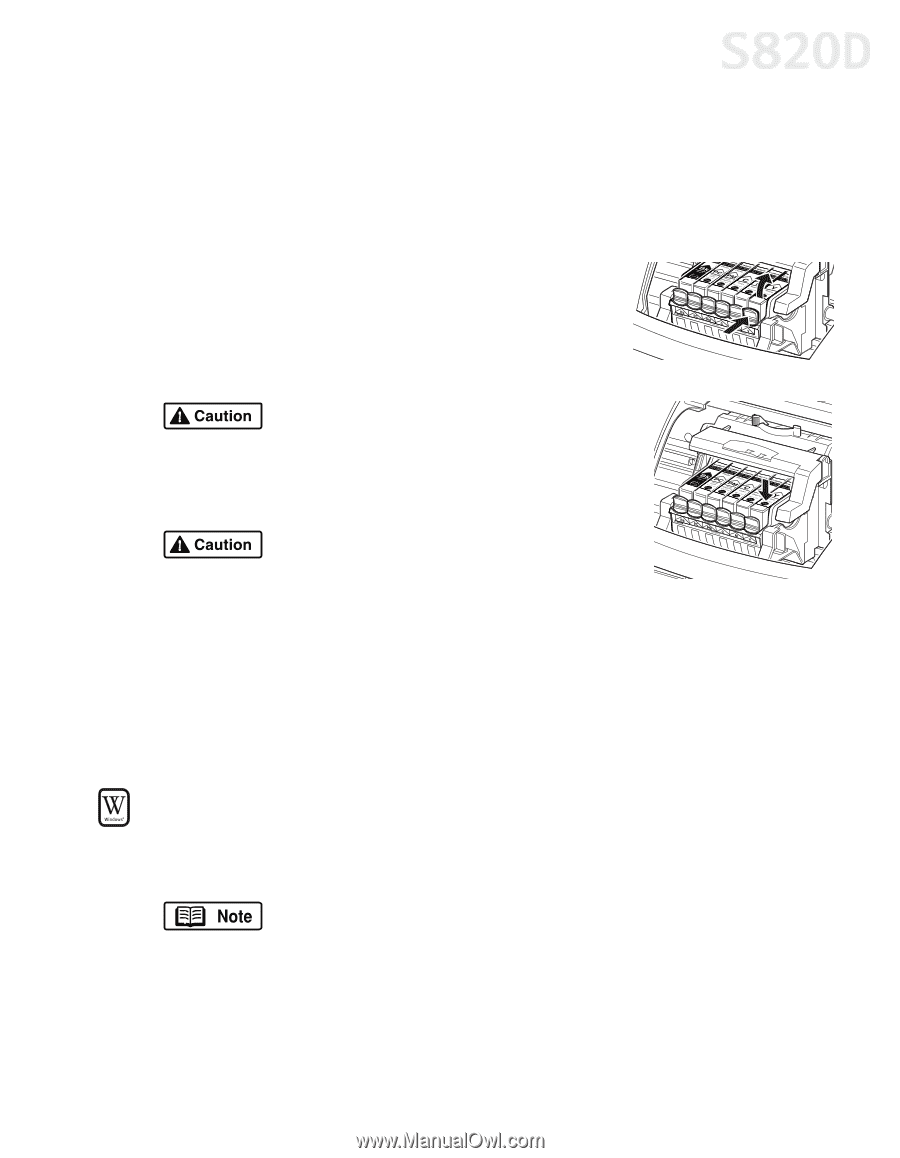
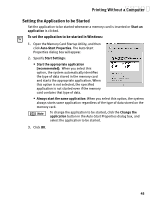
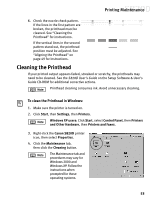
Printing Maintenance Replacing Ink Tanks Follow these steps to replace an empty ink tank. 1. Turn on the printer, then open the front cover. The printhead holder will automatically move to the center. 2. Press the tab on the front of the ink tank, then remove and discard the empty tank. 3. Remove the new ink tank from its package. Pull the orange tape up, remove the wrapper and twist off the orange protective cap. To avoid spilling ink, never press on the sides of an ink tank. 4. Holding the new ink tank at a slight angle, align it with the correct color slot, then gently insert it. Do not force an ink tank into the printhead. If the ink tank does not go in smoothly, realign it and try again until it does. 5. Press down on the ink tank until it clicks into place. 6. Close the front cover. Aligning the Printhead Before using the printer, align the printhead to ensure the best quality printing. To align the printhead in Windows: 1. Add a sheet of blank paper in the sheet feeder. 2. Click Start, then Settings, then Printers. Windows XP users: Click Start, select Control Panel, then Printers and Other Hardware, then Printers and Faxes. 3. Right-click the Canon S820D printer icon, then select Properties. 49
-
 1
1 -
2
-
3
-
4
-
5
-
6
-
7
-
8
-
9
-
10
-
11
-
12
-
13
-
14
-
15
-
16
-
17
-
18
-
19
-
20
-
21
-
22
-
23
-
24
-
25
-
26
-
27
-
28
-
29
-
30
-
31
-
32
-
33
-
34
-
35
-
36
-
37
-
38
-
39
-
40
-
41
-
42
-
43
-
44
-
45
-
46
-
47
-
48
-
49
-
50
-
 51
51 -
 52
52 -
 53
53 -
 54
54 -
 55
55 -
 56
56 -
 57
57 -
 58
58 -
 59
59 -
 60
60 -
 61
61 -
62
-
63
-
64
-
65
-
66
-
67
-
68
-
69
-
70
-
71
-
72
-
73
-
74
-
75
-
76
-
77
-
78
-
79
-
80
-
81
-
82
-
83
-
84
-
85
-
86
-
87
-
88
-
89
-
90
-
91
-
92
-
93
-
94
-
95
-
96
-
97
-
98
-
99
-
100
-
101
-
102
-
103
 |
 |