HP 2500c Service Manual - Page 166
Replacement of Power Knob
 |
View all HP 2500c manuals
Add to My Manuals
Save this manual to your list of manuals |
Page 166 highlights
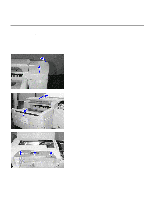
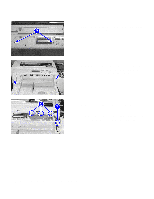
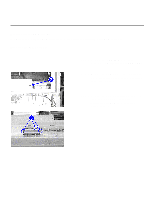
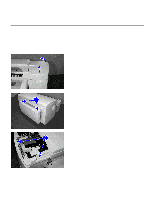
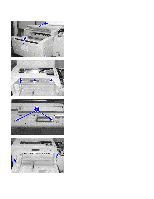
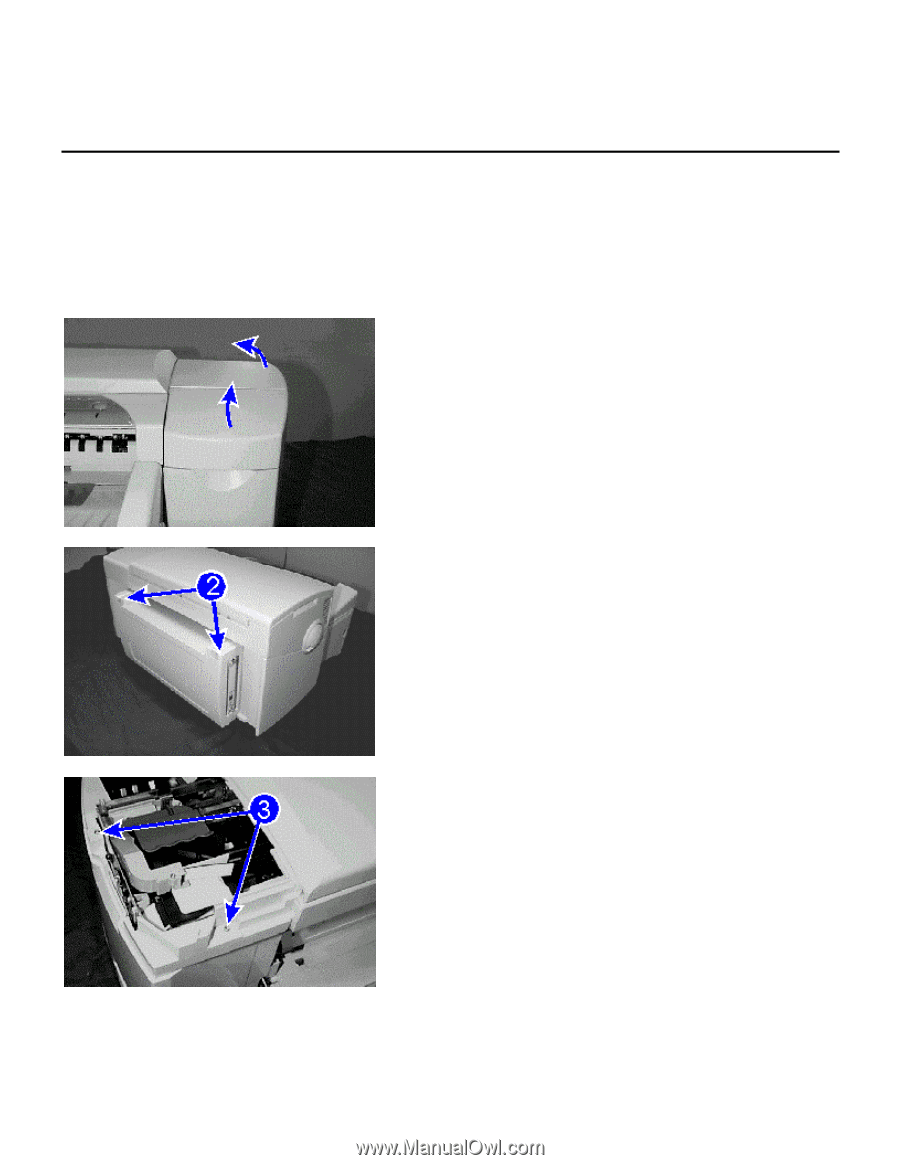
Replacement of Parts Replacement of Power Knob You will be removing the power knob from the printer and installing a new power knob. Removing the Power Knob Step 1. Remove the printhead access cover by opening the ink cartridge door and tilting the access cover to the side. Step 2. Lift the two latches on both the right top and left top corners of the rear access door to unlatch it. Step 3. Remove the service station side cover by unscrewing the two screws securing it and lifting it up. Set the screws and cover aside. 7-16 Removal and Replacement of Parts (without Calibration)
-
 1
1 -
2
-
3
-
4
-
5
-
6
-
7
-
8
-
9
-
10
-
11
-
12
-
13
-
14
-
15
-
16
-
17
-
18
-
19
-
20
-
21
-
22
-
23
-
24
-
25
-
26
-
27
-
28
-
29
-
30
-
31
-
32
-
33
-
34
-
35
-
36
-
37
-
38
-
39
-
40
-
41
-
42
-
43
-
44
-
45
-
46
-
47
-
48
-
49
-
50
-
51
-
52
-
53
-
54
-
55
-
56
-
57
-
58
-
59
-
60
-
61
-
62
-
63
-
64
-
65
-
66
-
67
-
68
-
69
-
70
-
71
-
72
-
73
-
74
-
75
-
76
-
77
-
78
-
79
-
80
-
81
-
82
-
83
-
84
-
85
-
86
-
87
-
88
-
89
-
90
-
91
-
92
-
93
-
94
-
95
-
96
-
97
-
98
-
99
-
100
-
101
-
102
-
103
-
104
-
105
-
106
-
107
-
108
-
109
-
110
-
111
-
112
-
113
-
114
-
115
-
116
-
117
-
118
-
119
-
120
-
121
-
122
-
123
-
124
-
125
-
126
-
127
-
128
-
129
-
130
-
131
-
132
-
133
-
134
-
135
-
136
-
137
-
138
-
139
-
140
-
141
-
142
-
143
-
144
-
145
-
146
-
147
-
148
-
149
-
150
-
151
-
152
-
153
-
154
-
155
-
156
-
157
-
158
-
159
-
160
-
 161
161 -
 162
162 -
 163
163 -
 164
164 -
 165
165 -
 166
166 -
 167
167 -
 168
168 -
 169
169 -
 170
170 -
 171
171 -
172
-
173
-
174
-
175
-
176
-
177
-
178
-
179
-
180
-
181
-
182
-
183
-
184
-
185
-
186
-
187
-
188
-
189
-
190
-
191
-
192
-
193
-
194
-
195
-
196
-
197
-
198
-
199
-
200
-
201
-
202
-
203
-
204
-
205
-
206
-
207
-
208
-
209
-
210
-
211
-
212
-
213
-
214
-
215
-
216
-
217
-
218
-
219
-
220
-
221
-
222
-
223
-
224
-
225
 |
 |
Removal and Replacement of Parts (without Calibration)
7-16
Replacement of Parts
Replacement of Power Knob
You will be removing the power knob from the printer and installing a new power knob.
Removing the Power Knob
Step 1.
Remove the printhead access cover by
opening the ink cartridge door and tilting
the access cover to the side.
Step 2.
Lift the two latches on both the right top
and left top corners of the rear access door
to unlatch it.
Step 3.
Remove the service station side cover by
unscrewing the two screws securing it and
lifting it up.
Set the screws and cover
aside.