Kyocera FS-9120DN FS-9120DN/9520DN Operation Guide Rev-2 - Page 39
Maximum Space Assigned to Permanent Code Jobs, Maximum Space Assigned to Virtual Mailboxes (VMB)
 |
View all Kyocera FS-9120DN manuals
Add to My Manuals
Save this manual to your list of manuals |
Page 39 highlights
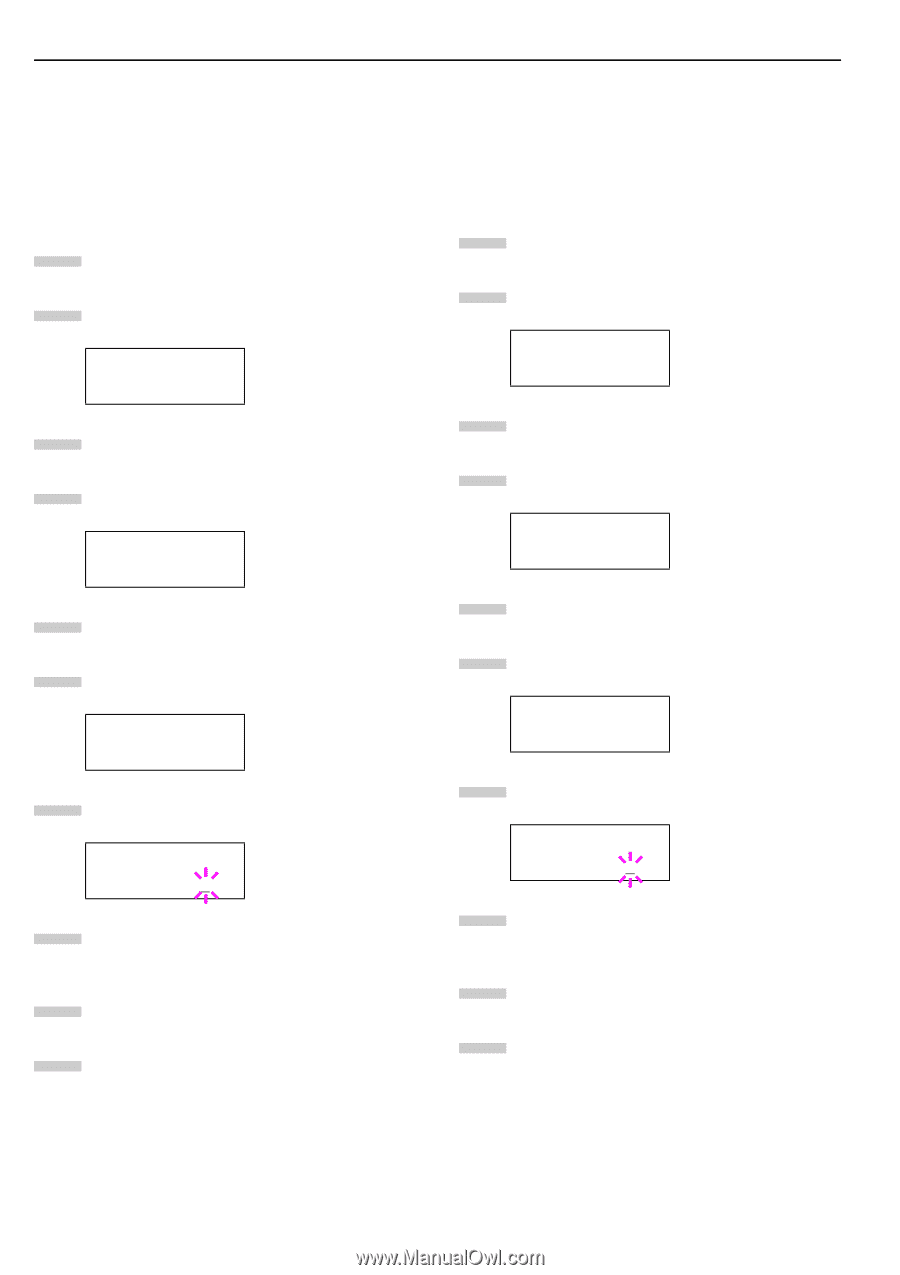
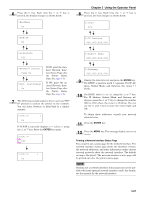
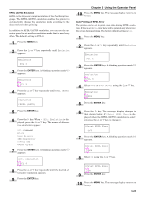
Chapter 3 Using the Operator Panel Maximum Space Assigned to Permanent Code Jobs This changes the hard disk space that holds permanent code jobs. You can change the maximum space from 0 to 9999 (megabytes). The actual maximum size depends on the size of free hard disk space, however. The default size is 1/6 of the total hard disk space, rounded off in units of 50 MB. For example, if the total hard disk space is 3.2 GB, the default size is 500 MB. 1 Press the MENU key. 2 Press the or key and select e-MPS >. e-MPS > 3 Press the key. 4 Press the or key repeatedly until >e-MPS Configuration > appears. >e-MPS > Configuration 5 Press the key. 6 Press the or JOB Size. key and select >>Perm. Code >>Perm. Code JOB Size 0500MB 7 Press the ENTER key, the message display shows a blinking cursor (_). >>Perm. Code JOB Size 0500MB 8 Press the or key to increase or decrease, respectively, the value at the blinking cursor. Use the and keys to move the cursor right and left. 9 When the desired size is displayed, press the ENTER key. 10 Press the MENU key and the message display returns to Ready. Maximum Space Assigned to Virtual Mailboxes (VMB) This changes the hard disk space for virtual mailboxes. You can change the maximum space from 0 to 9999 (megabytes). The actual maximum size depends on the size of free hard disk space, however. The default size is 1/6 of the total hard disk space, rounded off in units of 50 MB. For example, if the total hard disk space is 3.2 GB, the default size is 500 MB. 1 Press the MENU key. 2 Press the or key until e-MPS > appears. e-MPS > 3 Press the key. 4 Press the or Configuration >. key and select >e-MPS >e-MPS > Configuration 5 Press the key. 6 Press the or key and select >>VMB Size. >>VMB Size 0500MB 7 To change the maximum size, press the ENTER key. The message display shows a blinking cursor (_). >>VMB Size 0500MB 8 Press the or key to increase or decrease, respectively, the value at the blinking cursor. Use the and keys to move the cursor right and left. 9 When the desired size is displayed, press the ENTER key. 10 Press the MENU key to exit the menu selection. 3-18
-
 1
1 -
2
-
3
-
4
-
5
-
6
-
7
-
8
-
9
-
10
-
11
-
12
-
13
-
14
-
15
-
16
-
17
-
18
-
19
-
20
-
21
-
22
-
23
-
24
-
25
-
26
-
27
-
28
-
29
-
30
-
31
-
32
-
33
-
 34
34 -
 35
35 -
 36
36 -
 37
37 -
 38
38 -
 39
39 -
 40
40 -
 41
41 -
 42
42 -
 43
43 -
 44
44 -
45
-
46
-
47
-
48
-
49
-
50
-
51
-
52
-
53
-
54
-
55
-
56
-
57
-
58
-
59
-
60
-
61
-
62
-
63
-
64
-
65
-
66
-
67
-
68
-
69
-
70
-
71
-
72
-
73
-
74
-
75
-
76
-
77
-
78
-
79
-
80
-
81
-
82
-
83
-
84
-
85
-
86
-
87
-
88
-
89
-
90
-
91
-
92
-
93
-
94
-
95
-
96
-
97
-
98
-
99
-
100
-
101
-
102
-
103
-
104
-
105
-
106
-
107
-
108
-
109
-
110
-
111
-
112
-
113
-
114
-
115
 |
 |