Kyocera FS-9120DN FS-9120DN/9520DN Operation Guide Rev-2 - Page 91
main charger several times. Do not push the main
 |
View all Kyocera FS-9120DN manuals
Add to My Manuals
Save this manual to your list of manuals |
Page 91 highlights
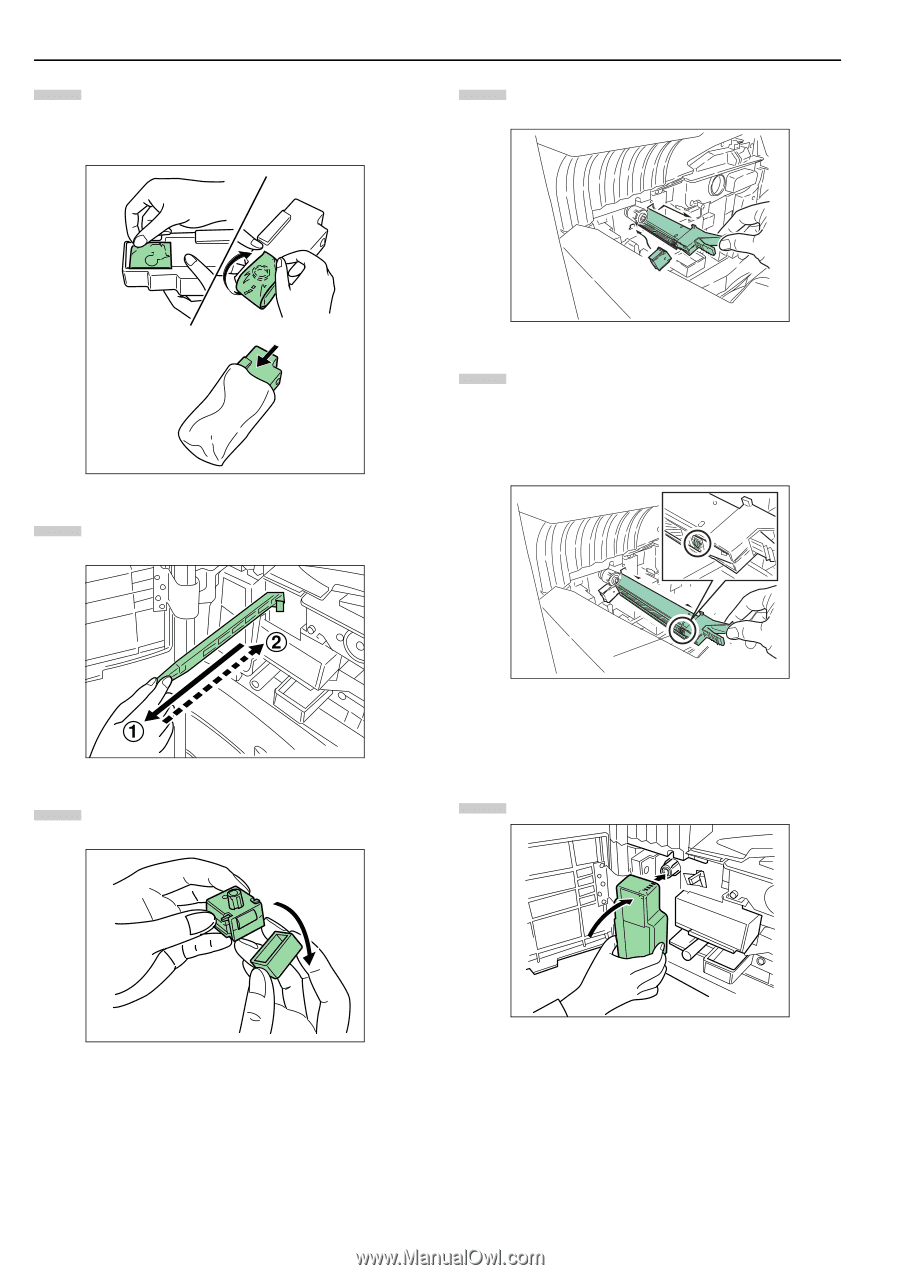
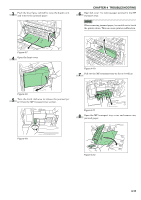
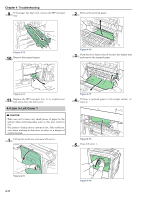
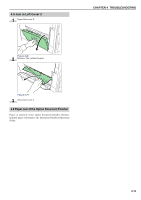
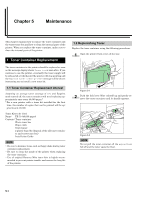
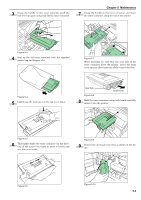
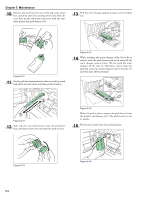
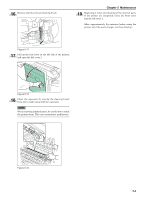
Chapter 5 Maintenance 10 Remove the seal from the rear of the old waste toner box, and then close the opening of the box with the seal. Seal up the old waste toner box with the supplied plastic bag and dispose of it. 13 Pull the main charger approximately 5 cm (2 inches) out. Figure 5-11 11 Gently pull the cleaning knob as far as it will go, push and pull it several times, and then push it back in. Figure 5-14 14 While avoiding the main charger roller (A) to be in contact with the grid cleaner pad, push and pull the main charger several times. (Do not push the main charger all the way in. Otherwise, water from the pad will cause the main charger unit to become we and this may affect printing.) Figure 5-12 12 Take out the new grid cleaner from the protective bag, and then remove the cap from the grid cleaner. (A) Figure 5-15 When the grid is clean, remove the grid cleaner from the printer and dispose of it. The grid cleaner is not re-usable. 15 Fit the new waste toner box to the printer. Figure 5-13 5-3 Figure 5-16
-
 1
1 -
2
-
3
-
4
-
5
-
6
-
7
-
8
-
9
-
10
-
11
-
12
-
13
-
14
-
15
-
16
-
17
-
18
-
19
-
20
-
21
-
22
-
23
-
24
-
25
-
26
-
27
-
28
-
29
-
30
-
31
-
32
-
33
-
34
-
35
-
36
-
37
-
38
-
39
-
40
-
41
-
42
-
43
-
44
-
45
-
46
-
47
-
48
-
49
-
50
-
51
-
52
-
53
-
54
-
55
-
56
-
57
-
58
-
59
-
60
-
61
-
62
-
63
-
64
-
65
-
66
-
67
-
68
-
69
-
70
-
71
-
72
-
73
-
74
-
75
-
76
-
77
-
78
-
79
-
80
-
81
-
82
-
83
-
84
-
85
-
 86
86 -
 87
87 -
 88
88 -
 89
89 -
 90
90 -
 91
91 -
 92
92 -
 93
93 -
 94
94 -
 95
95 -
 96
96 -
97
-
98
-
99
-
100
-
101
-
102
-
103
-
104
-
105
-
106
-
107
-
108
-
109
-
110
-
111
-
112
-
113
-
114
-
115
 |
 |