Kyocera FS-9120DN FS-9120DN/9520DN Operation Guide Rev-2 - Page 42
Printing a Network Interface Status gt;Opt. Status
 |
View all Kyocera FS-9120DN manuals
Add to My Manuals
Save this manual to your list of manuals |
Page 42 highlights
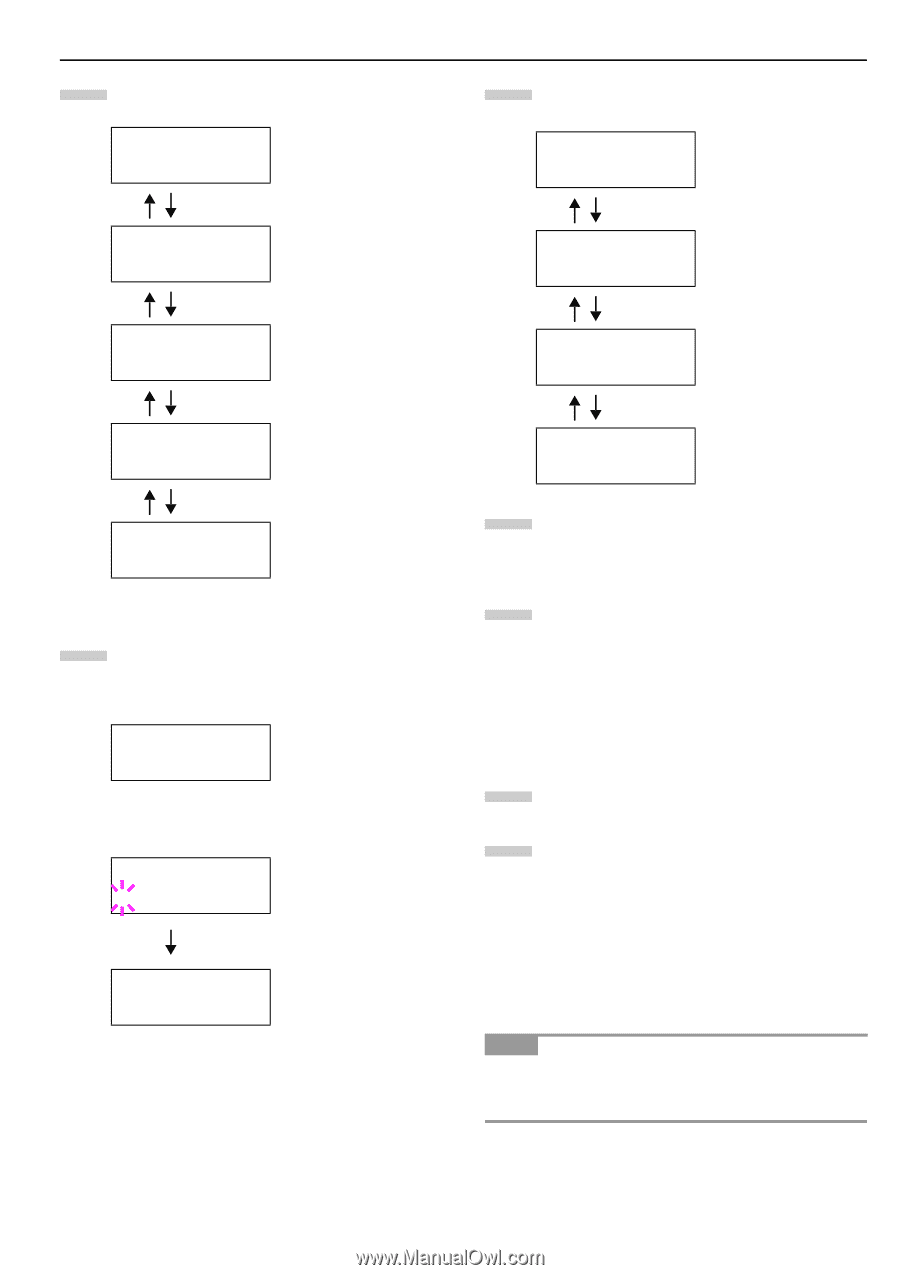
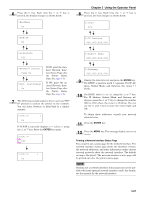
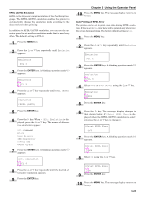
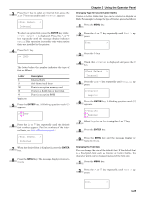
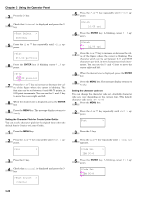
6 Press the key. Each time the or key is pressed, the display changes as shown below. >NetWare On Chapter 3 Using the Operator Panel 8 Press the key. Each time the or key is pressed, the item changes as shown below. >>DHCP Off >TCP/IP On >>IP Address 000.000.000.000 >EtherTalk Off >>Subnet Mask 000.000.000.000 >Network Status Page On >Opt. StatusPage On If ON, print the standard Network Interface Status Page after the Printer Status Page. See page 3-11. If ON, print the optional Network Interface Status Page after the Printer Status Page. See page 3-11. 7 The following example explains how to activate TCP/ IP protocol to connect the printer in the network. You can select Netware or EtherTalk in a similar manner. >TCP/IP > On If TCP/IP is currently displays Off, select On using the or key. Press the ENTER key again. >TCP/IP ? Off >TCP/IP > On >>Gateway 000.000.000.000 9 Display the item to be set and press the ENTER key. For DHCP, a question mark (?) appears. For IP Address, Subnet Mask, and Gateway, the cursor (_) blinks. 10 For DHCP, select On or Off using the or key. For IP Address, Subnet Mask, and Gateway addresses, press the or key to change the number (000 to 255) where the cursor is blinking. You can use the and key to move the cursor right and left. To obtain these addresses, consult your network administrator. 11 Press the ENTER key. 12 Press the MENU key. The message display returns to Ready. Printing a Network Interface Status Page You can print out a status page for the network interface. The network interface status page shows the firmware version, the network addresses, and other information under various network protocols about the network interface. The default setting is On (print). The network interface status page will be printed out after the printer status page. NOTE Printing out a network interface status page may not be possible with some optional network interface cards. For details, see the manual for the network interface. 3-21
-
 1
1 -
2
-
3
-
4
-
5
-
6
-
7
-
8
-
9
-
10
-
11
-
12
-
13
-
14
-
15
-
16
-
17
-
18
-
19
-
20
-
21
-
22
-
23
-
24
-
25
-
26
-
27
-
28
-
29
-
30
-
31
-
32
-
33
-
34
-
35
-
36
-
 37
37 -
 38
38 -
 39
39 -
 40
40 -
 41
41 -
 42
42 -
 43
43 -
 44
44 -
 45
45 -
 46
46 -
 47
47 -
48
-
49
-
50
-
51
-
52
-
53
-
54
-
55
-
56
-
57
-
58
-
59
-
60
-
61
-
62
-
63
-
64
-
65
-
66
-
67
-
68
-
69
-
70
-
71
-
72
-
73
-
74
-
75
-
76
-
77
-
78
-
79
-
80
-
81
-
82
-
83
-
84
-
85
-
86
-
87
-
88
-
89
-
90
-
91
-
92
-
93
-
94
-
95
-
96
-
97
-
98
-
99
-
100
-
101
-
102
-
103
-
104
-
105
-
106
-
107
-
108
-
109
-
110
-
111
-
112
-
113
-
114
-
115
 |
 |