Kyocera FS-9120DN FS-9120DN/9520DN Operation Guide Rev-2 - Page 40
Changing the Interface Parameters, Changing Parallel Interface Modes, ENTER
 |
View all Kyocera FS-9120DN manuals
Add to My Manuals
Save this manual to your list of manuals |
Page 40 highlights
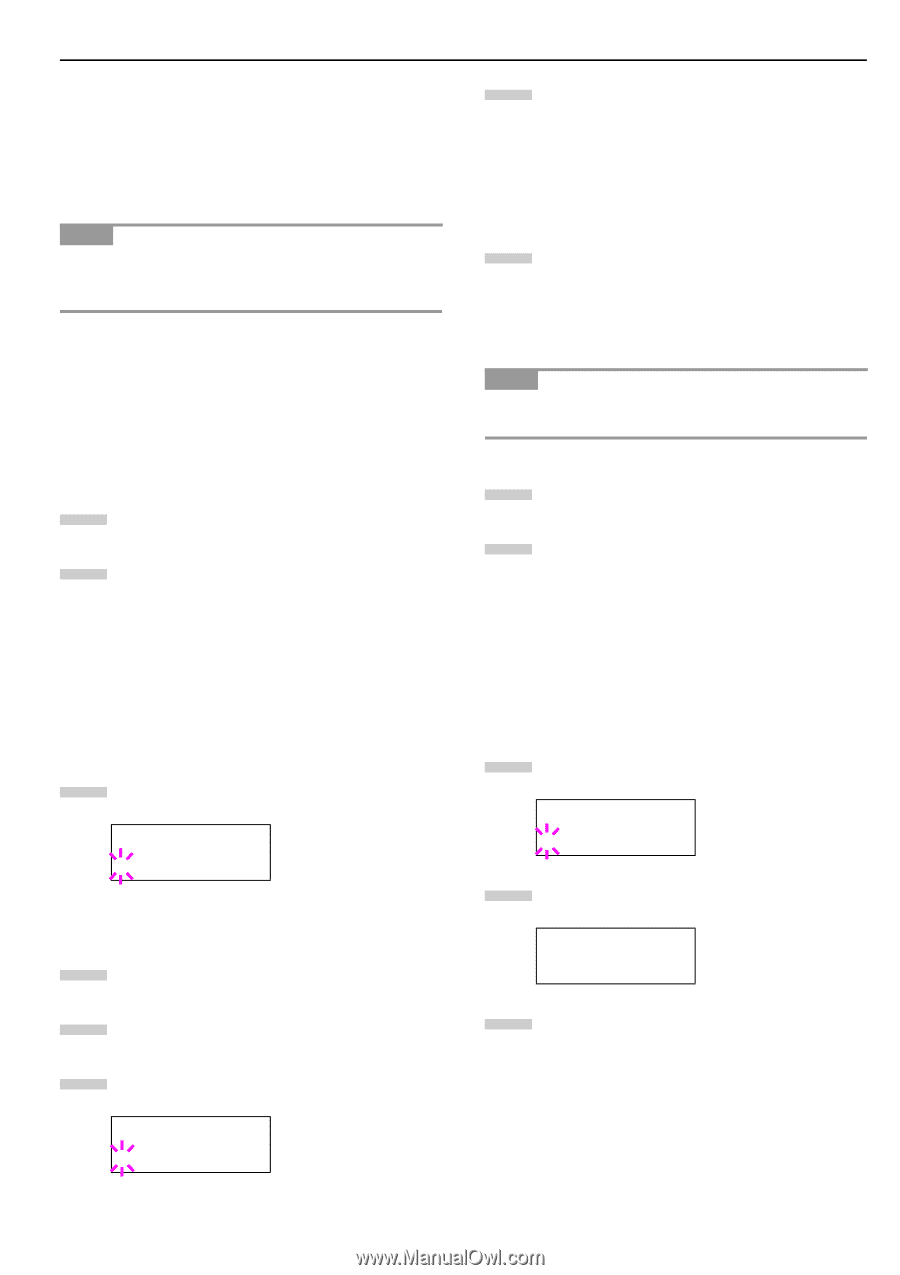
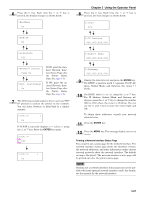
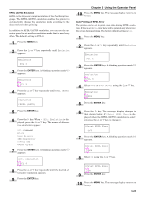
2.2.4 Changing the Interface Parameters The printer is equipped with both a parallel and serial interface or a network interface. Various printing environment parameters such as the default emulation can be changed independently on different interfaces by using the printer's menu selection system. Select the interface to apply the changes in the procedure described below. NOTE This interface selection described below does not select which interface data will be received from. The printer automatically selects an interface. Changing Parallel Interface Modes The parallel interface supports a bi-directional/high-speed mode according to IEEE standards. Normally, this interface is used under the default setting Auto. For details, see Appendix B Host Computer Interface. After setting the interface, be sure to reset the printer or turn the power off at least once. The new setting will be enabled thereafter. 1 Press the MENU key. 2 Press the or key repeatedly until Interface > appears. One of the interface names shown below appears, indicating the current interface. Parallel (default) USB Network Option (only when an optional network interface card is installed) Serial (only when an optional serial interface board is installed) 3 Press the ENTER key. A blinking question mark (?) appears. Interface > ?Parallel If Parallel is not displayed, press the or key repeatedly until Parallel appears. 4 Press the ENTER key again. 5 Press the key. The message display changes to the communication mode menu. 6 Press the ENTER key. A blinking question mark (?) appears. >Parallel I/F ?Nibble (high) Chapter 3 Using the Operator Panel 7 Press the or key to display the desired mode. The display changes as shown below. Press the ENTER key. AUTO (default) Normal High speed Nibble (high) 8 Press the MENU key. The message display returns to Ready. Changing Serial Interface Modes You can set the baud rate, data bits, stop bits, parity, and protocol for the serial interface. NOTE This section applies to the printer having the optional serial interface board kit (IB-11) installed. 1 Press the MENU key. 2 Press the or key repeatedly until Interface > appears. One of the interface names shown below appears, indicating the current interface. Parallel (default) USB Network Option (only when an optional network interface card is installed) Serial (only when an optional serial interface board is installed) 3 Press the ENTER key. A blinking question mark (?) appears. Interface ?Parallel 4 Press the or key repeatedly until Serial appears. Interface ?Serial 5 Press the ENTER key again. 3-19
-
 1
1 -
2
-
3
-
4
-
5
-
6
-
7
-
8
-
9
-
10
-
11
-
12
-
13
-
14
-
15
-
16
-
17
-
18
-
19
-
20
-
21
-
22
-
23
-
24
-
25
-
26
-
27
-
28
-
29
-
30
-
31
-
32
-
33
-
34
-
 35
35 -
 36
36 -
 37
37 -
 38
38 -
 39
39 -
 40
40 -
 41
41 -
 42
42 -
 43
43 -
 44
44 -
 45
45 -
46
-
47
-
48
-
49
-
50
-
51
-
52
-
53
-
54
-
55
-
56
-
57
-
58
-
59
-
60
-
61
-
62
-
63
-
64
-
65
-
66
-
67
-
68
-
69
-
70
-
71
-
72
-
73
-
74
-
75
-
76
-
77
-
78
-
79
-
80
-
81
-
82
-
83
-
84
-
85
-
86
-
87
-
88
-
89
-
90
-
91
-
92
-
93
-
94
-
95
-
96
-
97
-
98
-
99
-
100
-
101
-
102
-
103
-
104
-
105
-
106
-
107
-
108
-
109
-
110
-
111
-
112
-
113
-
114
-
115
 |
 |