Kyocera FS-9120DN FS-9120DN/9520DN Operation Guide Rev-2 - Page 49
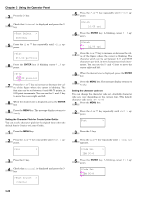
Selecting the Reduced Print, >Copies, >Zoom, Set
 |
View all Kyocera FS-9120DN manuals
Add to My Manuals
Save this manual to your list of manuals |
Page 49 highlights
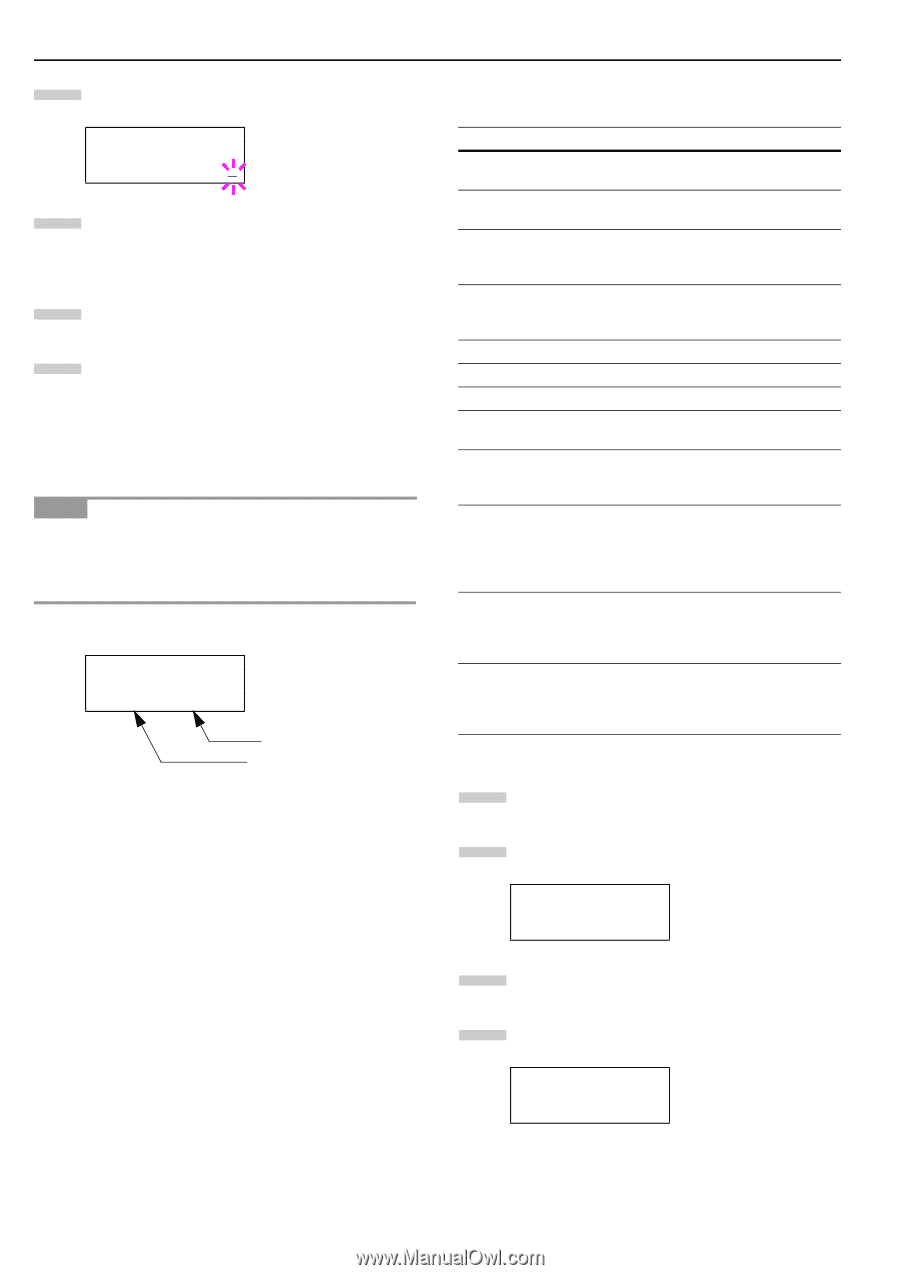
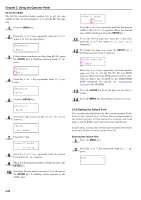
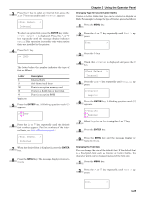
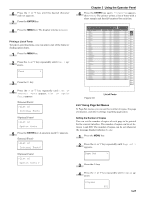
Chapter 3 Using the Operator Panel 5 Press the ENTER key. A blinking cursor ( _ ) appears. >Copies 001 6 Press the or key to increase or decrease the value of the figure where the cursor is blinking. It can be set between 1 and 999. You can use the and keys to move the cursor right and left. 7 When the desired size is displayed, press the ENTER key. 8 Press the MENU key. The message display returns to Ready. Selecting the Reduced Print You can print with the reduced size. This menu is used to set the source paper size and the paper size to use after reduction. NOTE Printed results when making reductions differ from equivalent size printing. Sometimes the line width of characters may not be consistent or lines may appear in figures or image patterns. Bring up the Zoom menu. The following display will appear. >Zoom [CS]→[CS] Target size indicator Source size indicator Source size indicator...This is the paper size before reduction. This must be the same as the paper size set for print data from the computer. Target size indicator...This is the paper size after reduction. This must be the same as the paper size set for the paper cassette. The message display will show the messages given in the following table. Source size indicator Target size indicator [CS] Current cassette size [CS] [CS]98% [LG] [LG] Legal size (8-1/2 × 14 inches) [LG]98% [LT] [LT] Letter size (8-1/2 × 11 inches) [A4] [LT]98% [LD] Ledger size (12 × 15-1/2 inches) [LD] [LD]98% [ST] [ST] [O2] [O2] [FO] [A5] (14.8 × 21 cm) [FO] [A5] [A5]98% [B5] (18.2 × 25.7 cm) [A4] (21 × 29.7 cm) [B5] [A5] [B5]98% [A4] [LT] [B5] [A5] [A4]98% [B4] (25.7 × 36.4 cm) [B4] [B5] [A4] [B4]98% [A3] (29.7 × 42cm) [A3] [A4] [B4] [A3]98% Table 3-9 1 Press the MENU key. 2 Press the or key repeatedly until Page Set > appears. Page Set > 3 Press the key. 4 Press the pears. or key repeatedly until >Zoom ap- >Zoom [CS]→[CS] 3-28
-
 1
1 -
2
-
3
-
4
-
5
-
6
-
7
-
8
-
9
-
10
-
11
-
12
-
13
-
14
-
15
-
16
-
17
-
18
-
19
-
20
-
21
-
22
-
23
-
24
-
25
-
26
-
27
-
28
-
29
-
30
-
31
-
32
-
33
-
34
-
35
-
36
-
37
-
38
-
39
-
40
-
41
-
42
-
43
-
 44
44 -
 45
45 -
 46
46 -
 47
47 -
 48
48 -
 49
49 -
 50
50 -
 51
51 -
 52
52 -
 53
53 -
 54
54 -
55
-
56
-
57
-
58
-
59
-
60
-
61
-
62
-
63
-
64
-
65
-
66
-
67
-
68
-
69
-
70
-
71
-
72
-
73
-
74
-
75
-
76
-
77
-
78
-
79
-
80
-
81
-
82
-
83
-
84
-
85
-
86
-
87
-
88
-
89
-
90
-
91
-
92
-
93
-
94
-
95
-
96
-
97
-
98
-
99
-
100
-
101
-
102
-
103
-
104
-
105
-
106
-
107
-
108
-
109
-
110
-
111
-
112
-
113
-
114
-
115
 |
 |