Lexmark X7550 User's Guide (Mac) - Page 122
Understanding Fax and the Fax Mode menu, Quality, and Lighter/Darker.
 |
View all Lexmark X7550 manuals
Add to My Manuals
Save this manual to your list of manuals |
Page 122 highlights
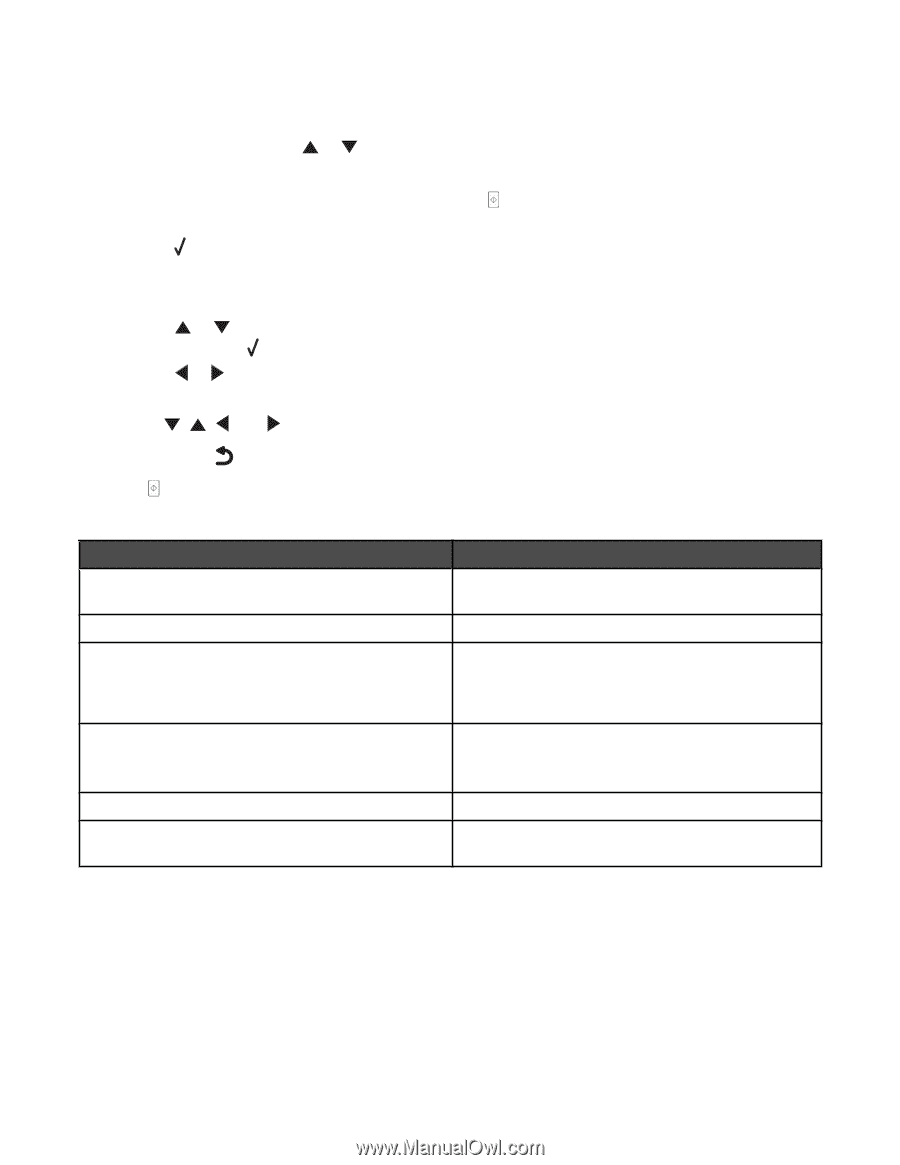
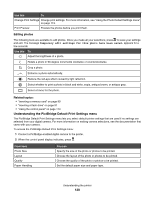
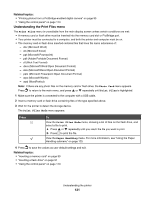
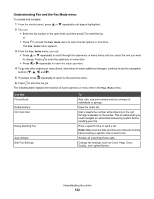
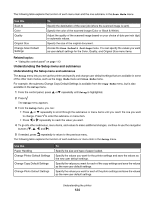
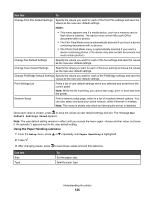
Understanding Fax and the Fax Mode menu To access and navigate: 1 From the control panel, press or repeatedly until Fax is highlighted. 2 You can: • Enter the fax number in the open field, and then press to send the fax. or • Press to access the Fax Mode menu to use more fax options or functions. The Fax Mode menu appears. 3 From the Fax Mode menu, you can: • Press or repeatedly to scroll through the submenus or menu items until you reach the one you want to change. Press to enter the submenu or menu item. • Press or repeatedly to reach the value you want. 4 To go into other submenus, menu items, and values to make additional changes, continue to use the navigation buttons ( , , , and ). 5 If needed, press repeatedly to return to the previous menu. 6 Press to start the fax job. The following table explains the function of each submenu or menu item in the Fax Mode menu. Use this Phone Book Redial History On Hook Dial Delay Sending Fax Auto Answer Edit Fax Settings To Add, edit, and print names and fax numbers of individuals or groups. View the redial list. Dial a telephone number while listening to the call through a speaker on the printer. This is useful when you must navigate an automated answering system before sending your fax. Enter a specific time to send a fax. Note: Make sure the date and time are entered correctly before setting a specific time to send a fax. Answer all incoming phone calls. Change fax settings, such as Cover Page, Color, Quality, and Lighter/Darker. Understanding the printer 122
-
 1
1 -
2
-
3
-
4
-
5
-
6
-
7
-
8
-
9
-
10
-
11
-
12
-
13
-
14
-
15
-
16
-
17
-
18
-
19
-
20
-
21
-
22
-
23
-
24
-
25
-
26
-
27
-
28
-
29
-
30
-
31
-
32
-
33
-
34
-
35
-
36
-
37
-
38
-
39
-
40
-
41
-
42
-
43
-
44
-
45
-
46
-
47
-
48
-
49
-
50
-
51
-
52
-
53
-
54
-
55
-
56
-
57
-
58
-
59
-
60
-
61
-
62
-
63
-
64
-
65
-
66
-
67
-
68
-
69
-
70
-
71
-
72
-
73
-
74
-
75
-
76
-
77
-
78
-
79
-
80
-
81
-
82
-
83
-
84
-
85
-
86
-
87
-
88
-
89
-
90
-
91
-
92
-
93
-
94
-
95
-
96
-
97
-
98
-
99
-
100
-
101
-
102
-
103
-
104
-
105
-
106
-
107
-
108
-
109
-
110
-
111
-
112
-
113
-
114
-
115
-
116
-
 117
117 -
 118
118 -
 119
119 -
 120
120 -
 121
121 -
 122
122 -
 123
123 -
 124
124 -
 125
125 -
 126
126 -
 127
127 -
128
-
129
-
130
-
131
-
132
-
133
-
134
-
135
-
136
-
137
-
138
-
139
-
140
-
141
-
142
-
143
-
144
-
145
-
146
-
147
-
148
-
149
-
150
-
151
-
152
-
153
-
154
-
155
-
156
-
157
-
158
-
159
-
160
-
161
-
162
-
163
-
164
-
165
-
166
-
167
-
168
-
169
-
170
-
171
-
172
-
173
-
174
-
175
-
176
-
177
-
178
-
179
-
180
-
181
-
182
-
183
-
184
-
185
-
186
-
187
-
188
-
189
-
190
-
191
-
192
-
193
-
194
-
195
-
196
-
197
-
198
-
199
-
200
-
201
-
202
-
203
-
204
-
205
-
206
-
207
-
208
-
209
-
210
-
211
-
212
-
213
-
214
-
215
-
216
-
217
-
218
-
219
-
220
-
221
-
222
-
223
-
224
-
225
-
226
-
227
 |
 |