Lexmark X7550 User's Guide (Mac) - Page 99
Viewing a slideshow of photos on the control panel display, Working with photos using the computer
 |
View all Lexmark X7550 manuals
Add to My Manuals
Save this manual to your list of manuals |
Page 99 highlights
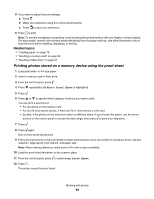
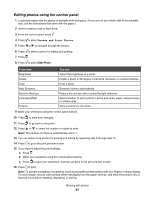
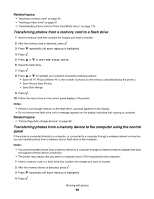
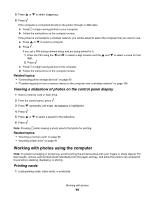
5 Press or to select Computer. 6 Press . If the computer is connected directly to the printer through a USB cable: a Press to begin saving photos to your computer. b Follow the instructions on the computer screen. If the printer is connected to a wireless network, you will be asked to select the computer that you want to use. a Press or to select a computer. b Press . If you set a PIN during network setup and are being asked for it: 1 Enter the PIN using the and to select a digit location and the and to select a value for that digit. 2 Press . c Press to begin saving photos to the computer. d Follow the instructions on the computer screen. Related topics: • "Connecting photo storage devices" on page 90 • "Transferring photos from a memory device to the computer over a wireless network" on page 106 Viewing a slideshow of photos on the control panel display 1 Insert a memory card or flash drive. 2 From the control panel, press . 3 Press repeatedly until View Slideshow is highlighted. 4 Press . 5 Press or to select a speed for the slideshow. 6 Press . Note: Pressing while viewing a photo selects that photo for printing. Related topics: • "Inserting a memory card" on page 90 • "Inserting a flash drive" on page 91 Working with photos using the computer Note: To prevent smudging or scratching, avoid touching the printed surface with your fingers or sharp objects. For best results, remove each printed sheet individually from the paper exit tray, and allow the prints to dry at least 24 hours before stacking, displaying, or storing. Printing cards 1 Load greeting cards, index cards, or postcards. Working with photos 99
-
 1
1 -
2
-
3
-
4
-
5
-
6
-
7
-
8
-
9
-
10
-
11
-
12
-
13
-
14
-
15
-
16
-
17
-
18
-
19
-
20
-
21
-
22
-
23
-
24
-
25
-
26
-
27
-
28
-
29
-
30
-
31
-
32
-
33
-
34
-
35
-
36
-
37
-
38
-
39
-
40
-
41
-
42
-
43
-
44
-
45
-
46
-
47
-
48
-
49
-
50
-
51
-
52
-
53
-
54
-
55
-
56
-
57
-
58
-
59
-
60
-
61
-
62
-
63
-
64
-
65
-
66
-
67
-
68
-
69
-
70
-
71
-
72
-
73
-
74
-
75
-
76
-
77
-
78
-
79
-
80
-
81
-
82
-
83
-
84
-
85
-
86
-
87
-
88
-
89
-
90
-
91
-
92
-
93
-
 94
94 -
 95
95 -
 96
96 -
 97
97 -
 98
98 -
 99
99 -
 100
100 -
 101
101 -
 102
102 -
 103
103 -
 104
104 -
105
-
106
-
107
-
108
-
109
-
110
-
111
-
112
-
113
-
114
-
115
-
116
-
117
-
118
-
119
-
120
-
121
-
122
-
123
-
124
-
125
-
126
-
127
-
128
-
129
-
130
-
131
-
132
-
133
-
134
-
135
-
136
-
137
-
138
-
139
-
140
-
141
-
142
-
143
-
144
-
145
-
146
-
147
-
148
-
149
-
150
-
151
-
152
-
153
-
154
-
155
-
156
-
157
-
158
-
159
-
160
-
161
-
162
-
163
-
164
-
165
-
166
-
167
-
168
-
169
-
170
-
171
-
172
-
173
-
174
-
175
-
176
-
177
-
178
-
179
-
180
-
181
-
182
-
183
-
184
-
185
-
186
-
187
-
188
-
189
-
190
-
191
-
192
-
193
-
194
-
195
-
196
-
197
-
198
-
199
-
200
-
201
-
202
-
203
-
204
-
205
-
206
-
207
-
208
-
209
-
210
-
211
-
212
-
213
-
214
-
215
-
216
-
217
-
218
-
219
-
220
-
221
-
222
-
223
-
224
-
225
-
226
-
227
 |
 |