Lexmark X7550 User's Guide (Mac) - Page 96
Printing photos from a digital camera using DPOF, Print Camera Selections
 |
View all Lexmark X7550 manuals
Add to My Manuals
Save this manual to your list of manuals |
Page 96 highlights
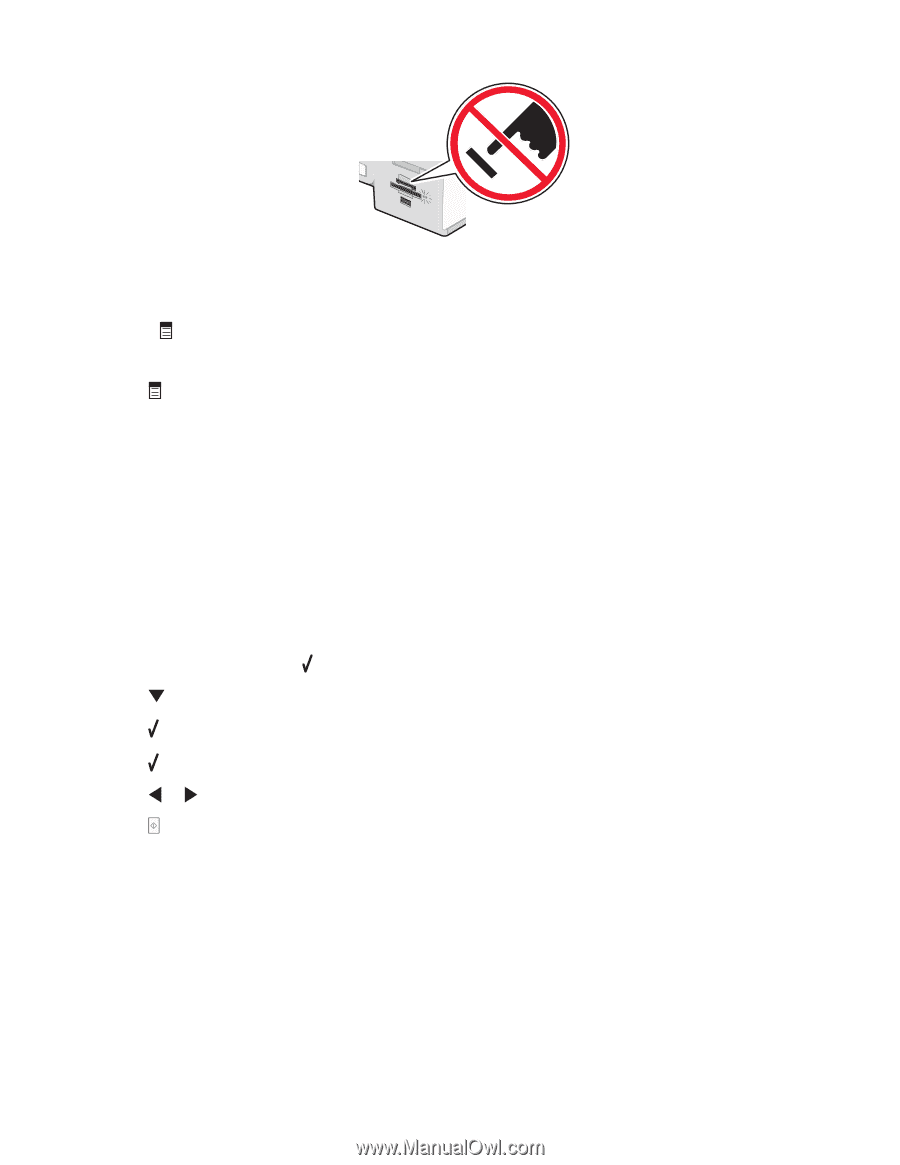
3 If the PictBridge connection is successful, the following message appears on the display: Camera Connected. Refer to Camera display or Camera owners manual for further information. After a few seconds, the following message appears: Use Camera to choose and print photos. Press to select printer default settings. 4 If you want to use the camera to control printing photos, see the instructions in the camera documentation. Press on the control panel to specify the PictBridge default print settings, which are used if no selections are made on the camera. Printing photos from a digital camera using DPOF Digital Print Order Format (DPOF) is a feature available on some digital cameras. If your camera supports DPOF, you can specify which photos to print, how many of each, and print settings while the memory card is still in the camera. The printer recognizes these settings when you insert the memory card into the printer. Note: If you specified a photo size while the memory card is still in the camera, make sure the size of the paper loaded in the printer is not smaller than the size you specified in the DPOF selection. 1 Load photo paper with the glossy or printable side facing you. (If you are not sure which side is the printable side, see the instructions that came with the paper.) 2 Insert a memory card. 3 From the control panel, press . 4 Press repeatedly until Print Camera Selections is highlighted. 5 Press . 6 Press again. 7 Press or to preview the photos. 8 Press to print. Note: To prevent smudging or scratching, avoid touching the printed surface with your fingers or sharp objects. For best results, remove each printed sheet individually from the paper exit tray, and allow the prints to dry at least 24 hours before stacking, displaying, or storing. Related topics: • "Using the control panel" on page 113 • "Inserting a memory card" on page 90 • "Loading paper" on page 18 Working with photos 96
-
 1
1 -
2
-
3
-
4
-
5
-
6
-
7
-
8
-
9
-
10
-
11
-
12
-
13
-
14
-
15
-
16
-
17
-
18
-
19
-
20
-
21
-
22
-
23
-
24
-
25
-
26
-
27
-
28
-
29
-
30
-
31
-
32
-
33
-
34
-
35
-
36
-
37
-
38
-
39
-
40
-
41
-
42
-
43
-
44
-
45
-
46
-
47
-
48
-
49
-
50
-
51
-
52
-
53
-
54
-
55
-
56
-
57
-
58
-
59
-
60
-
61
-
62
-
63
-
64
-
65
-
66
-
67
-
68
-
69
-
70
-
71
-
72
-
73
-
74
-
75
-
76
-
77
-
78
-
79
-
80
-
81
-
82
-
83
-
84
-
85
-
86
-
87
-
88
-
89
-
90
-
 91
91 -
 92
92 -
 93
93 -
 94
94 -
 95
95 -
 96
96 -
 97
97 -
 98
98 -
 99
99 -
 100
100 -
 101
101 -
102
-
103
-
104
-
105
-
106
-
107
-
108
-
109
-
110
-
111
-
112
-
113
-
114
-
115
-
116
-
117
-
118
-
119
-
120
-
121
-
122
-
123
-
124
-
125
-
126
-
127
-
128
-
129
-
130
-
131
-
132
-
133
-
134
-
135
-
136
-
137
-
138
-
139
-
140
-
141
-
142
-
143
-
144
-
145
-
146
-
147
-
148
-
149
-
150
-
151
-
152
-
153
-
154
-
155
-
156
-
157
-
158
-
159
-
160
-
161
-
162
-
163
-
164
-
165
-
166
-
167
-
168
-
169
-
170
-
171
-
172
-
173
-
174
-
175
-
176
-
177
-
178
-
179
-
180
-
181
-
182
-
183
-
184
-
185
-
186
-
187
-
188
-
189
-
190
-
191
-
192
-
193
-
194
-
195
-
196
-
197
-
198
-
199
-
200
-
201
-
202
-
203
-
204
-
205
-
206
-
207
-
208
-
209
-
210
-
211
-
212
-
213
-
214
-
215
-
216
-
217
-
218
-
219
-
220
-
221
-
222
-
223
-
224
-
225
-
226
-
227
 |
 |