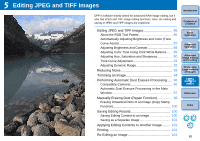
Canon EOS Rebel T1i Digital Photo Professional 3.6 for Windows Instruction Man - Page 88
Click the desired automatic adjustment button., Introduction, Contents at, a Glance, Basic, Operation
 |
View all Canon EOS Rebel T1i manuals
Add to My Manuals
Save this manual to your list of manuals |
Page 88 highlights
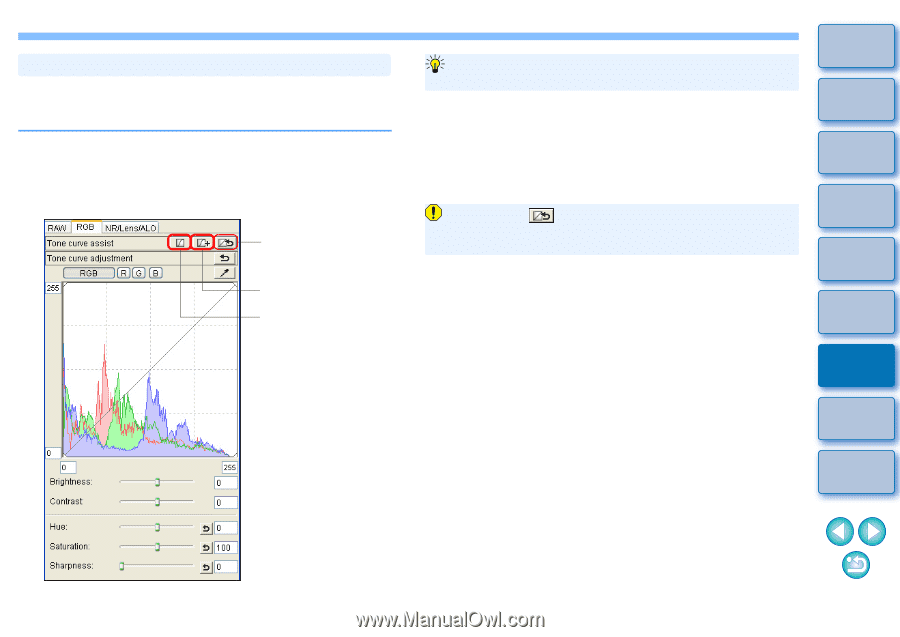
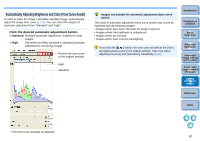
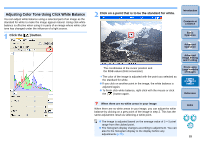
Automatically Adjusting Brightness and Color (Tone Curve Assist) In order to make the image a desirable standard image, automatically adjust the image tone curve (p.119). You can select the degree of automatic adjustment from "Standard" and "High". Click the desired automatic adjustment button. O Standard: Standard automatic adjustment. Suitable for most images. O High: Use when the effect achieved in standard automatic adjustment is not strong enough. Reverts the tone curve to the original settings High Standard Images not suitable for automatic adjustment (tone curve assist) The result of automatic adjustment (tone curve assist) may not be as expected with the following images: • Images which have been shot with the proper exposure • Images where the brightness is unbalanced • Images which are too dark • Images which have extreme backlighting If you click the [ ] button, the tone curve as well as the [Hue] and [Saturation] revert to the default settings. Take care when adjusting the [Hue] and [Saturation] individually (p.90). Introduction Contents at a Glance 1Basic Operation 2Advanced Operation 3Advanced Image Editing and Printing 4 Processing Large Numbers of Images 5Editing JPEG/TIFF Images Reference Index ¿ The tone curve changes as adjusted. 87
-
 1
1 -
2
-
3
-
4
-
5
-
6
-
7
-
8
-
9
-
10
-
11
-
12
-
13
-
14
-
15
-
16
-
17
-
18
-
19
-
20
-
21
-
22
-
23
-
24
-
25
-
26
-
27
-
28
-
29
-
30
-
31
-
32
-
33
-
34
-
35
-
36
-
37
-
38
-
39
-
40
-
41
-
42
-
43
-
44
-
45
-
46
-
47
-
48
-
49
-
50
-
51
-
52
-
53
-
54
-
55
-
56
-
57
-
58
-
59
-
60
-
61
-
62
-
63
-
64
-
65
-
66
-
67
-
68
-
69
-
70
-
71
-
72
-
73
-
74
-
75
-
76
-
77
-
78
-
79
-
80
-
81
-
82
-
 83
83 -
 84
84 -
 85
85 -
 86
86 -
 87
87 -
 88
88 -
 89
89 -
 90
90 -
 91
91 -
 92
92 -
 93
93 -
94
-
95
-
96
-
97
-
98
-
99
-
100
-
101
-
102
-
103
-
104
-
105
-
106
-
107
-
108
-
109
-
110
-
111
-
112
-
113
-
114
-
115
-
116
-
117
-
118
-
119
-
120
-
121
-
122
-
123
-
124
-
125
-
126
 |
 |